Have you seen these little purse bags in the crafting world?
They are so much fun to make with tutorials are everywhere.
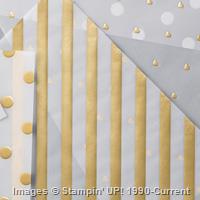
I made this one for two challenges. The first was the color inspiration from ColorQ –

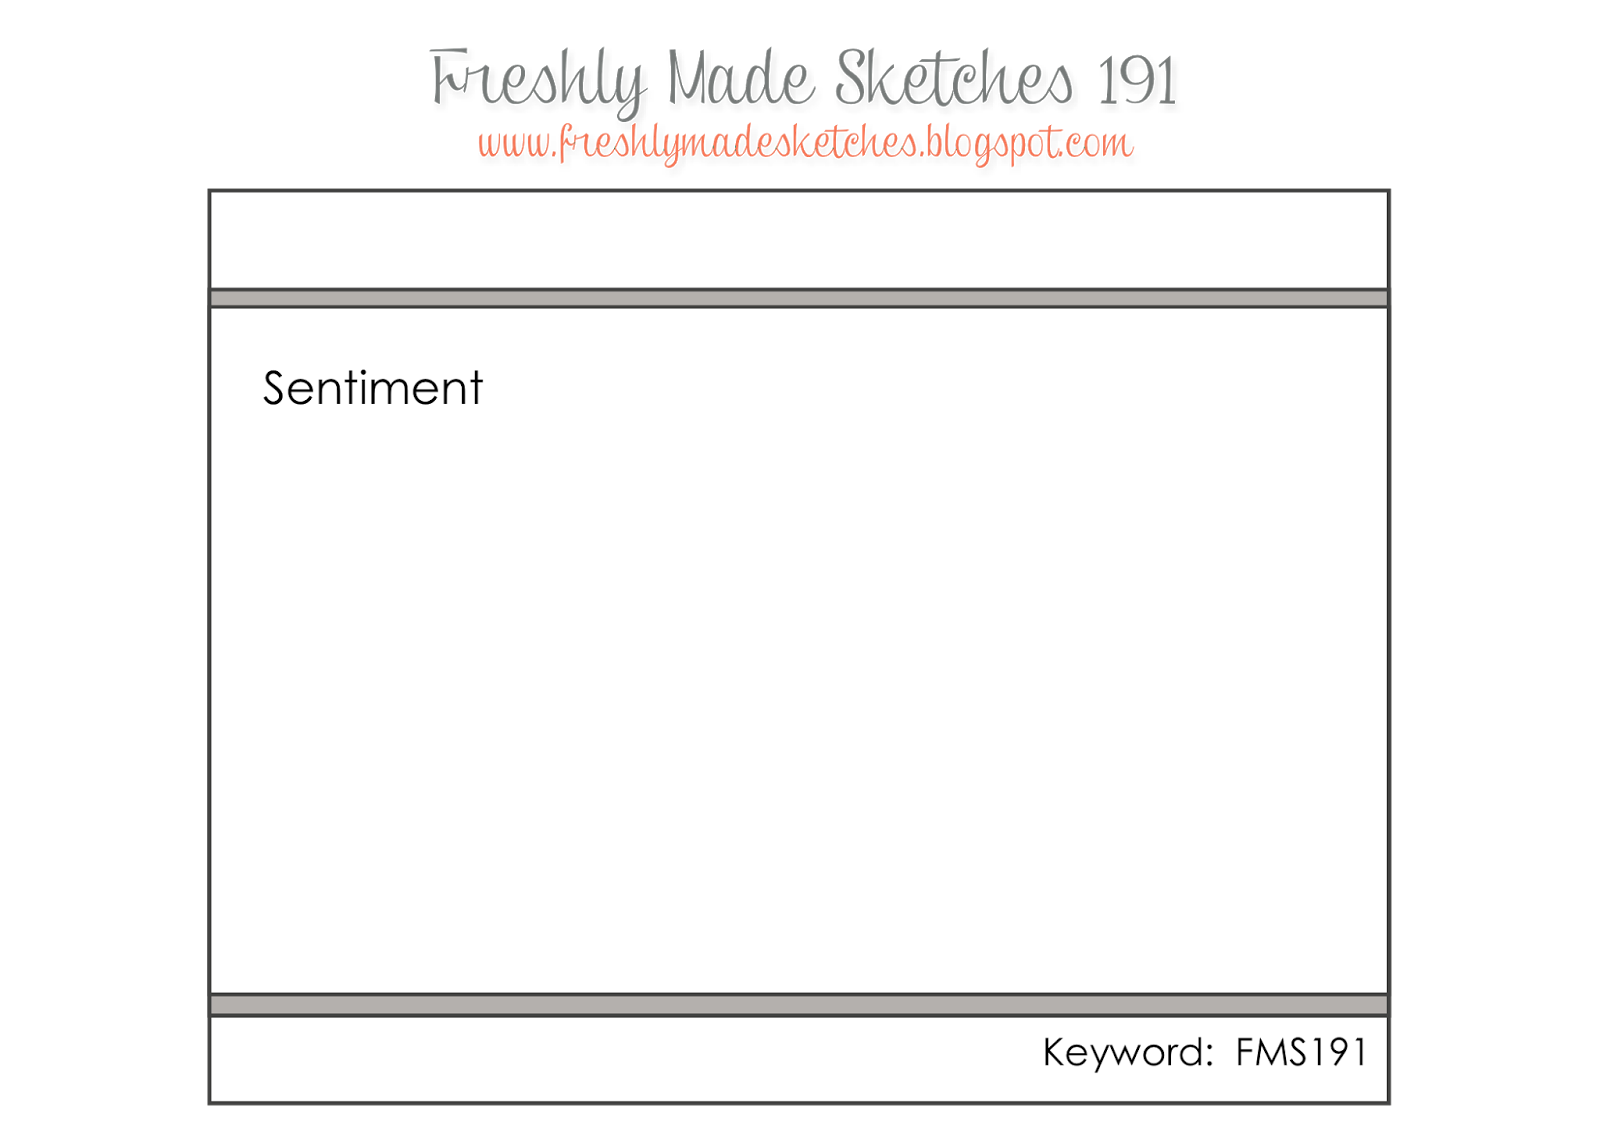
The second is the layout from Freshly Made Sketches –
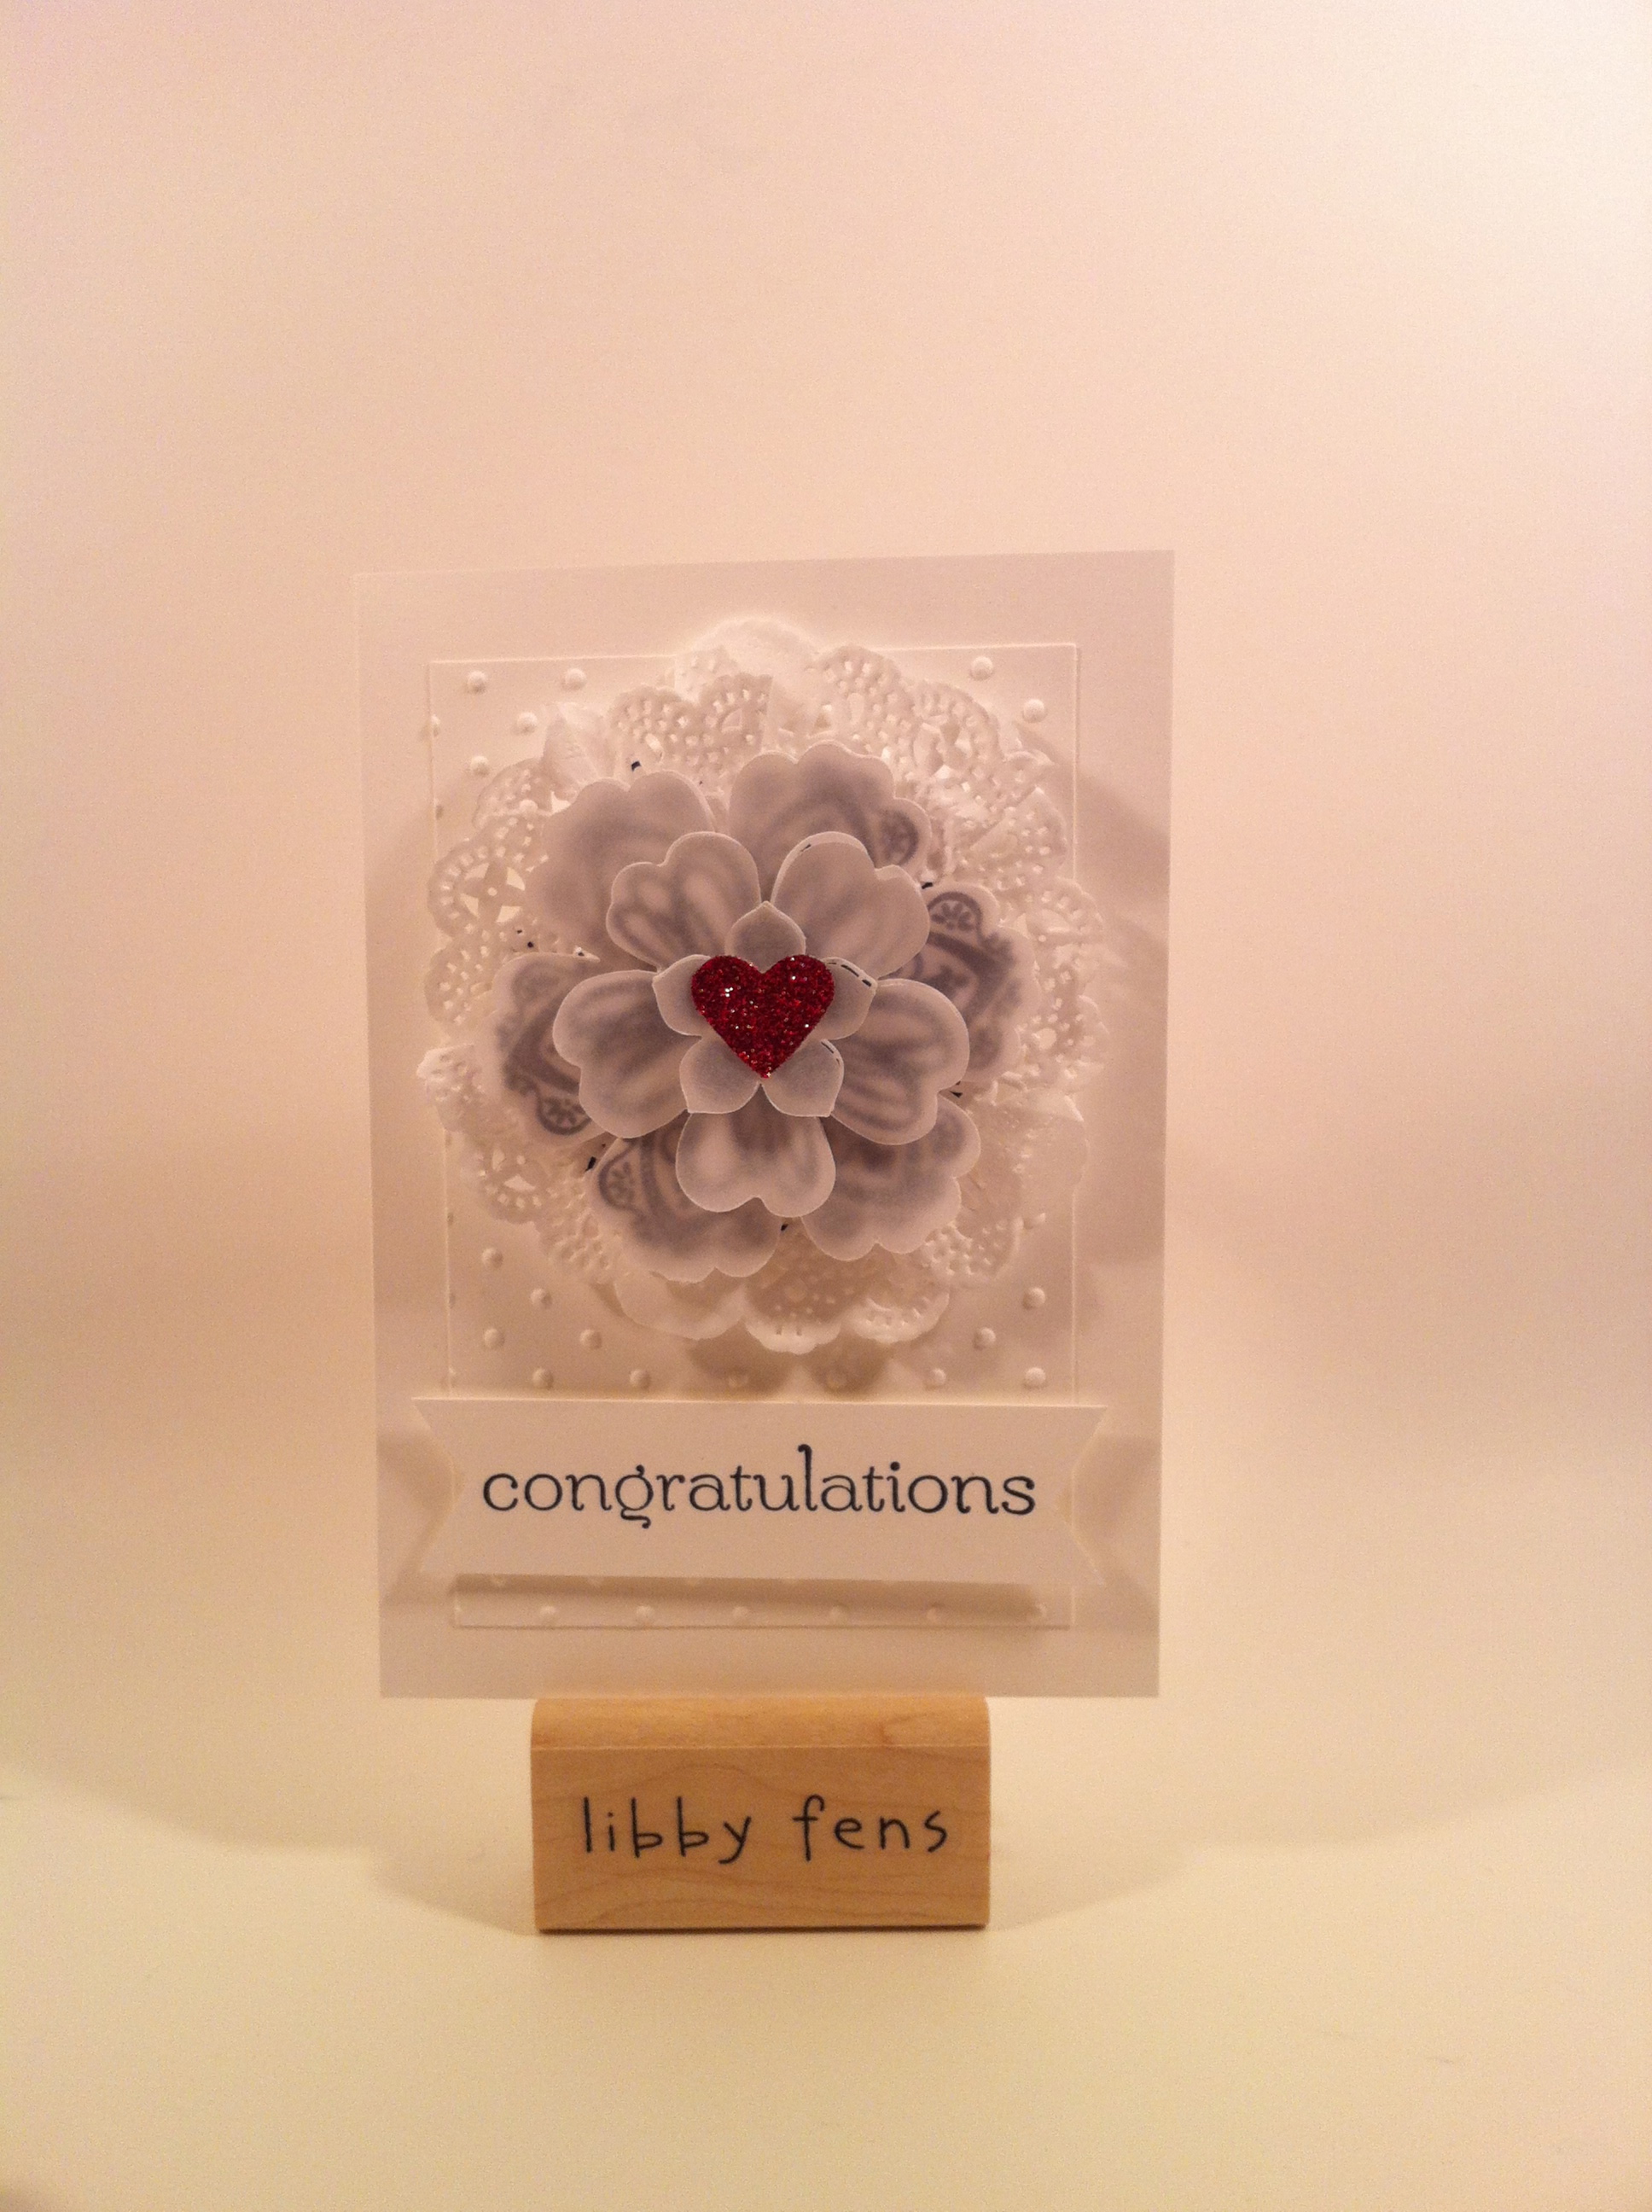
Combining the two sketches, this is what I came up with –

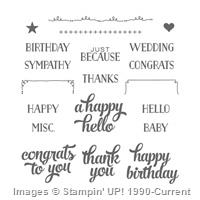
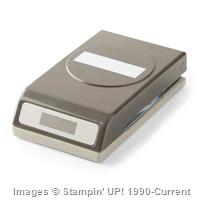
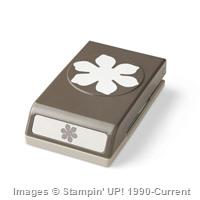
The design of the bag really fit the Freshly Made Sketches simple layout. I loved the addition of the flower for an offset focal point. And, can’t forget the sentiment either! I used the new Washi Label Punch and the new Tin of Cards stamp set here!
The bag will hold Stampin’ Up’s Note Card sized cards and envelopes upright.
BONUS for you………
Most of the tutorials on-line are made using any 12×12 DSP and 12 x 12 card stock. I am out of a card stock that coordinated here, so I modified my instructions to use what most of us have, 8 1/2 x 11 sized card stock. Here is a quick tutorial for a smaller styled purse bag –
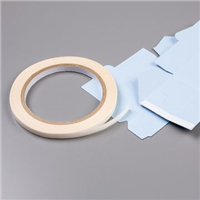
(1) 4 x 12 DSP sheet (Tear & Tape Adhesive the long bottom and one end)
(1) 2 1/2 x 5 1/4 piece of card stock, scored at 1/2 on all four sides (make a tray by slitting the ends and using Tear & Tape Adhesive on all 4 corners)
(4) 6 1/2 x 1/2 strips of coordinating card stock(Tear & Tape Adhesive the whole strip, all 4)
(1) 1/2 x 11 (Tear & Tape Adhesive just the ends a very small piece)
1. Wrap the DSP around the outside of the tray made starting in the center and ending in an overlap at the center. Secure the overlap with the Tear & Tape Adhesive that was applied.
2. Take one if the 1/2 x 7 strips, starting a little past the middle point on the short side of the bottom edge, wrap it over the DSP along the bottom all the way around. It will only be half way around. Repeat to cover the entire bottom edge.
3. Pretty much repeat the same for the top of the DSP purse bag.
4. The handle secure with the little amount of Tear & Tape Adhesive covering the side seams. I used a brad for extra sturdiness.
5. Decorate.
Please try my directions and let me know how it works out for you.

Built for Free Using: My Stampin Blog