Welcome fall! Cooler temps. Pumpkins. Rustling leaves.
……and the first of three posts! This is for Blogging Friends Blog Hop!
![]()
You might have came from Anna Masciovecchio to visit me.
Our theme this month is Mini Catalog favorites. As many of you have seen the Stampin’ Up Holiday mini catalog, it’s probably the whole book, right? Well, I had to narrow it down a bit.
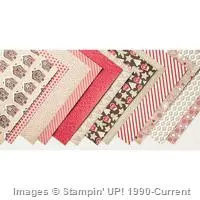
My favorites would have to be some stamp sets, a punch, some of the DSP, the trims and the new foil.
I created a little holiday treat bag ensemble to show them off –
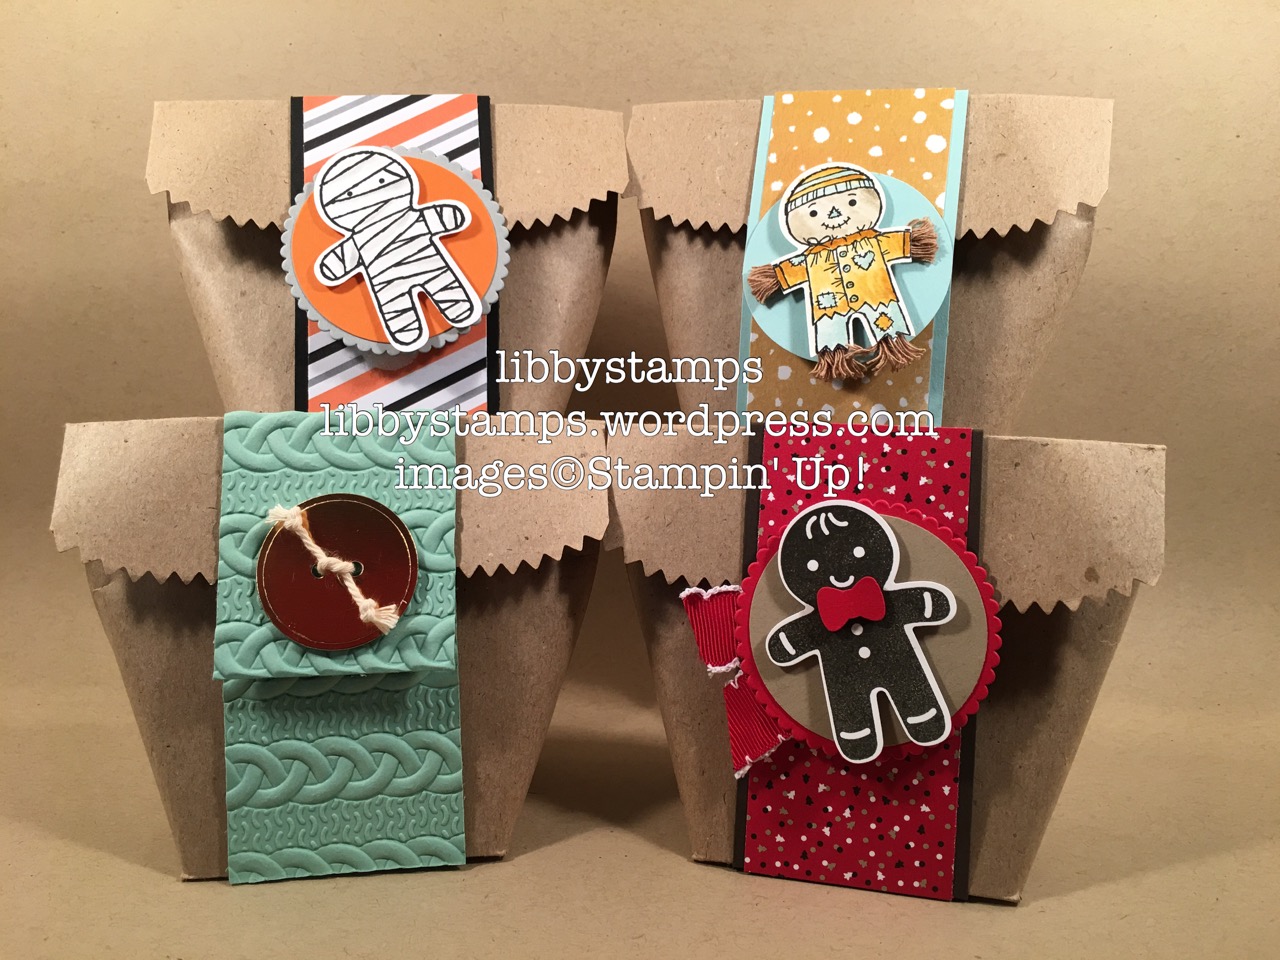
Can you say, A D O R A B L E ????
I made four bags that would be appropriate to use over the next few months for treats, small gifts or even a gift card!
They all have the same size wrap around band and a velcro closure. I also placed a firm piece of cardboard in the bottom to give the bag more stability. Measurements are at the end.
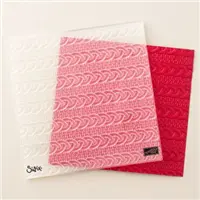
This first bag is really a fall/winter treat bag. It never really get that cold here for cable knit sweaters……..but, I love this Cable Knit Dynamic embossing folder to create the look of one!

I paired it with the new Copper Foil. It’s such a much have! Here a made a ‘button’ to show it off. Couldn’t you image hot chocolate or s’mores treats in this?? So so cozy!
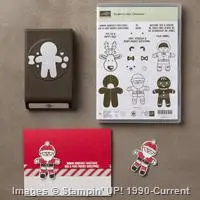
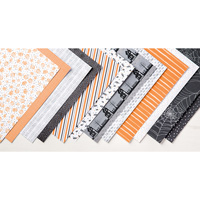
The Halloween bag is pretty simple. So great for spooky treats!
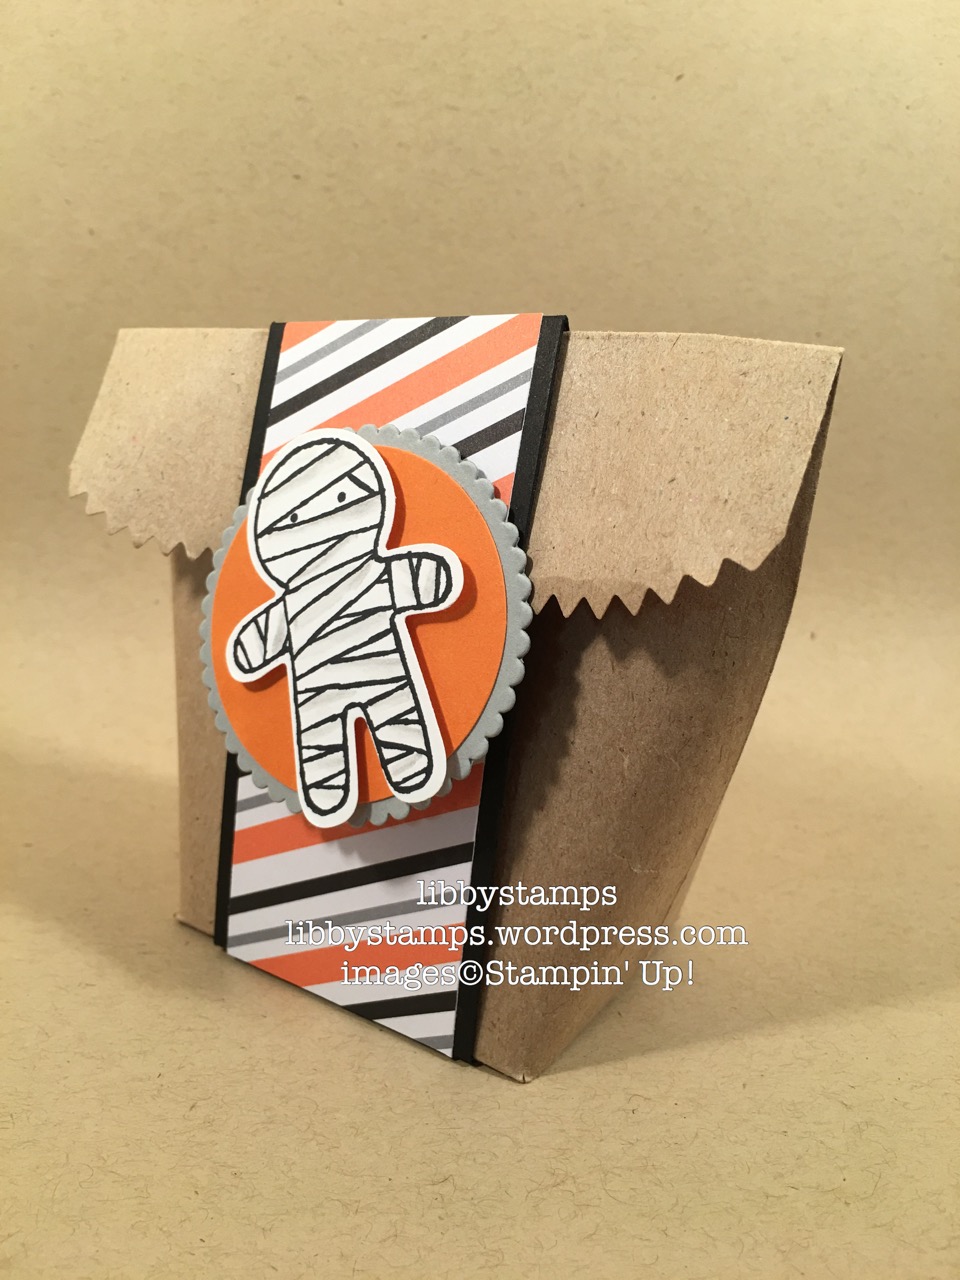
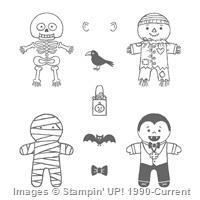
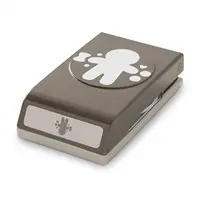
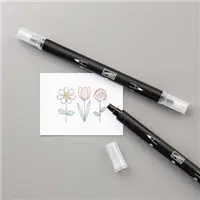
I used the Cookie Cutter Halloween stamp set in and the Cookie Cutter Builder punch. Because I used a blender pen to add some detail to the mummy, I stamped him in Staz On first then onto Shimmery White Card Stock. This paper works nicely with the blender pen.
For fall/thanksgiving, I went with this little detailed scarecrow on the bag –

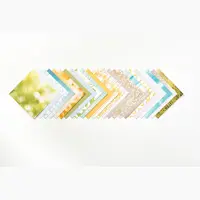
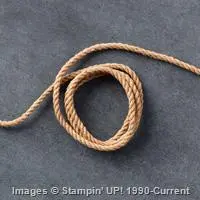
I used Serene Scenery DSP for this one. (It’s in the larger catalog.) I also used my blender pen and a few ink pads to color him in on Shimmery White Card Stock. He’s sooo cute! The new Kraft Rope trim helped to add lots of detail to his arms and legs. Looks like real straw, right?
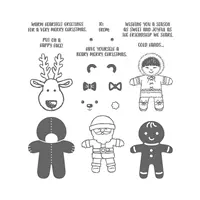
The Christmas bag finishes off the ensemble

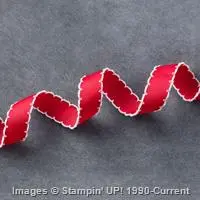
It’s nothing too fussy. By the time Christmas rolls around, no one has much time or energy to craft! It’s a simple stamped image detailed with a piece ribbon on the side.
Now that you’ve seen my treat bags, here’s how I created them.
Treat Bag Basic –
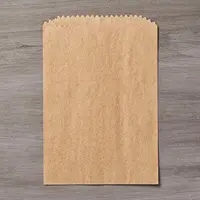
- start with Kraft Tag a Bag Gift bags
- remove 1/8th off the bottom to open bag up
- on the bottom, score at 1 1/2, parallel to bottom
- rotate twice, score 1 1/2 from top (the outer most part of the serrated curve)
- parallel to the outer edge, cut 1″ up to score line
- repeat for other side
- fold ‘bottom’ score lines inward creating bottom
- sides remain puffy to flat towards the top
- fold down top score line
- inside piece for the sturdy cardboard bottom 2 5/8 x 2
Bag Band –
- 2 x 8 1/2 strip of card stock
- 2 DSP pieces, 2 x 1 3/4 and 2 3/4 x 1 3/4
- adhere to outside flaps

Pretty simple? Please email me if you have any questions!
Now that you’ve seen a sampling of some of my favorites, head on over to Anne Power to see what her favorites are!
![]()


Love, love love these Libby! How fun and you showed us how to make some! Excellent!
Thanks, Anne! Glad you liked them! Enjoy making them – they’re addicting!!
Loving the treat bags! Super cute! Don’t think I have any in my stash. I think I need to go shopping. Thanks for sharing!
Sure Jenny! Thanks for stopping by to comment! Much appreciated!
Love those gift bags, and the different bands you created for each one, Libby! Very creative, and shows off the versatility of a range of products!
Thanks Debbie! I’m lovin’ making these bags!
These are all so cute! Thank you for sharing how to create them so clearly 🙂 I may have to give these a try!
Please do Danica – and please ask if you have any questions!
great gift bags. clever ways to use the product! thank you
Than you Manetta! I appreciate you stopping by to comment!
I LOVE these treat bags, Libby! They are so cute! Your water colouring is if beautiful. I love the detail for the scarecrow using the rope trim and I love the idea of using the Dynamic Cable Sweater Embossing Folder for a belly band. Thank you for sharing your projects.
Thank you Tammy! Watercoloring is not my thing either!!
Cute projects, Libby!
Thanks, Anna! Great hop this month too!
Such a cute idea Libby! Now I need to ad those paper bags to my next order, lol! Thanks for the scoring directions!
Sometimes were are our own best enablers!!
These are all super cute, Libby. I like how you showed different themes for each one! Crystal
Thanks, Crystal! These were so much fun to create!
Super Cute! I love those little cookie cutters. I love how you used the twine for the scarecrows hands and feet:) Thanks for sharing!
Thank you! It’s all in the details sometimes!
Super cute, Libby! TFS and for the measurements! 🙂
Thanks, Donna – I figured I’d better do it before I forgot! Please let me know if you have any questions.