If you are interested in my tutorial! Great! Please be kind enough to leave me a comment after you’ve read through it or made it. And if you use my idea, give me credit – it’s the right thing to do.
I will try to explain this in a word formatted tutorial. Sorry, my Texas drawl doesn’t make for a good video presentation! The following explains how to make the 3×3 holder. You can refer to my samples on how to decorate the finished product and the cards. And, oh ya, some of the pictures are sideways. You’ll ‘get the picture’ however!
You will need –
- (3) Tag a Bag Gift bags
- (1) 4 x 8 1/2 Whisper White card stock
- velcro thin oval
- (2) Note Card Envelopes
- (4) 3×6 card bases
- (4) 3×3 Envelopes
- Envelope Liner Framelits
- Tags for You stamp set
- Label Bracket Punch
- Decorative Labe Punch
- scraps for stamping on
Directions are on top of the picture –
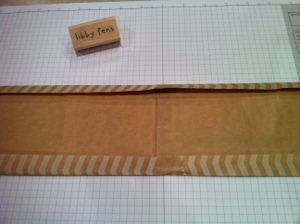
Start by slicing the bag down the sides to open it up. Use a thin knife to do this.
Next, fold the long edges to create an even edge on both sides. Note the bag seam in the middle. It ends up being about 3 1/2 wide by the length of the bag.
Set bag aside.
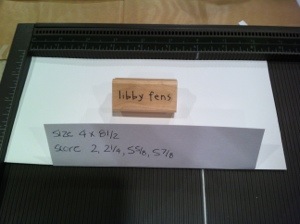
Take 4 x 81/2 card stock and score it at 2, 2 1/4, 5 5/8, 5 7/8.
Fold score lines over.
Place the bag down and the card stock on top. When the bag wraps around, more will cover the shorter edged side.
See how the bag on the short side goes almost all the way to the middle and the other side is only partially covering the flap? The ‘holder’ will cover all this.
Add a little Snail along the edges to keep it in place. If you adhere the whole bag to the card stock, it pulls and it will tear.
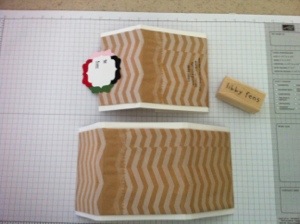
The original holder shown with the one in progress as a reference.
I flipped mine over and you can see where the original bag seam lines up compared to my sample.
Re-crease your score lines now that the bag is adhered to the card stock.
Set aside.
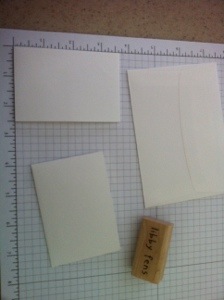
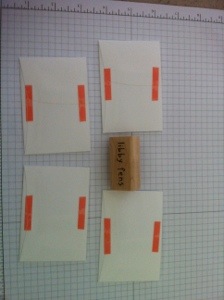
Seal the 2 Note Card envelopes shut.
Cut them at 2 1/2 from each end. It’s almost down the middle, but 2 1/2 ensures that they are even. Make sure you have sides and bottom sealed, that you cut them correctly.
Apply about an inch strip of Sticky Strip to the center top and bottom as shown.
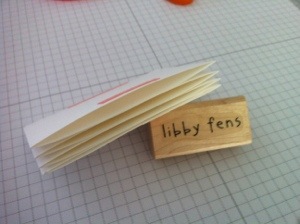
Next you will adhere one to the other by removing Sticky Strip.
It will look like this.
Add the same amount of Sticky Strip to the first and last one. This is to adhere it to the outer part already made.
Adhere envelope stack to the back portion of the outer holder. Make sure your opens are facing the up, towards the longer flap. The other flap is shorter and adhere it next. It should land just above the envelope stack.
This is a side view of the nearly finished item. Just add the velcro closure and decorate!
This shows the finished set.
For the additional decorating, open the bags by carefully pealing back the seam at the bottom of the bag, then the seam up the back. You can get several 3×3 card front layers from one bag.
Tips to using the envelope liners. The thinlit die will cut through two layers of these bags, so you can cut two envelope liners at once. Cut them the exact size you need, no shorter. Slide them down in the envelope, fold the envelope closed forming a crease and adhere the liner at the top of the flap.
This should cover the basic directions to making this neat little holder. Please let me know if you have any questions.
