Well. Well. Well.
I thought I had shared these here, but, I guess I only shared them on Facebook. Chuckle, chuckle – they are my current cover photo!
I’m rambling about these –
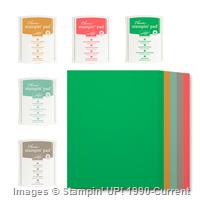
Nice, huh? They hold a Stampin’ Up ink pad, or anything about that size.
I made a few batches of these for my Stamp Club 6 members. I have a quick pictorial tutorial how to make these.
My tutorial is made with my ‘blue’ paper, so I will have this to make again later.
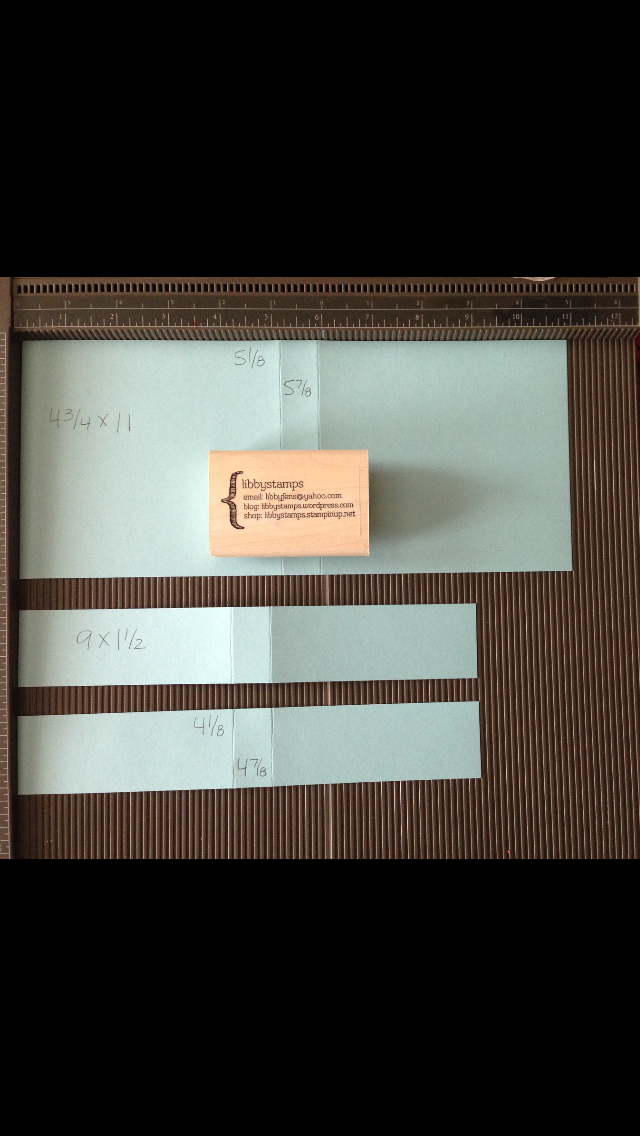
Card stock measures 4 3/4 x 11, scored at 5 1/8 and 5 7/8.
2 strips are 9 x 1 1/2, both scored at 4 1/8 and 4 7/8.
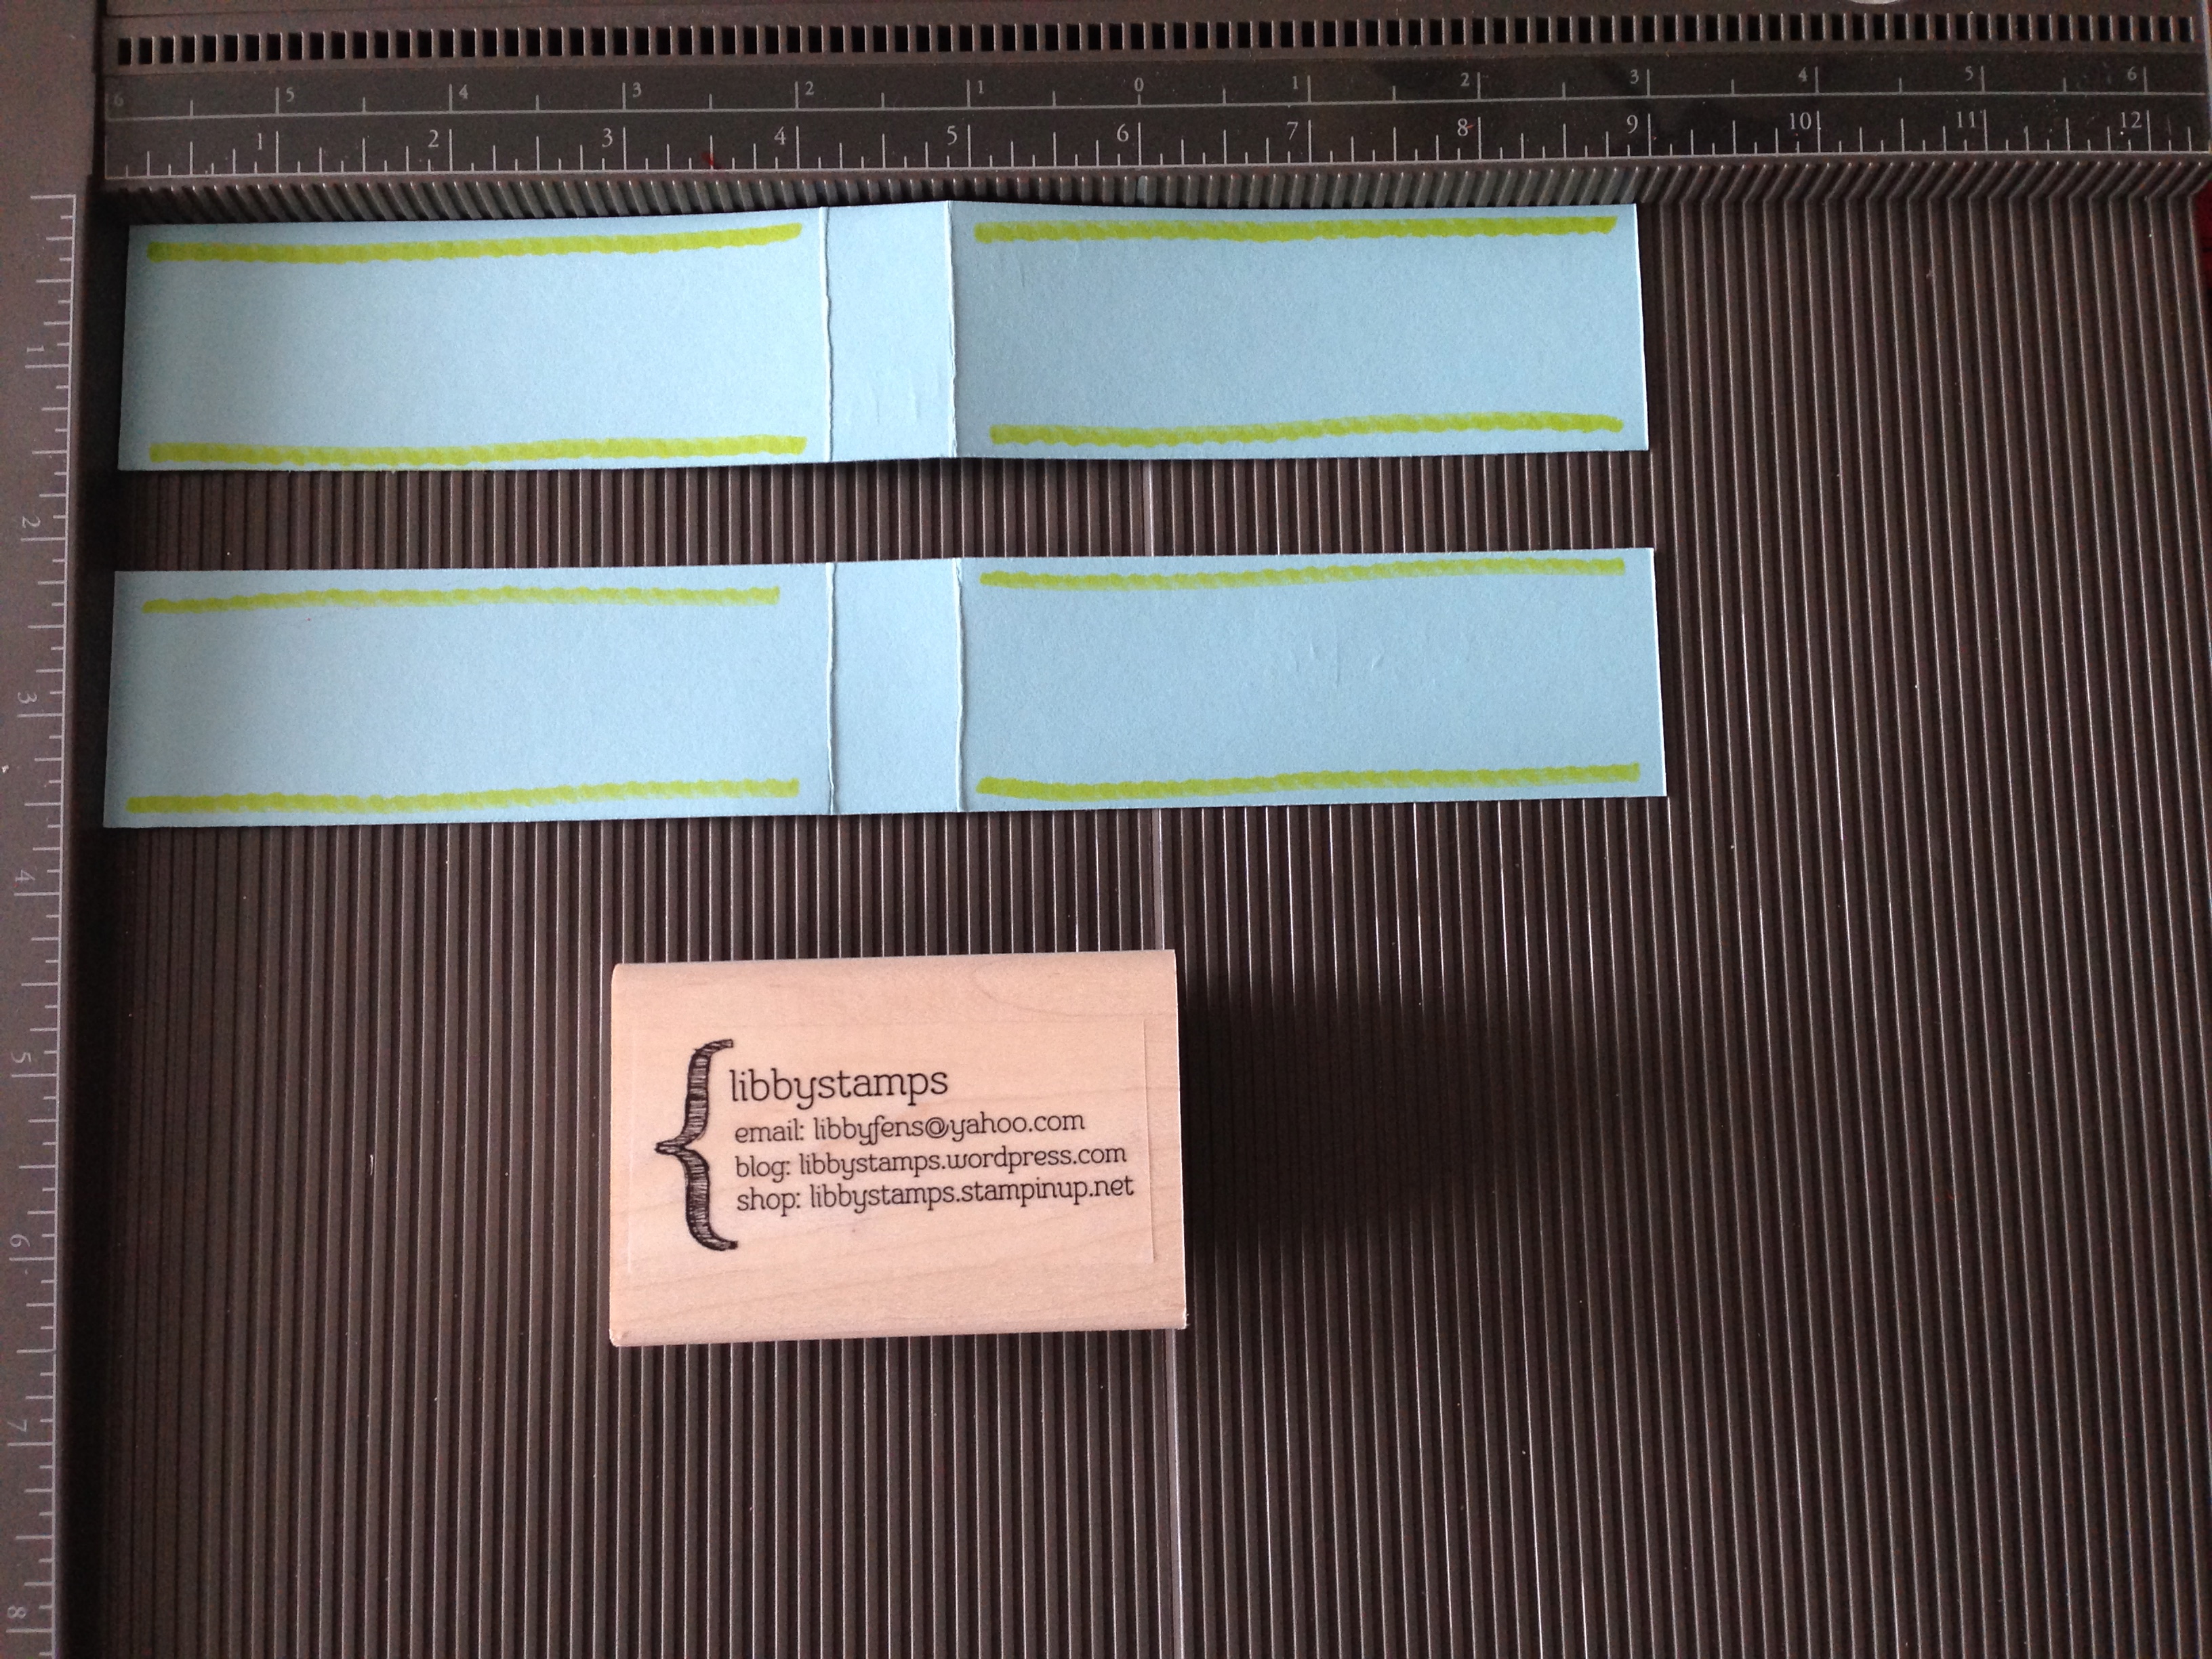
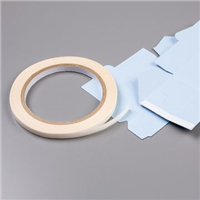
Apply Tear & Tape Adhesive along edges, indicated by yellow lines.
On your main ‘box’ piece, fold up your score lines as a guide. Do the same for your 2 strips.
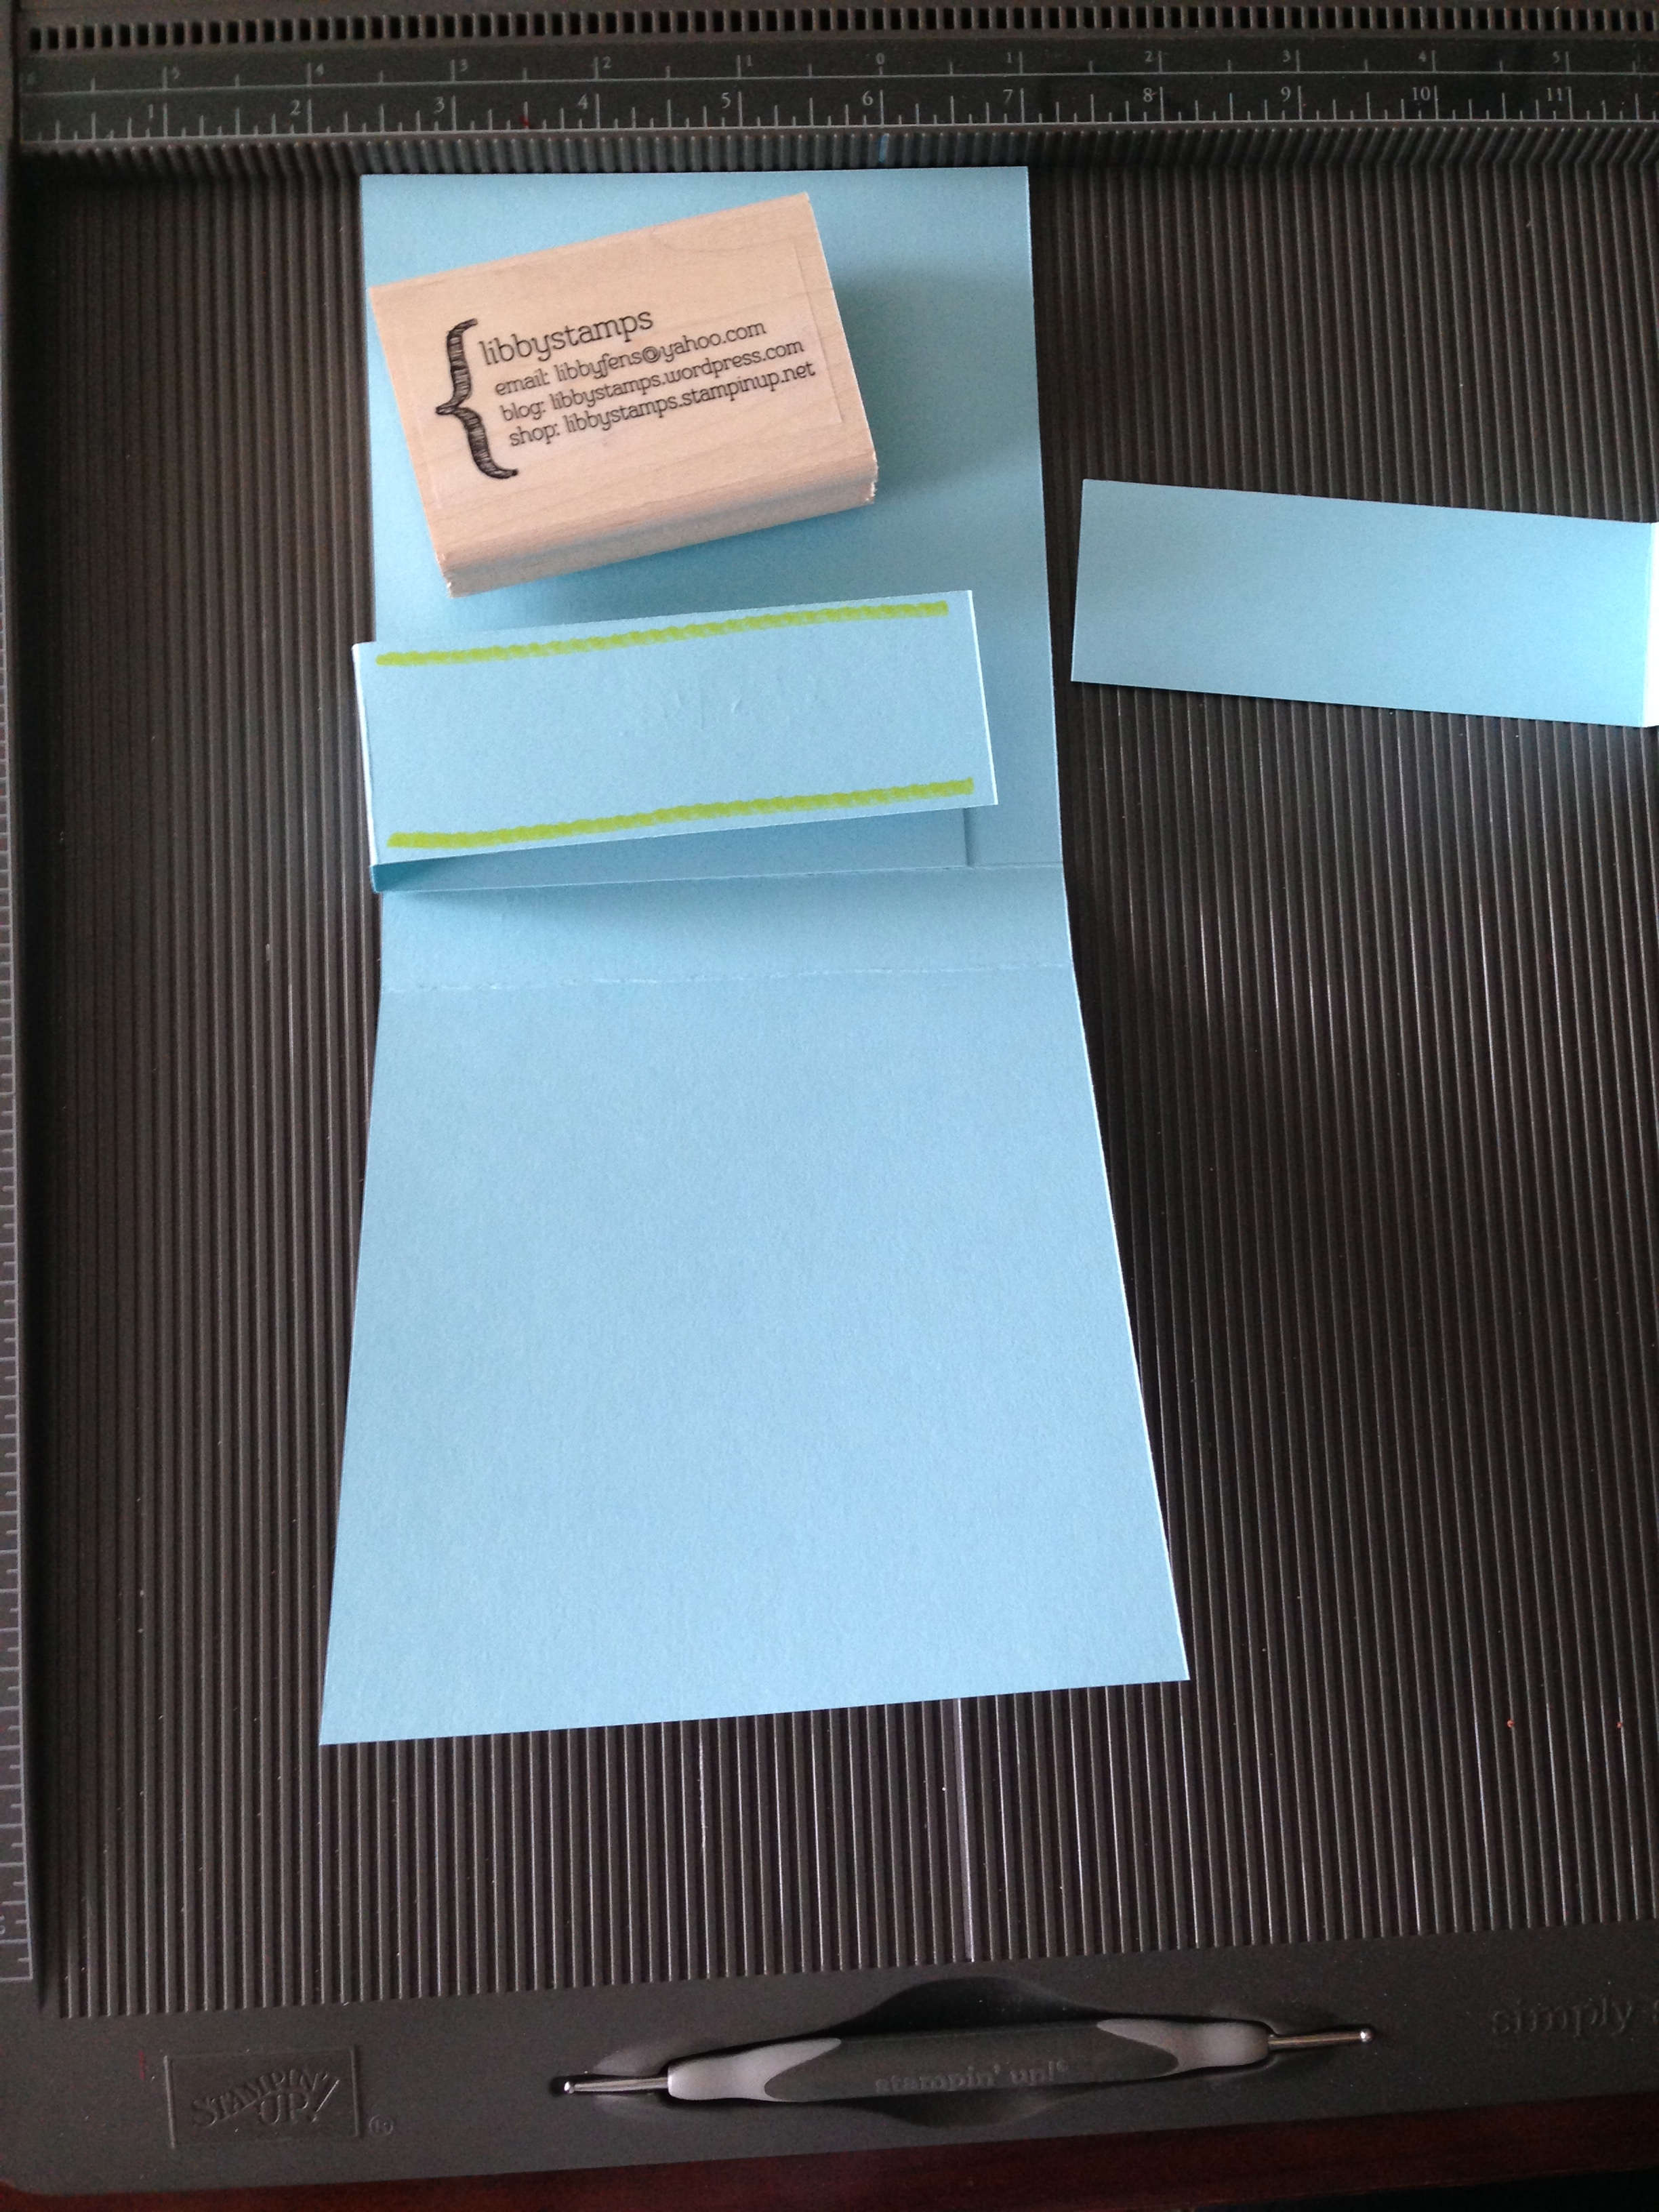
Working with one side at a time, line up the strip on the side of the card stock ‘box’.
Add the other strip next, still working with just one side of the ‘box’.
These 2 strips should be adhered to one side of the ‘box’ and each other. It may seem to be long strips, but it makes the box more durable for heavier items, like the ink pads!
Repeat these steps for adhering the strips to the other side of the ‘box’. Thus completing your ‘box’!
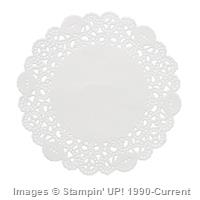
I decorated mine with the envelope liner paper and a Tea Lace Doily – worked perfectly here!
Here’s another group shot (before I placed the ink pads inside).
These were a big hit and my customers really liked them.
Please feel free to ask questions about these boxes. I really enjoyed creating them.
Built for Free Using: My Stampin Blog

