Happy Saturday!
Did you see my post for Create with Connie and Mary earlier?
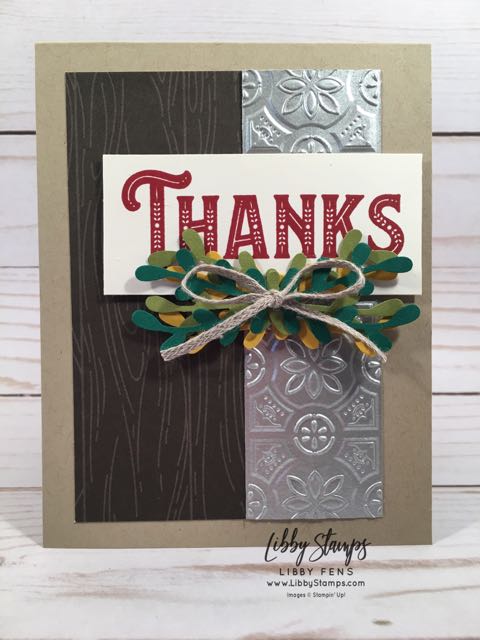
You are not seeing double and it’s not a repeat post! I created a pop up gift card holder using the same card idea that I created earlier, but its reversed –

Cute, huh?
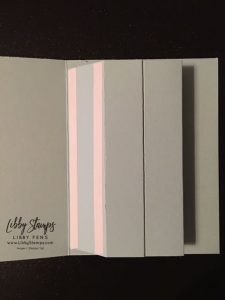
Look at it opened –

Nice, nice, nice! It holds a gift card!!!
Now, just how did I do that, you are asking?
Well, let me see if I can explain how in a few pictures.
Directions for pop up –
- cut 2 pieces 5 x 5
- score both at 1/2, 1 3/4, 2 3/4, and 4
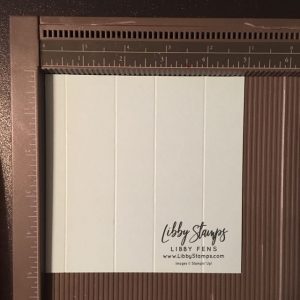
- fold over to create 2 ‘boxes’ using Tear & Tape on the 1/2 side
- boxes will be taller on one side, adhere boxes using Tear & Tape on the tall side together only on the ends

- open folded card, fold boxes together flat, adhere just a hair past the inside score line when opened centered (you will adhere the short sides together on the bottom)

- close card a few times and flatten
- adhere inside tall portion of boxes to top of card using Tear & Tape all the way down on top and bottom
- closing the card will make the boxes stick top the top of the card

- card will fit in between the two boxes and stand up when opened
- decorate the front of the card
Whew. Makes sense? Please ask if you need help! I prefer tutorial pictorials – no long video to stop and start repeatedly! Lol!
This is a wonderful addition to learn because you can add this to any card you’ve already made to make it a pop up gift card holder!
- Stamp Set – Peaceful Noel, Nothing Sweeter (Just for You)
- Framelits – Layering Ovals, Stitched Shapes
- Card Stock – Pool Party, Whisper White, Galvanized Metallic Paper
- Ink – Real Red
- DSP – Santa’s Workshop, Twinkle Twinkle
- Other – Real Red 1/8 Solid Ribbon