You probably saw this post last week for my daughter’s birthday, right? And, you wondered HOW DID SHE MAKE THAT CAKE?????
I wondered how I ever pulled it off too….but, I think I was able to re-create it for you.
Grab coffee or tea, pen & paper. Are you ready to sit for a bit? And, please leave a comment at the end.
You’ll need –
- nuggets
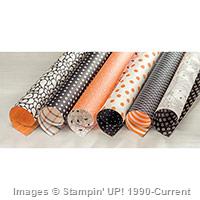
- DSP
- Card Stock
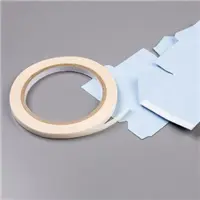
- Tear & Tape Adhesive
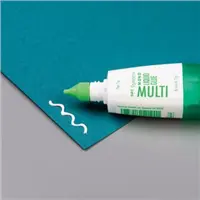
- Tombow Liquid
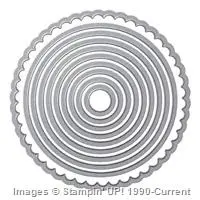
- Circles Framelits
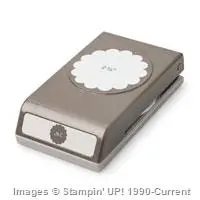
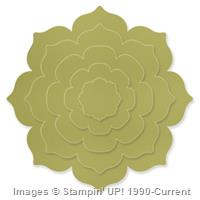
- 2 3/4 Scalloped Circle Punch
- 3 graduated in size lids, containers or tubes (about 1 inch tall)
- patience
Start by finding 3 circle items that your wrapped nuggets will be adhered to. This is your cake bases. I found 1 inch tall works best.
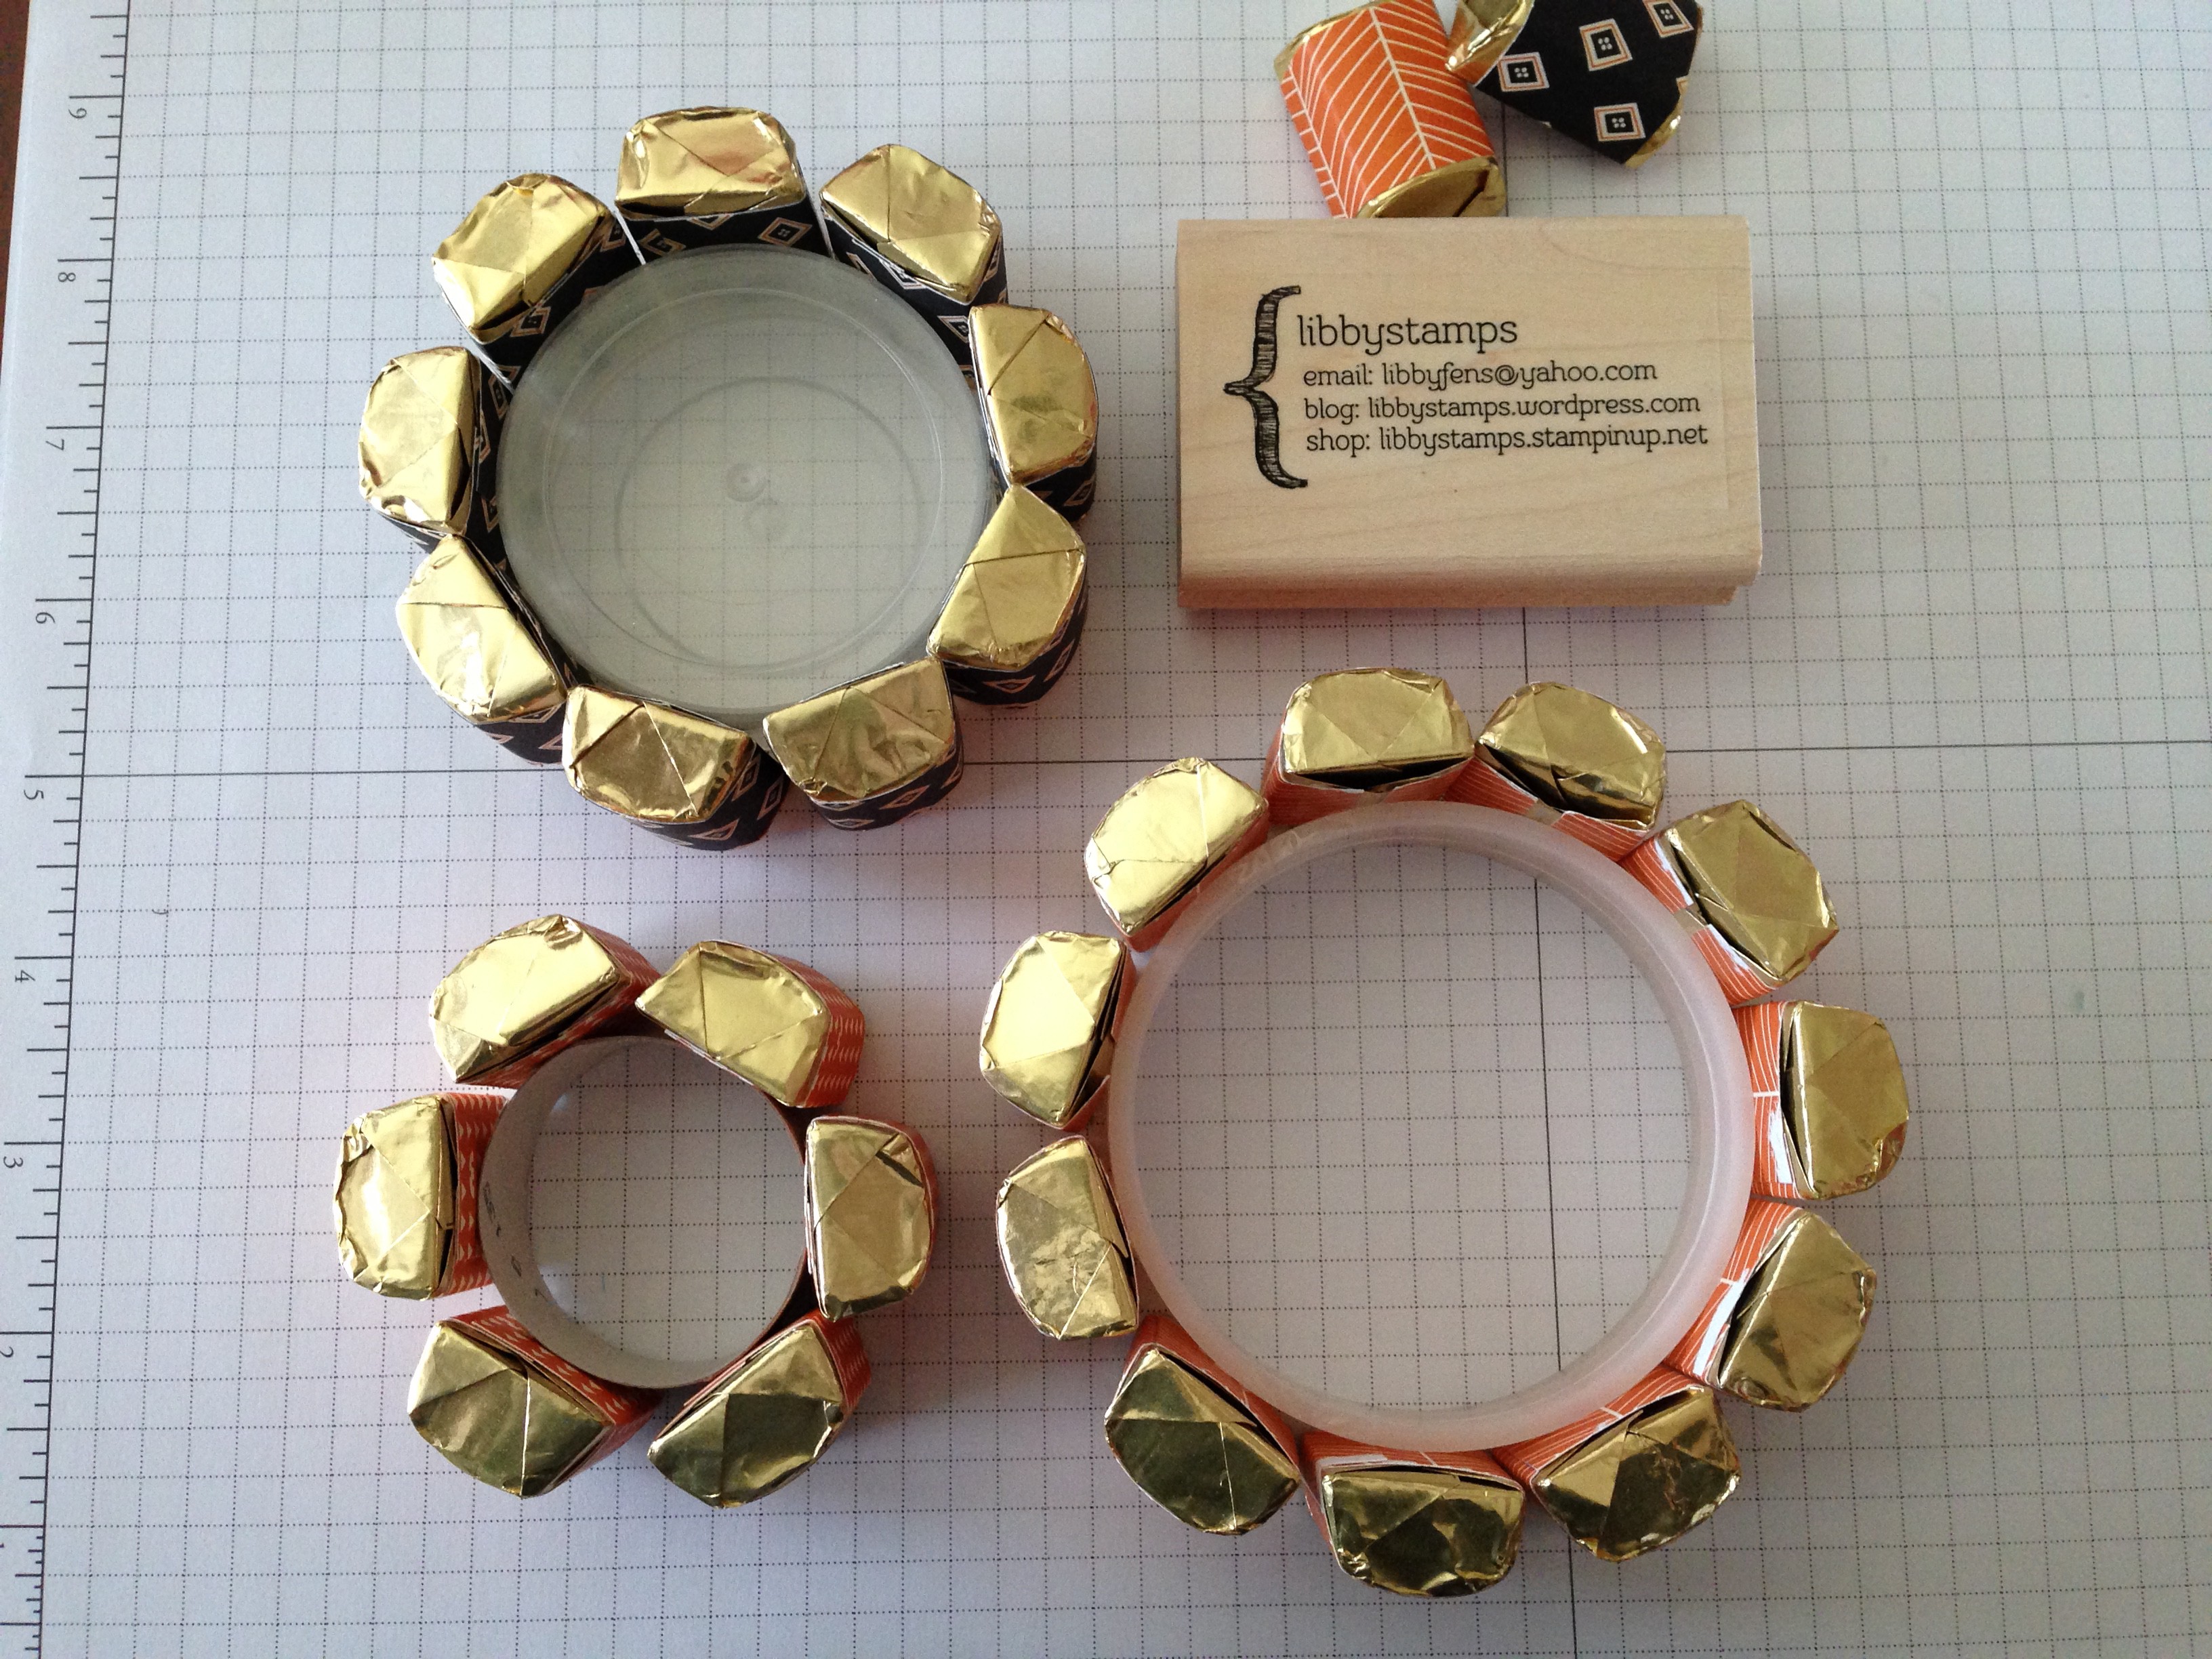
I used 3 stacked, empty Sticky Strip holders, an empty SU button container and a toilet paper tube cut to one inch. You can cover them in the same DSP as that layer or card stock. They really will not be seen, but just in case there is a unfilled space that shows. I did not cover mine, either time.
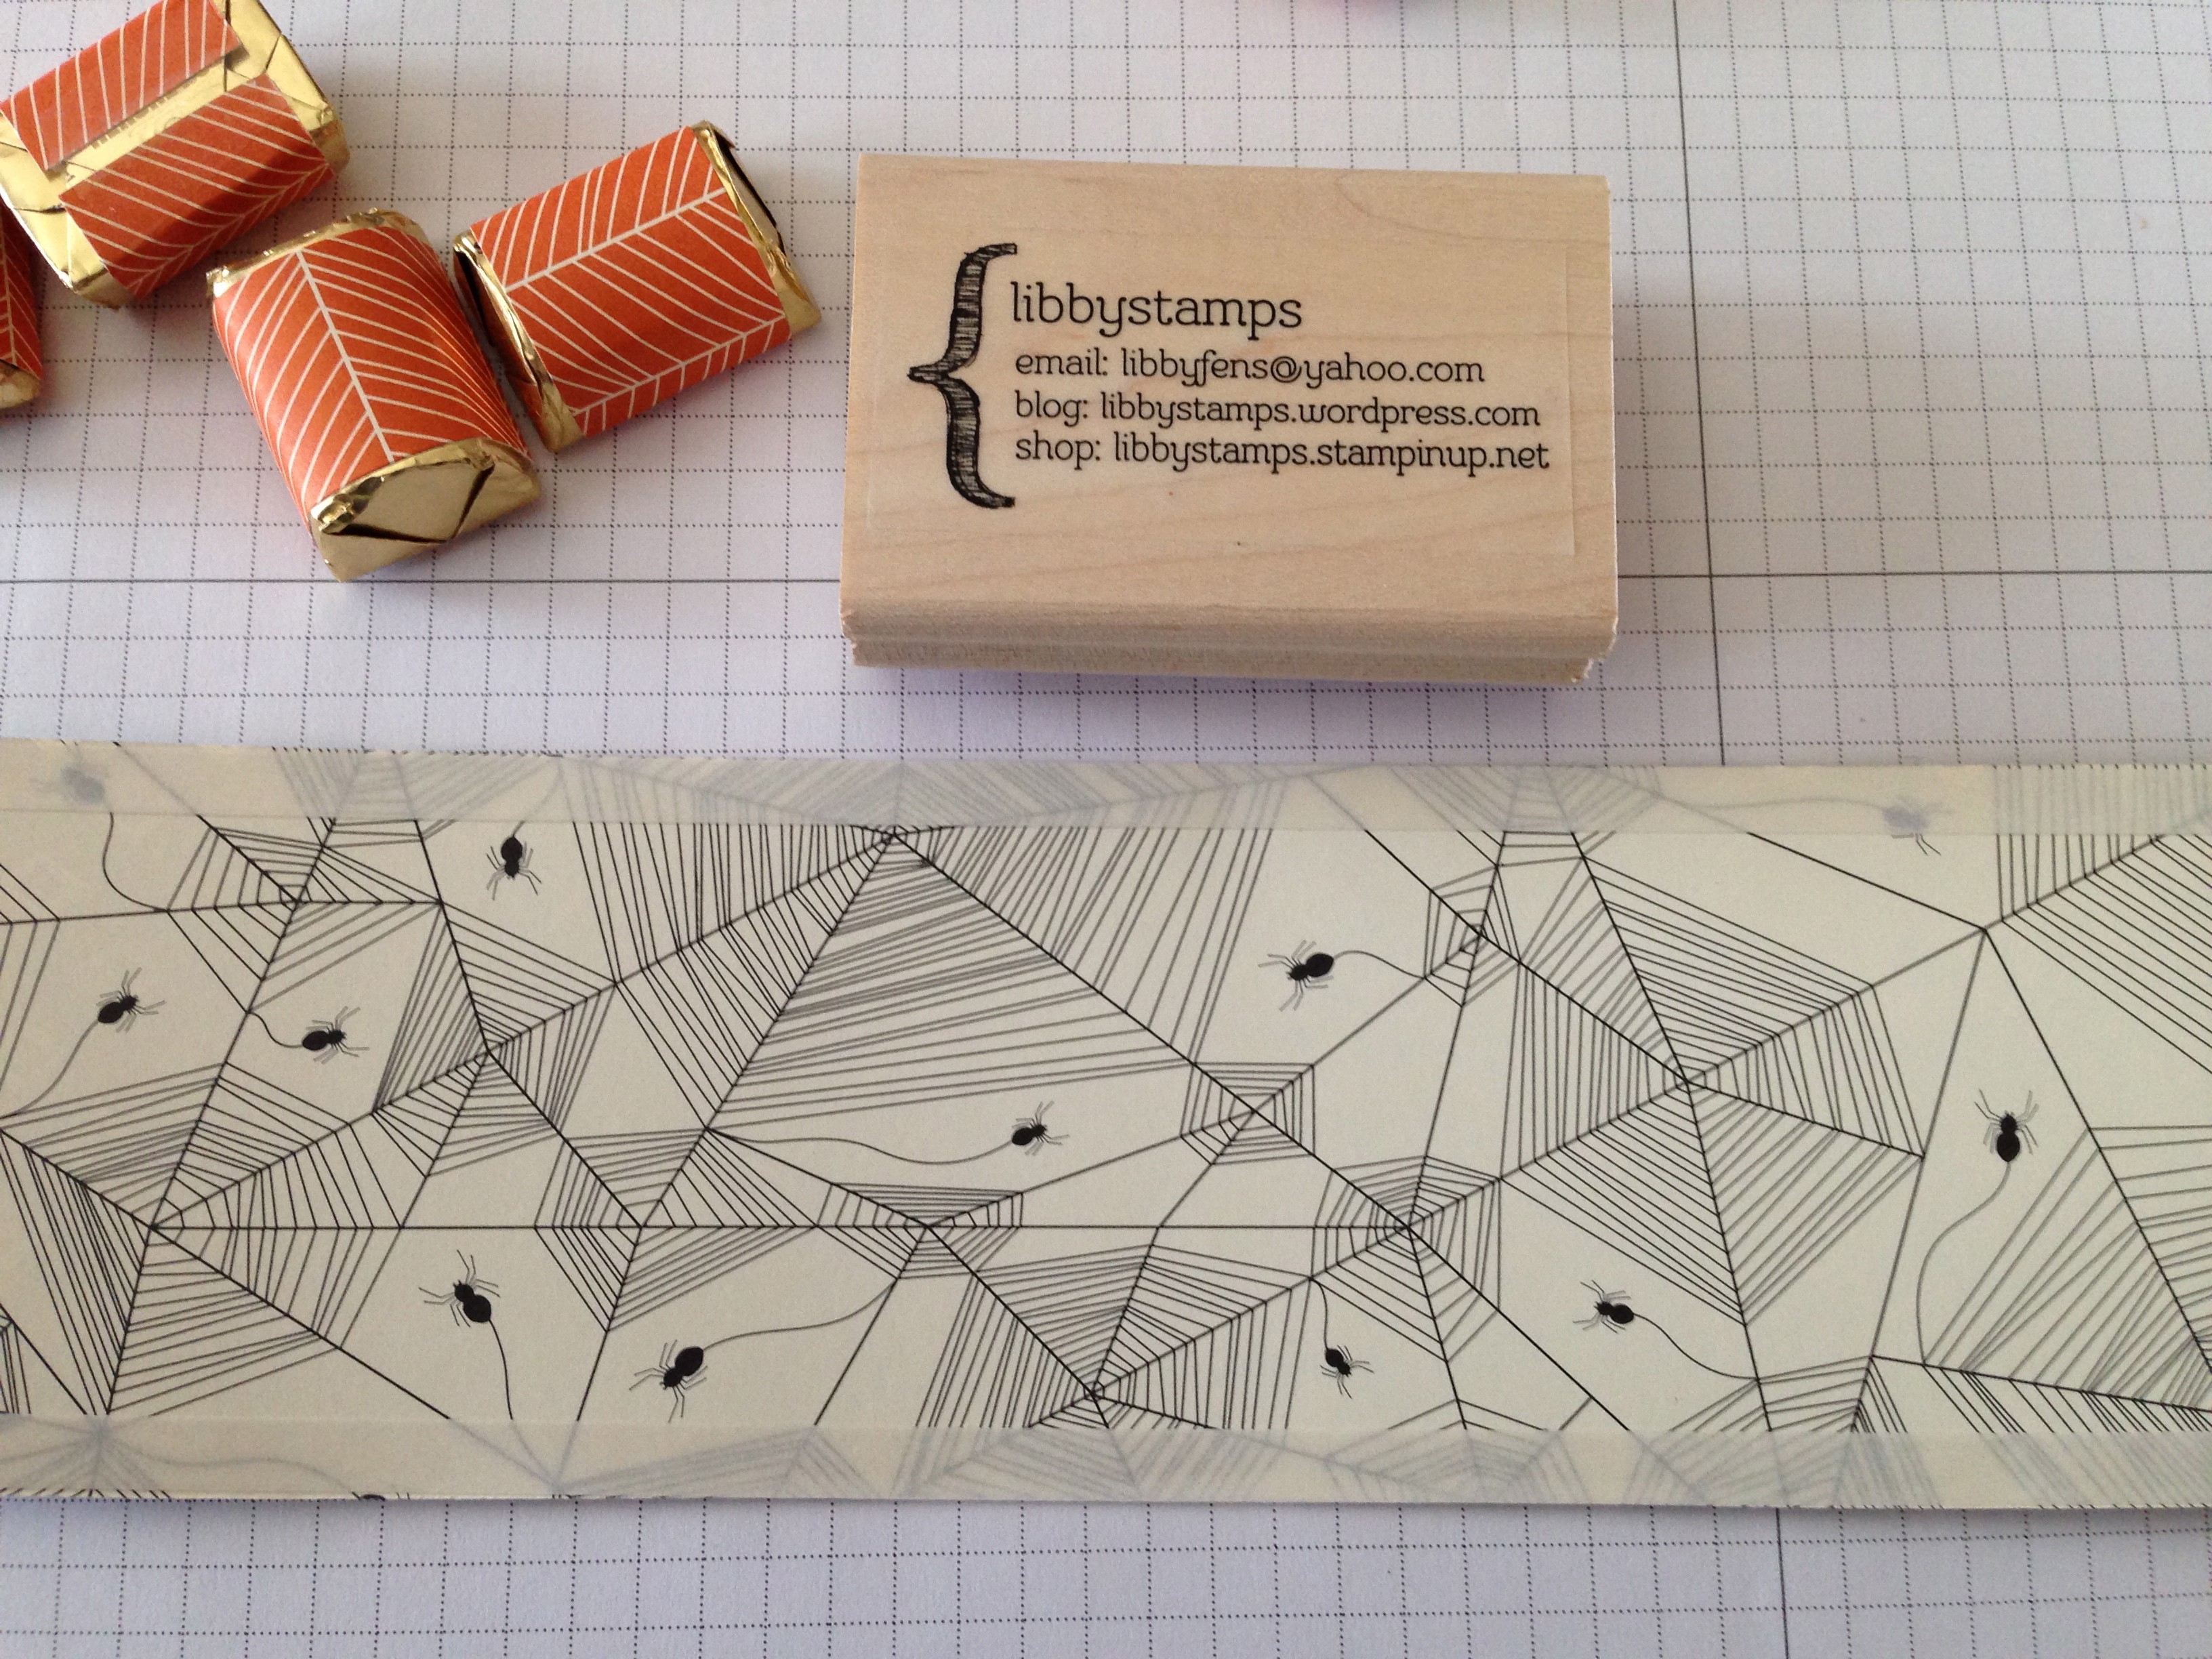
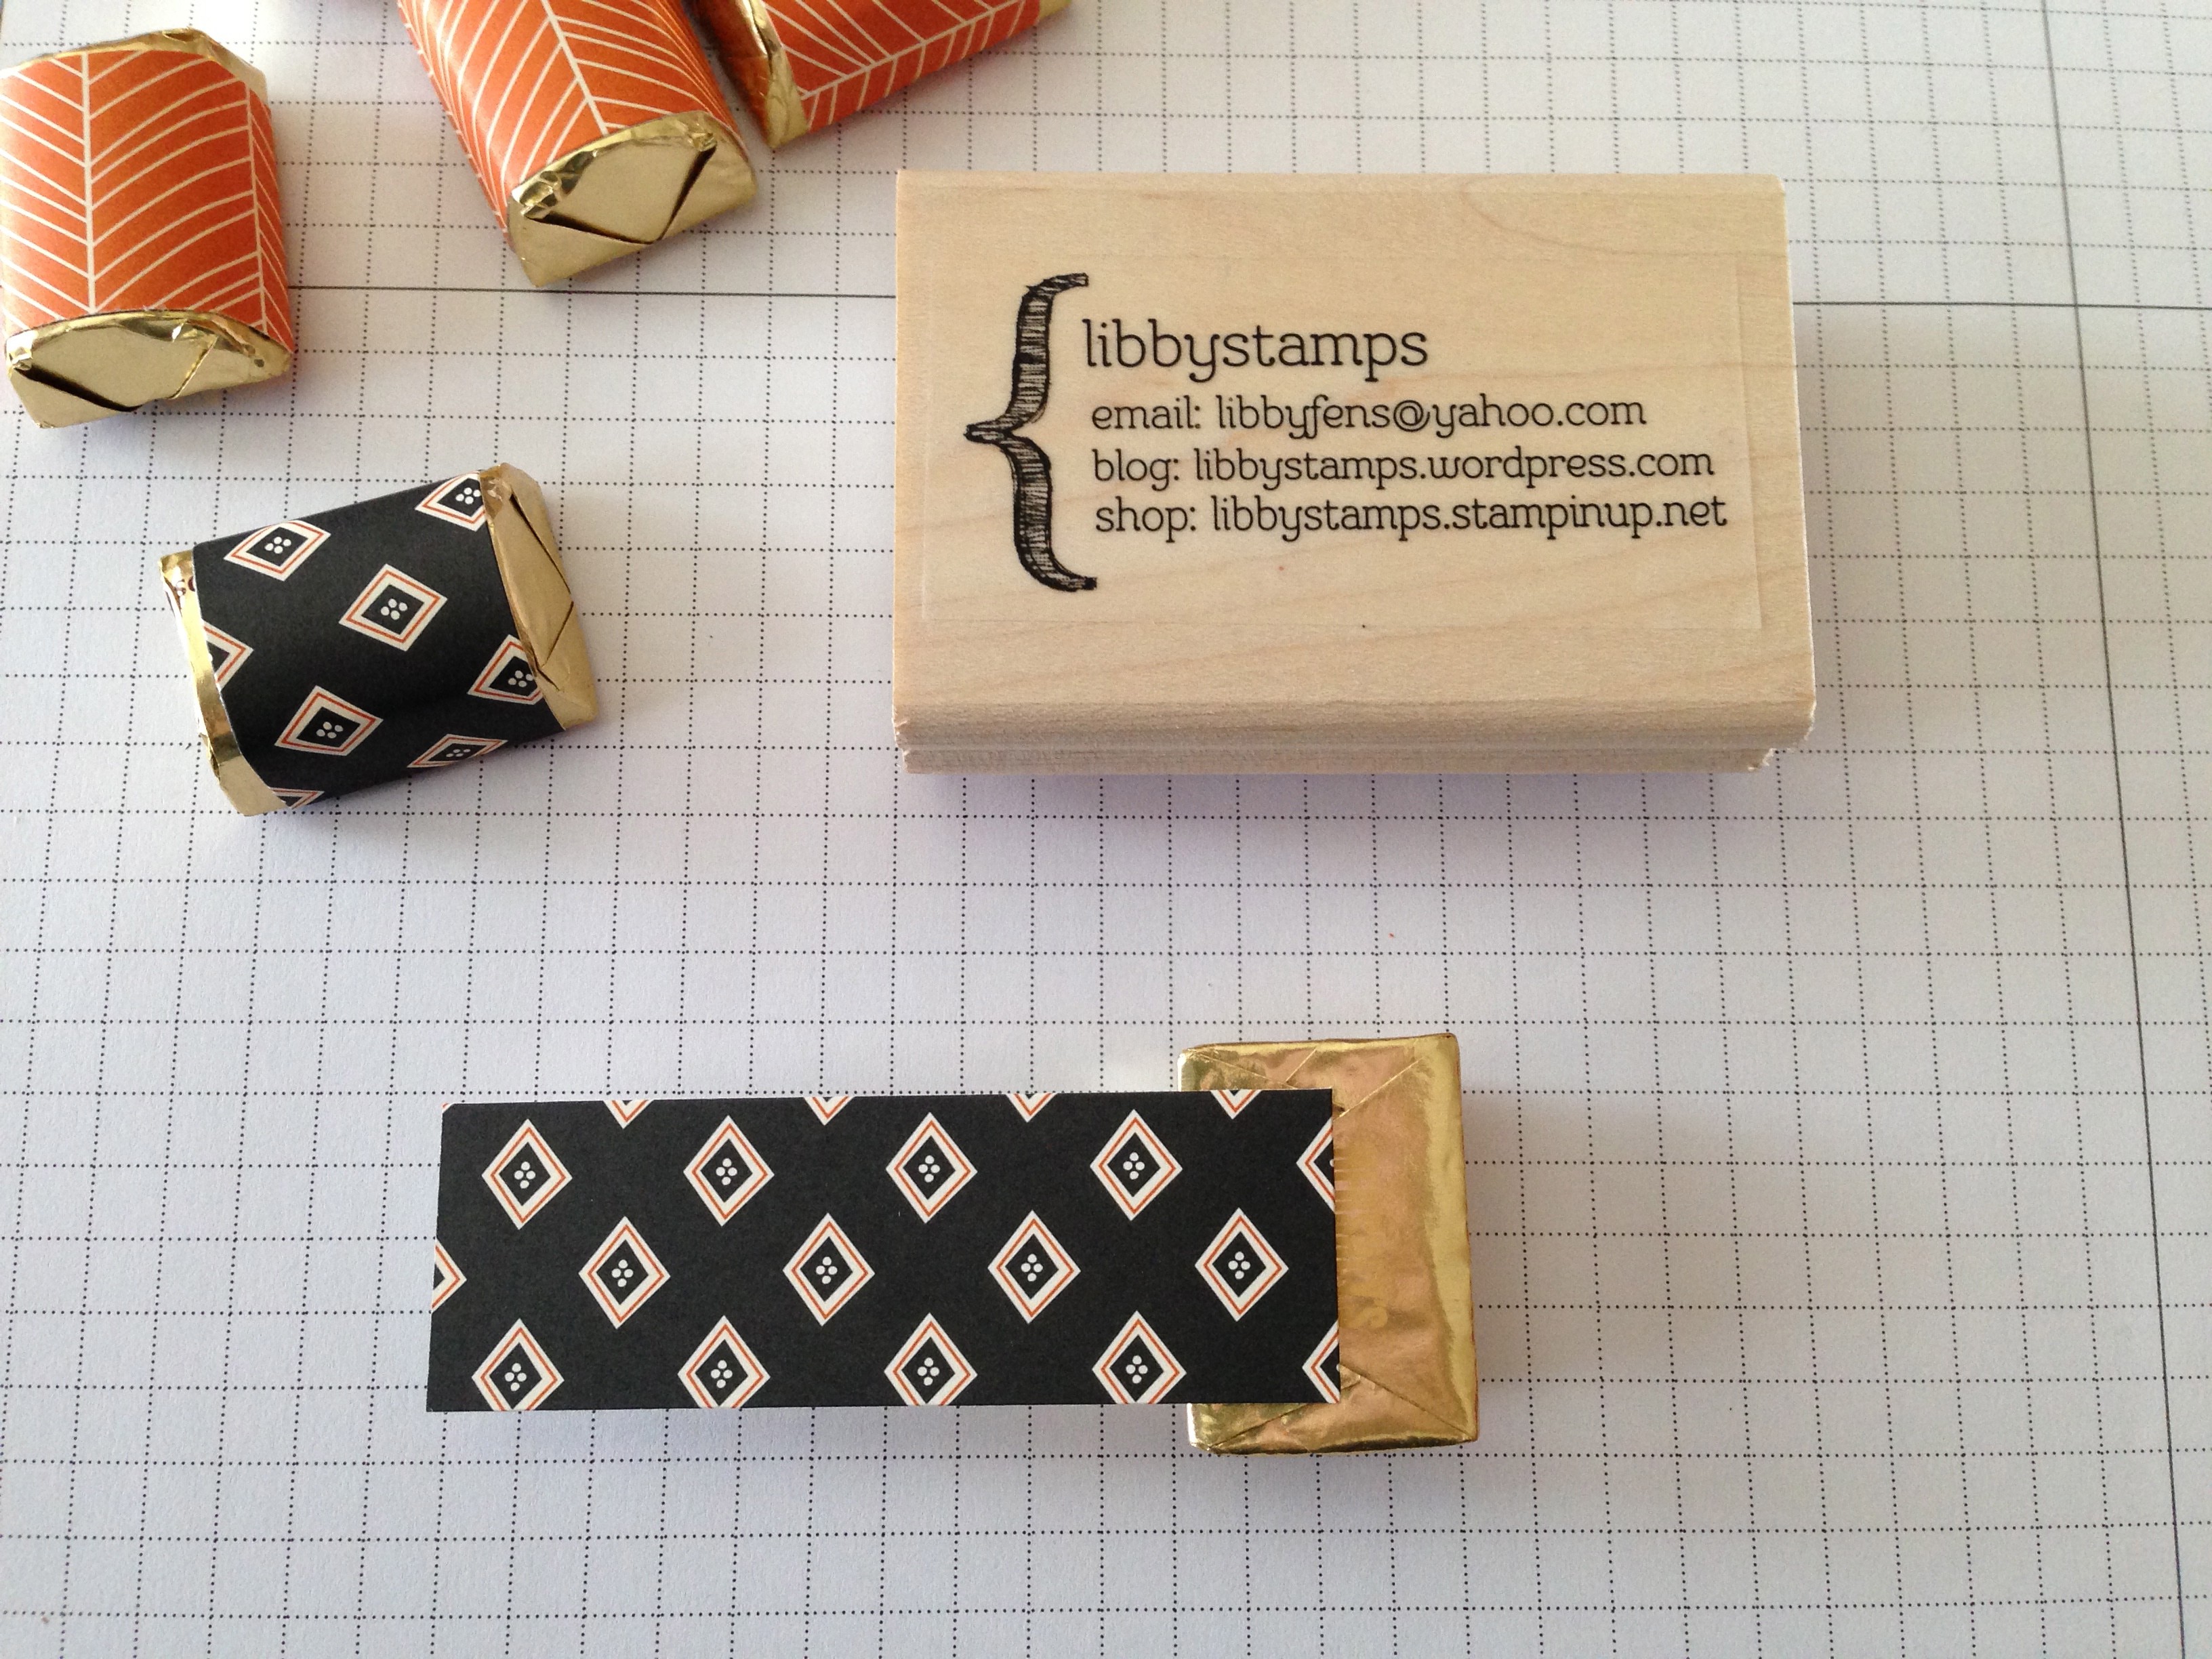
To cover the nuggets, use a 1×3 piece of DSP per nugget.
For mine, it took 6 nuggets for the top, 9 for the middle layer, and 11 for the base. It really depends on the diameter of the lid or circle you are adhering to.
To make it easy, I measured a 3×6 strip for the top nugget coverage. I ran Tear & Tape Adhesive along the top and bottom before making my 1×3 cuts. This stuff does not stick to the trimmer – beautiful!
I covered the nuggets like this –
You want to go opposite the flap opening. This way, you don’t pull open the chocolate as you wrap it. The DSP will crease or score nicely to stay wrapped around the nugget.
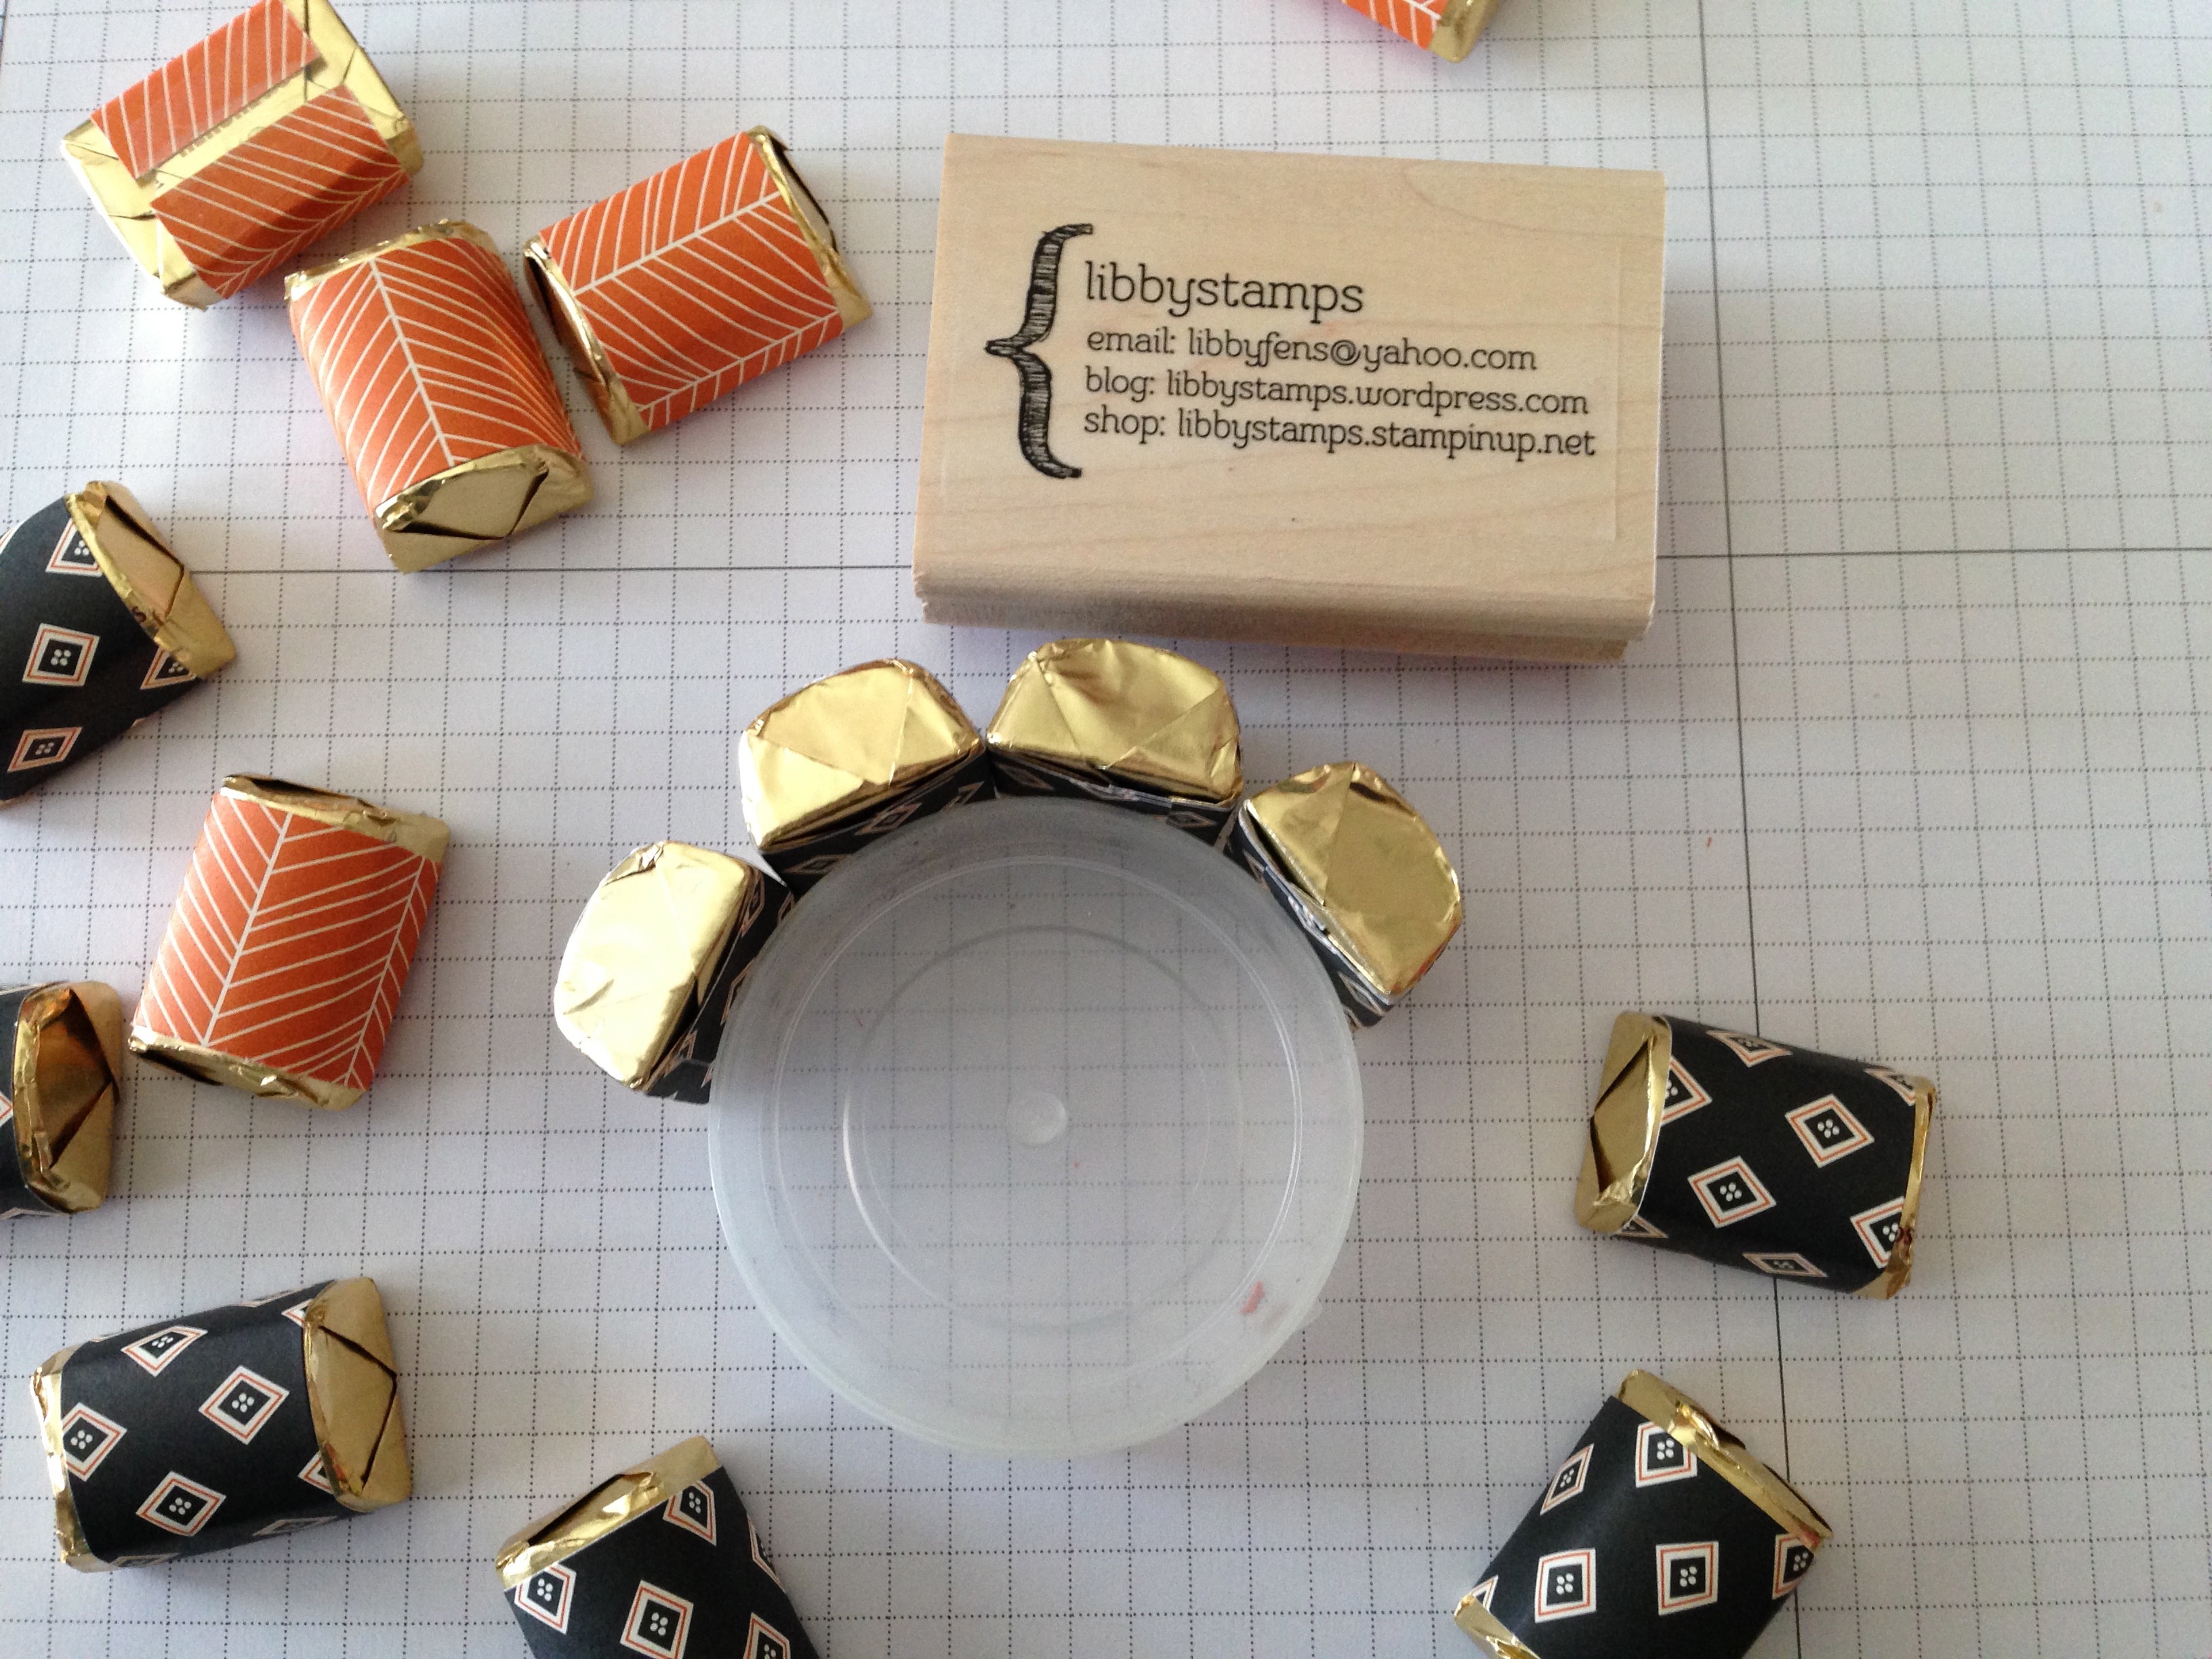
Once I wrapped the nuggets for the certain layer, I ran Tear & Tape around the circle base, 2 strips next to each other. The I pulled off the liner and adhered the nuggets. Make sure if you are using patterned paper, the patterns are going correctly.
Picture shown is the middle layer where I used an empty button container.
They stand up nice next to each other. Put them close together.
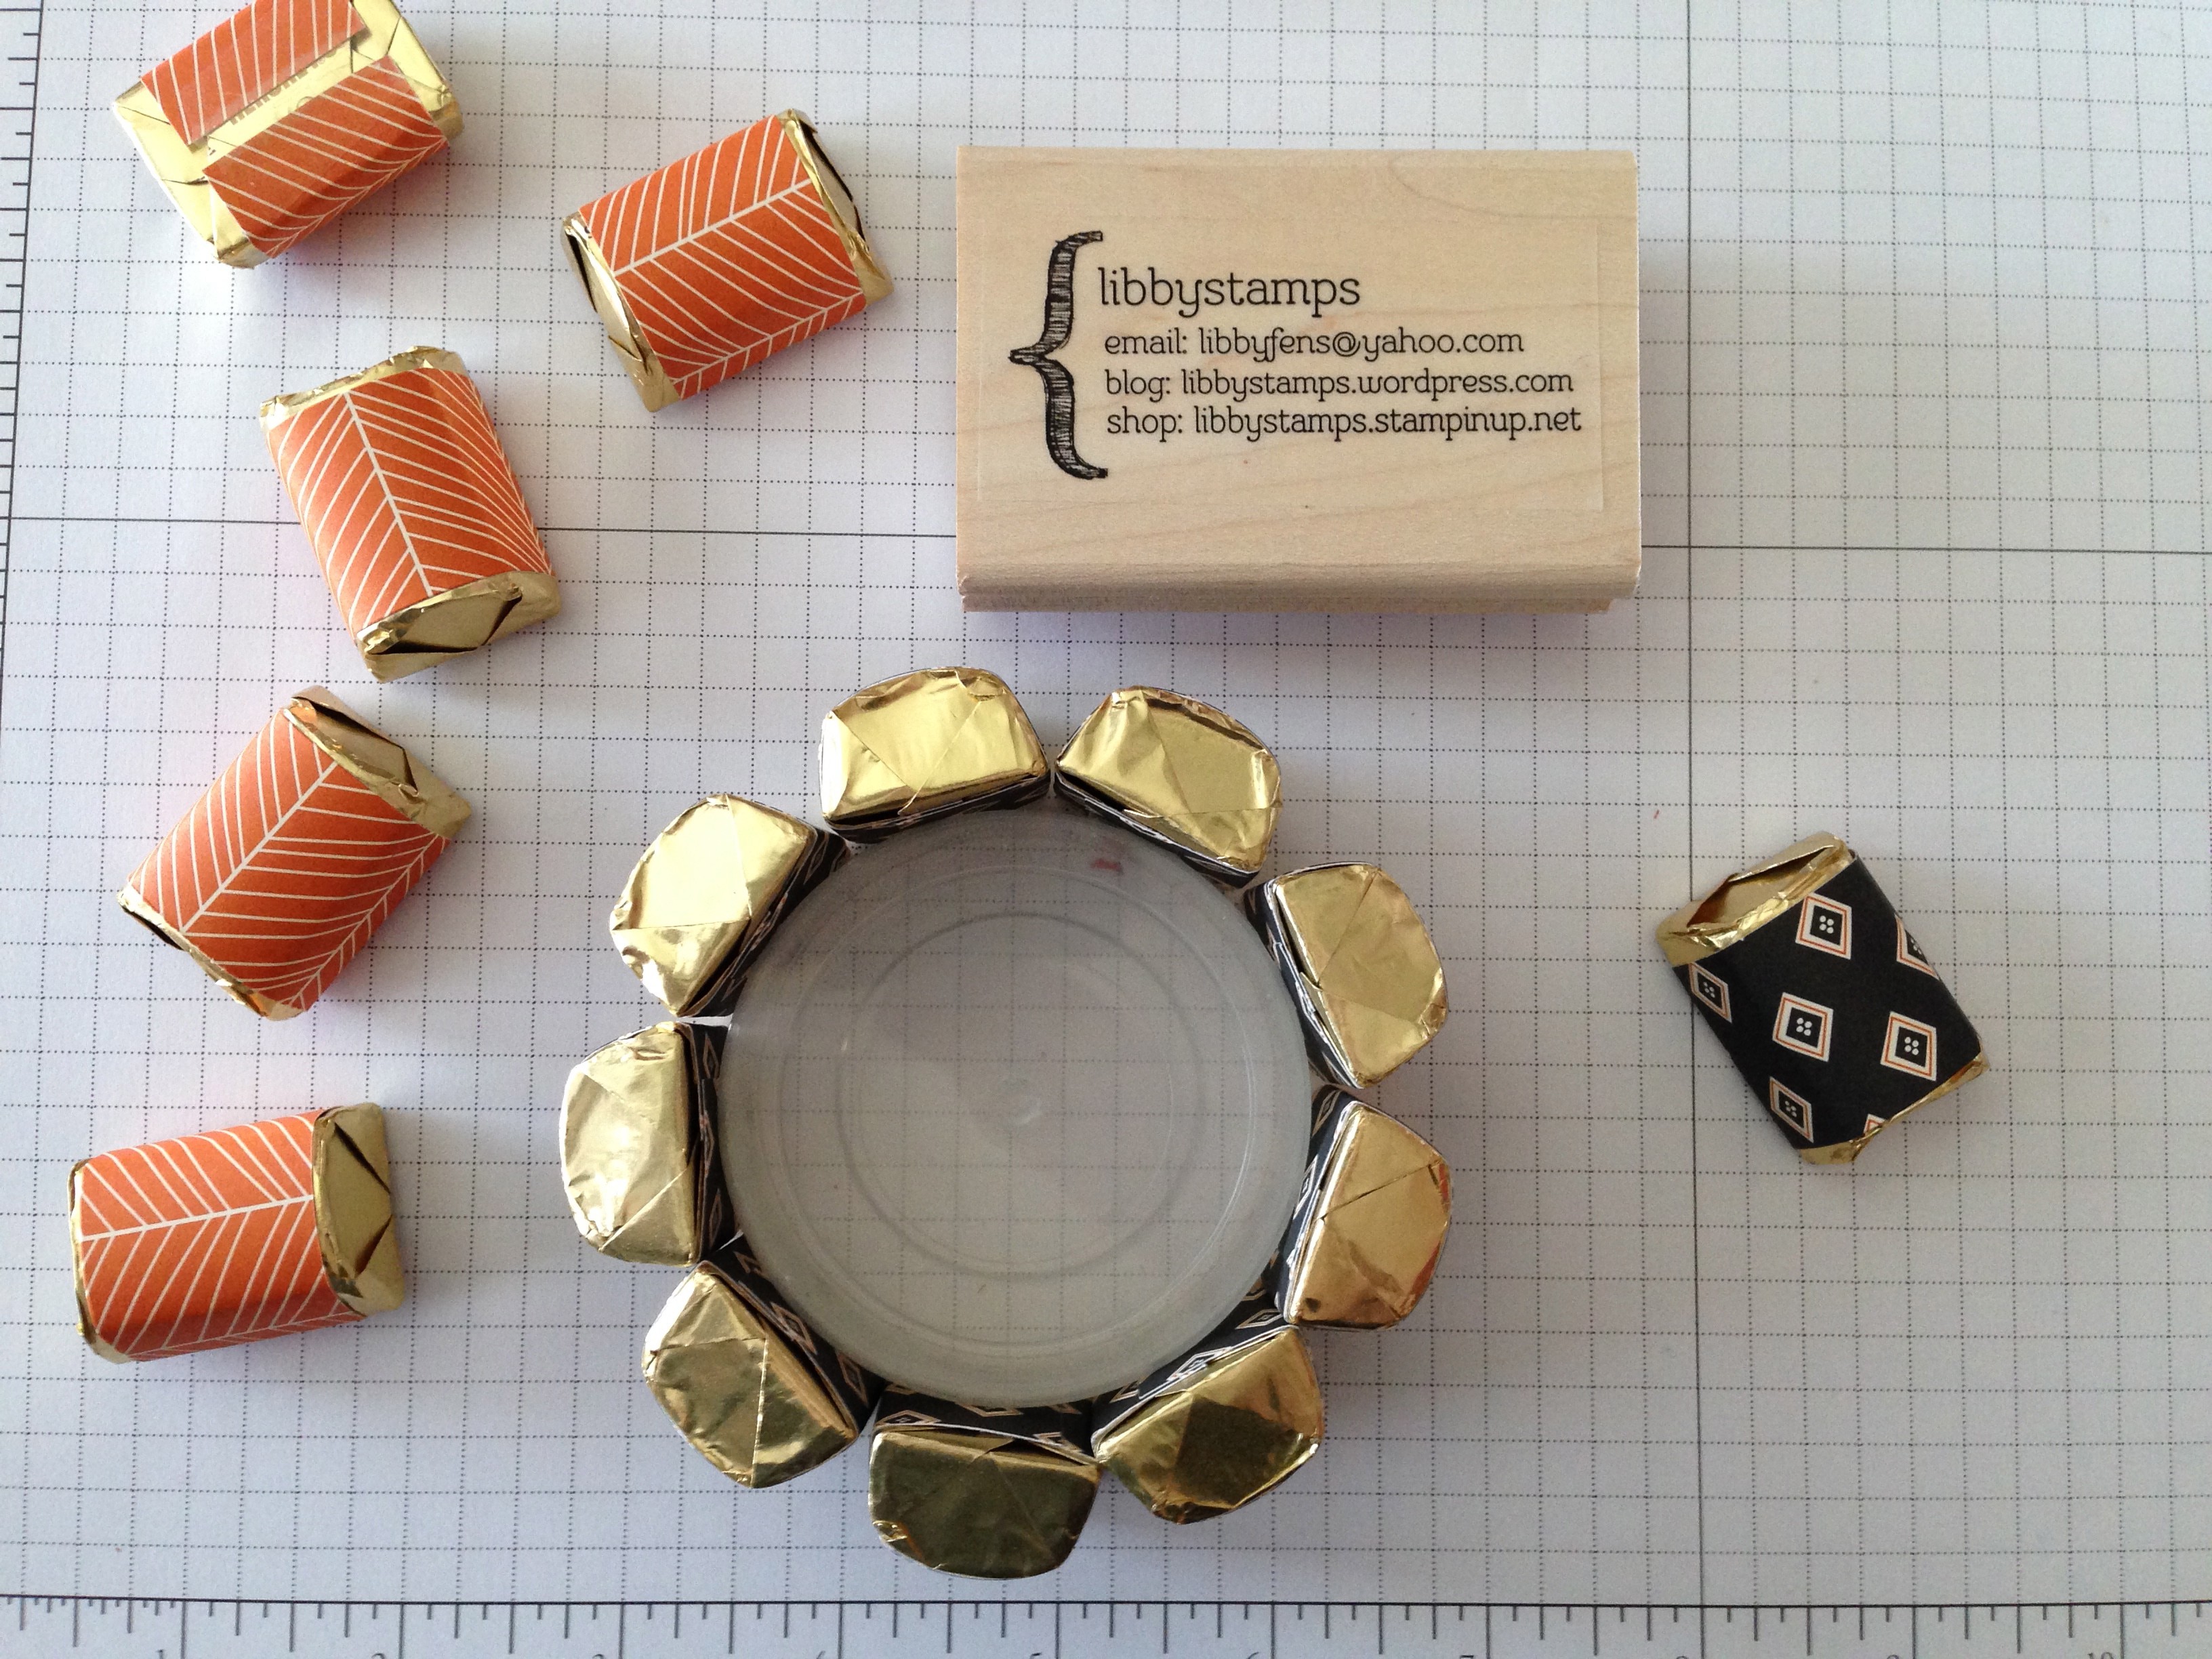
Button container completed. The wrapped nuggets fit nice and even around the container with no gaps.
I went on the do the next layers. My stacked plastic Sticky Strip holders started like this –
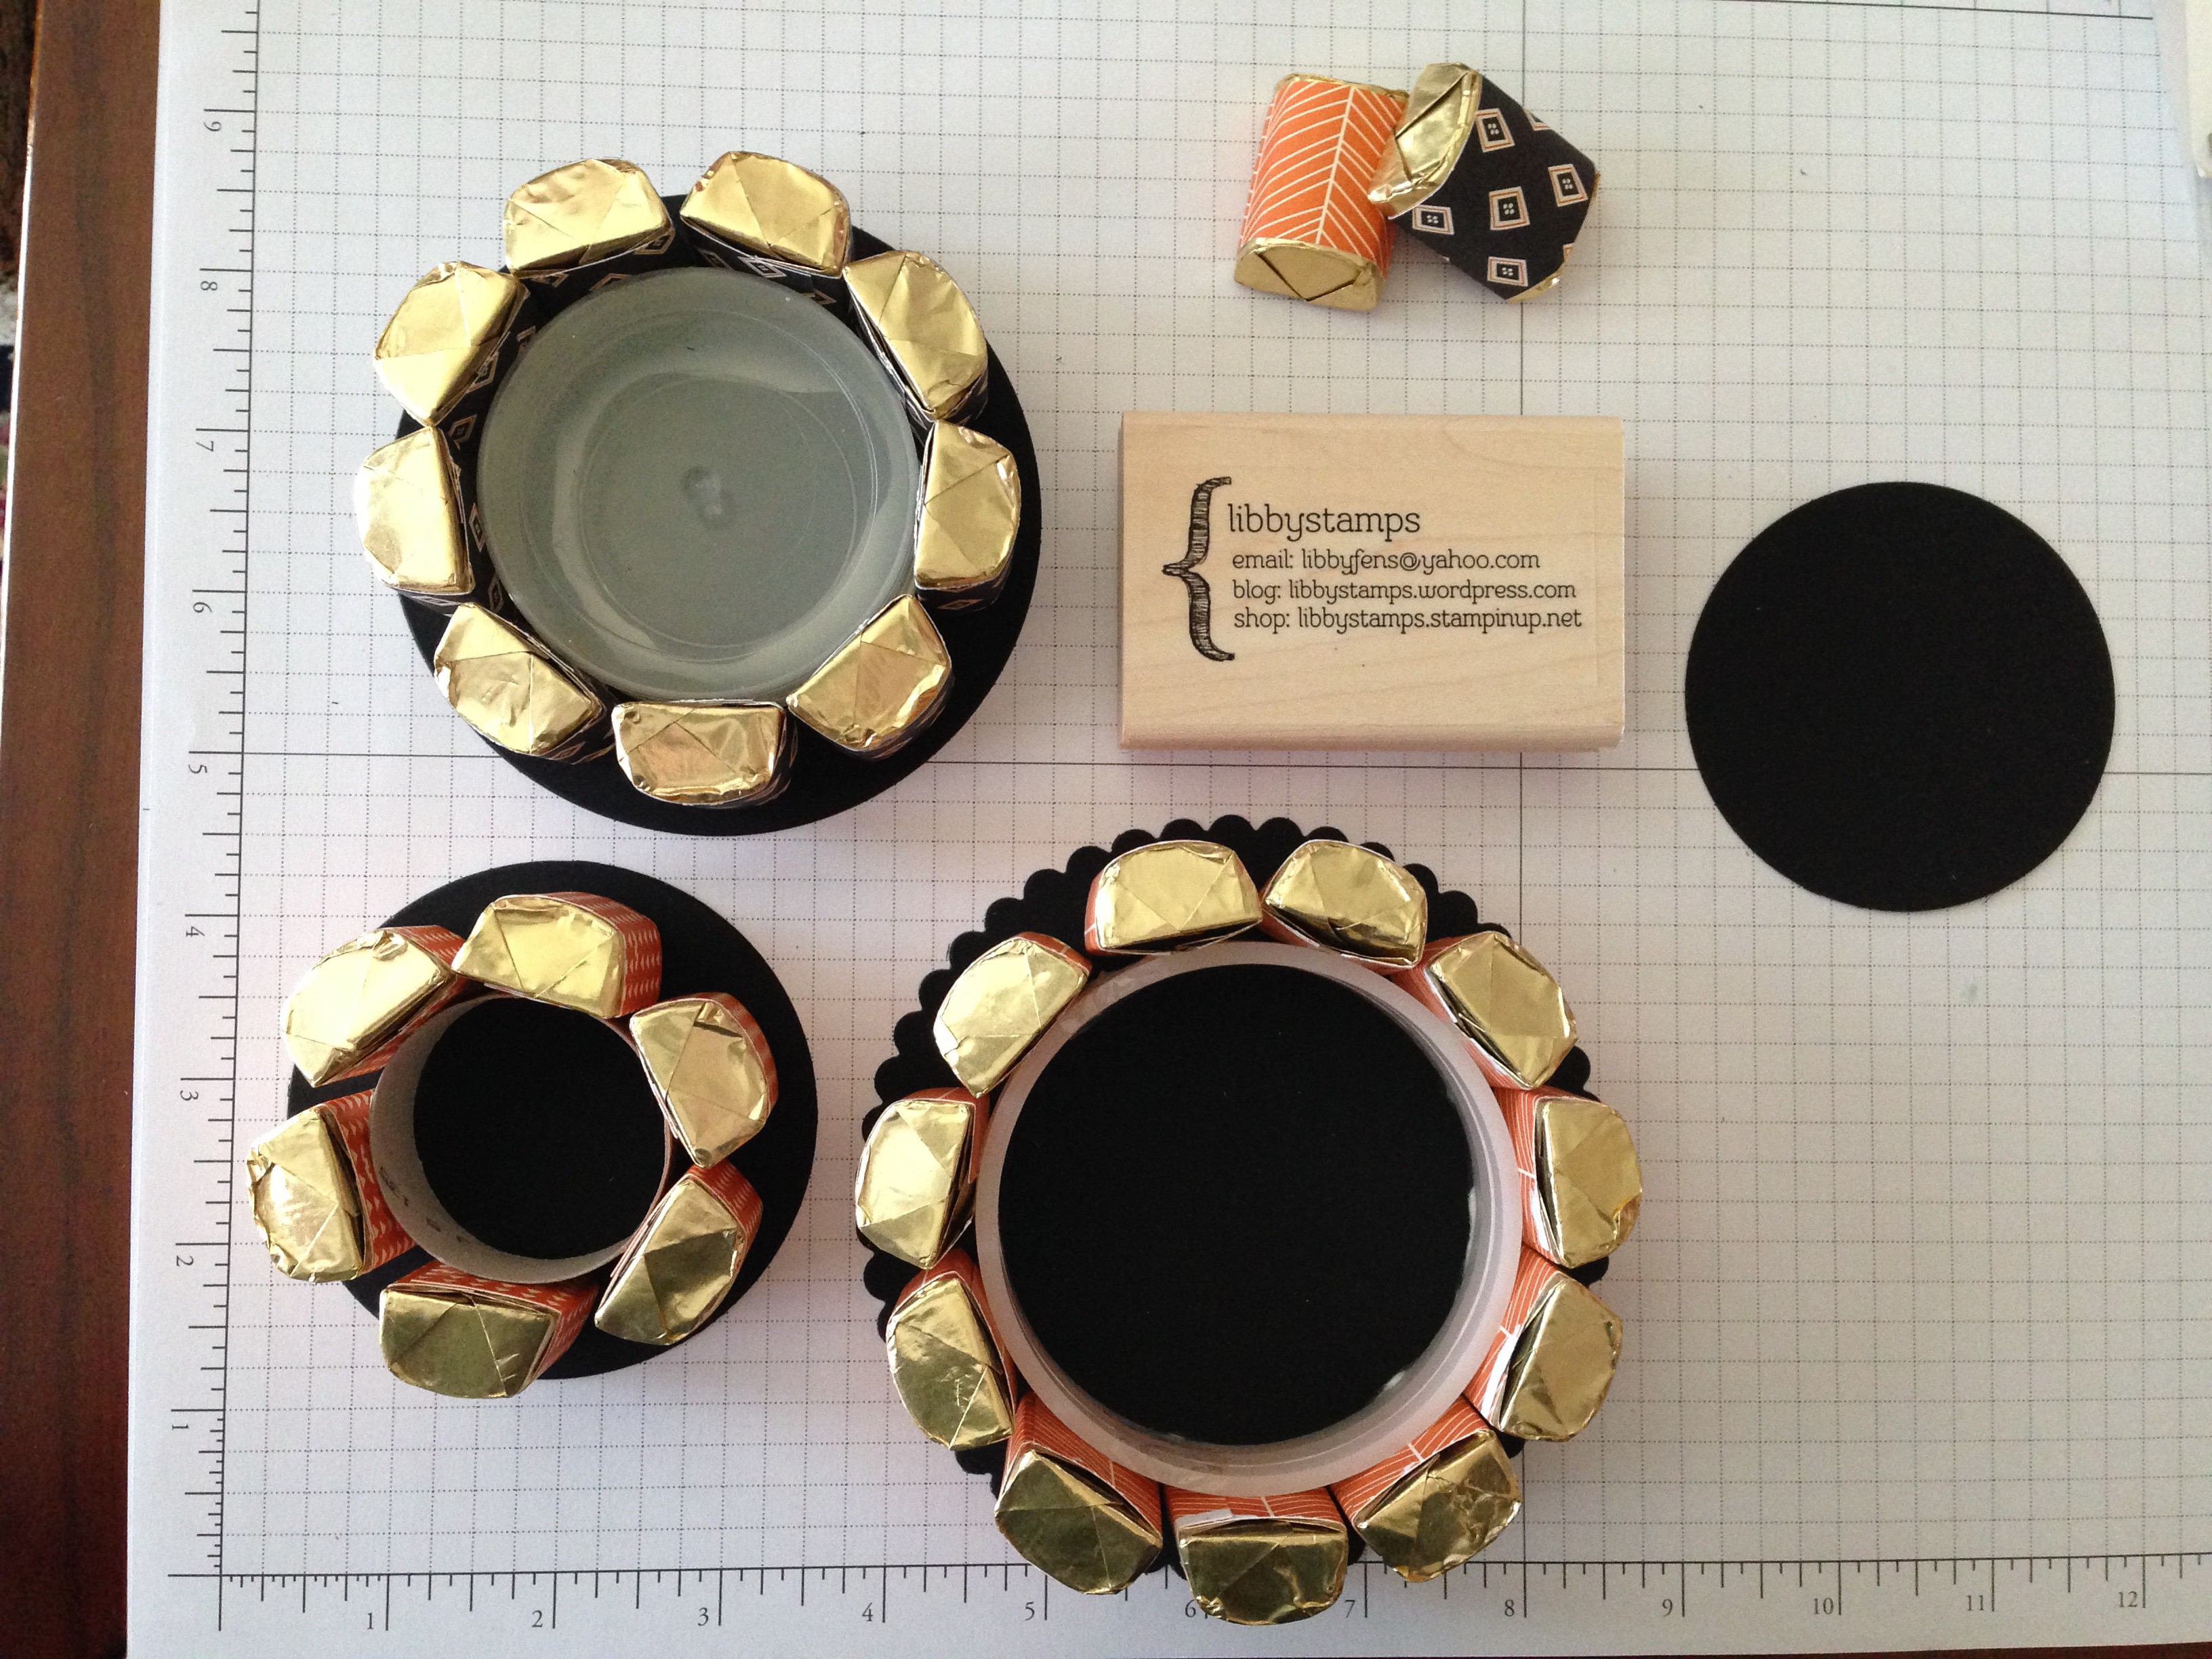
After I finished the three layers, I pulled out my Circles Framelits to see what size went well under each of the layers. I used the Chalkboard Card Stock here because of the mat finish. You can use whatever you like though.
I wanted each ‘cake’ base to be a little bigger than the ‘cake’ itself.
I used Tombow Liquid to adhere each ‘cake’ to it’s base. Let them completely dry before moving on.
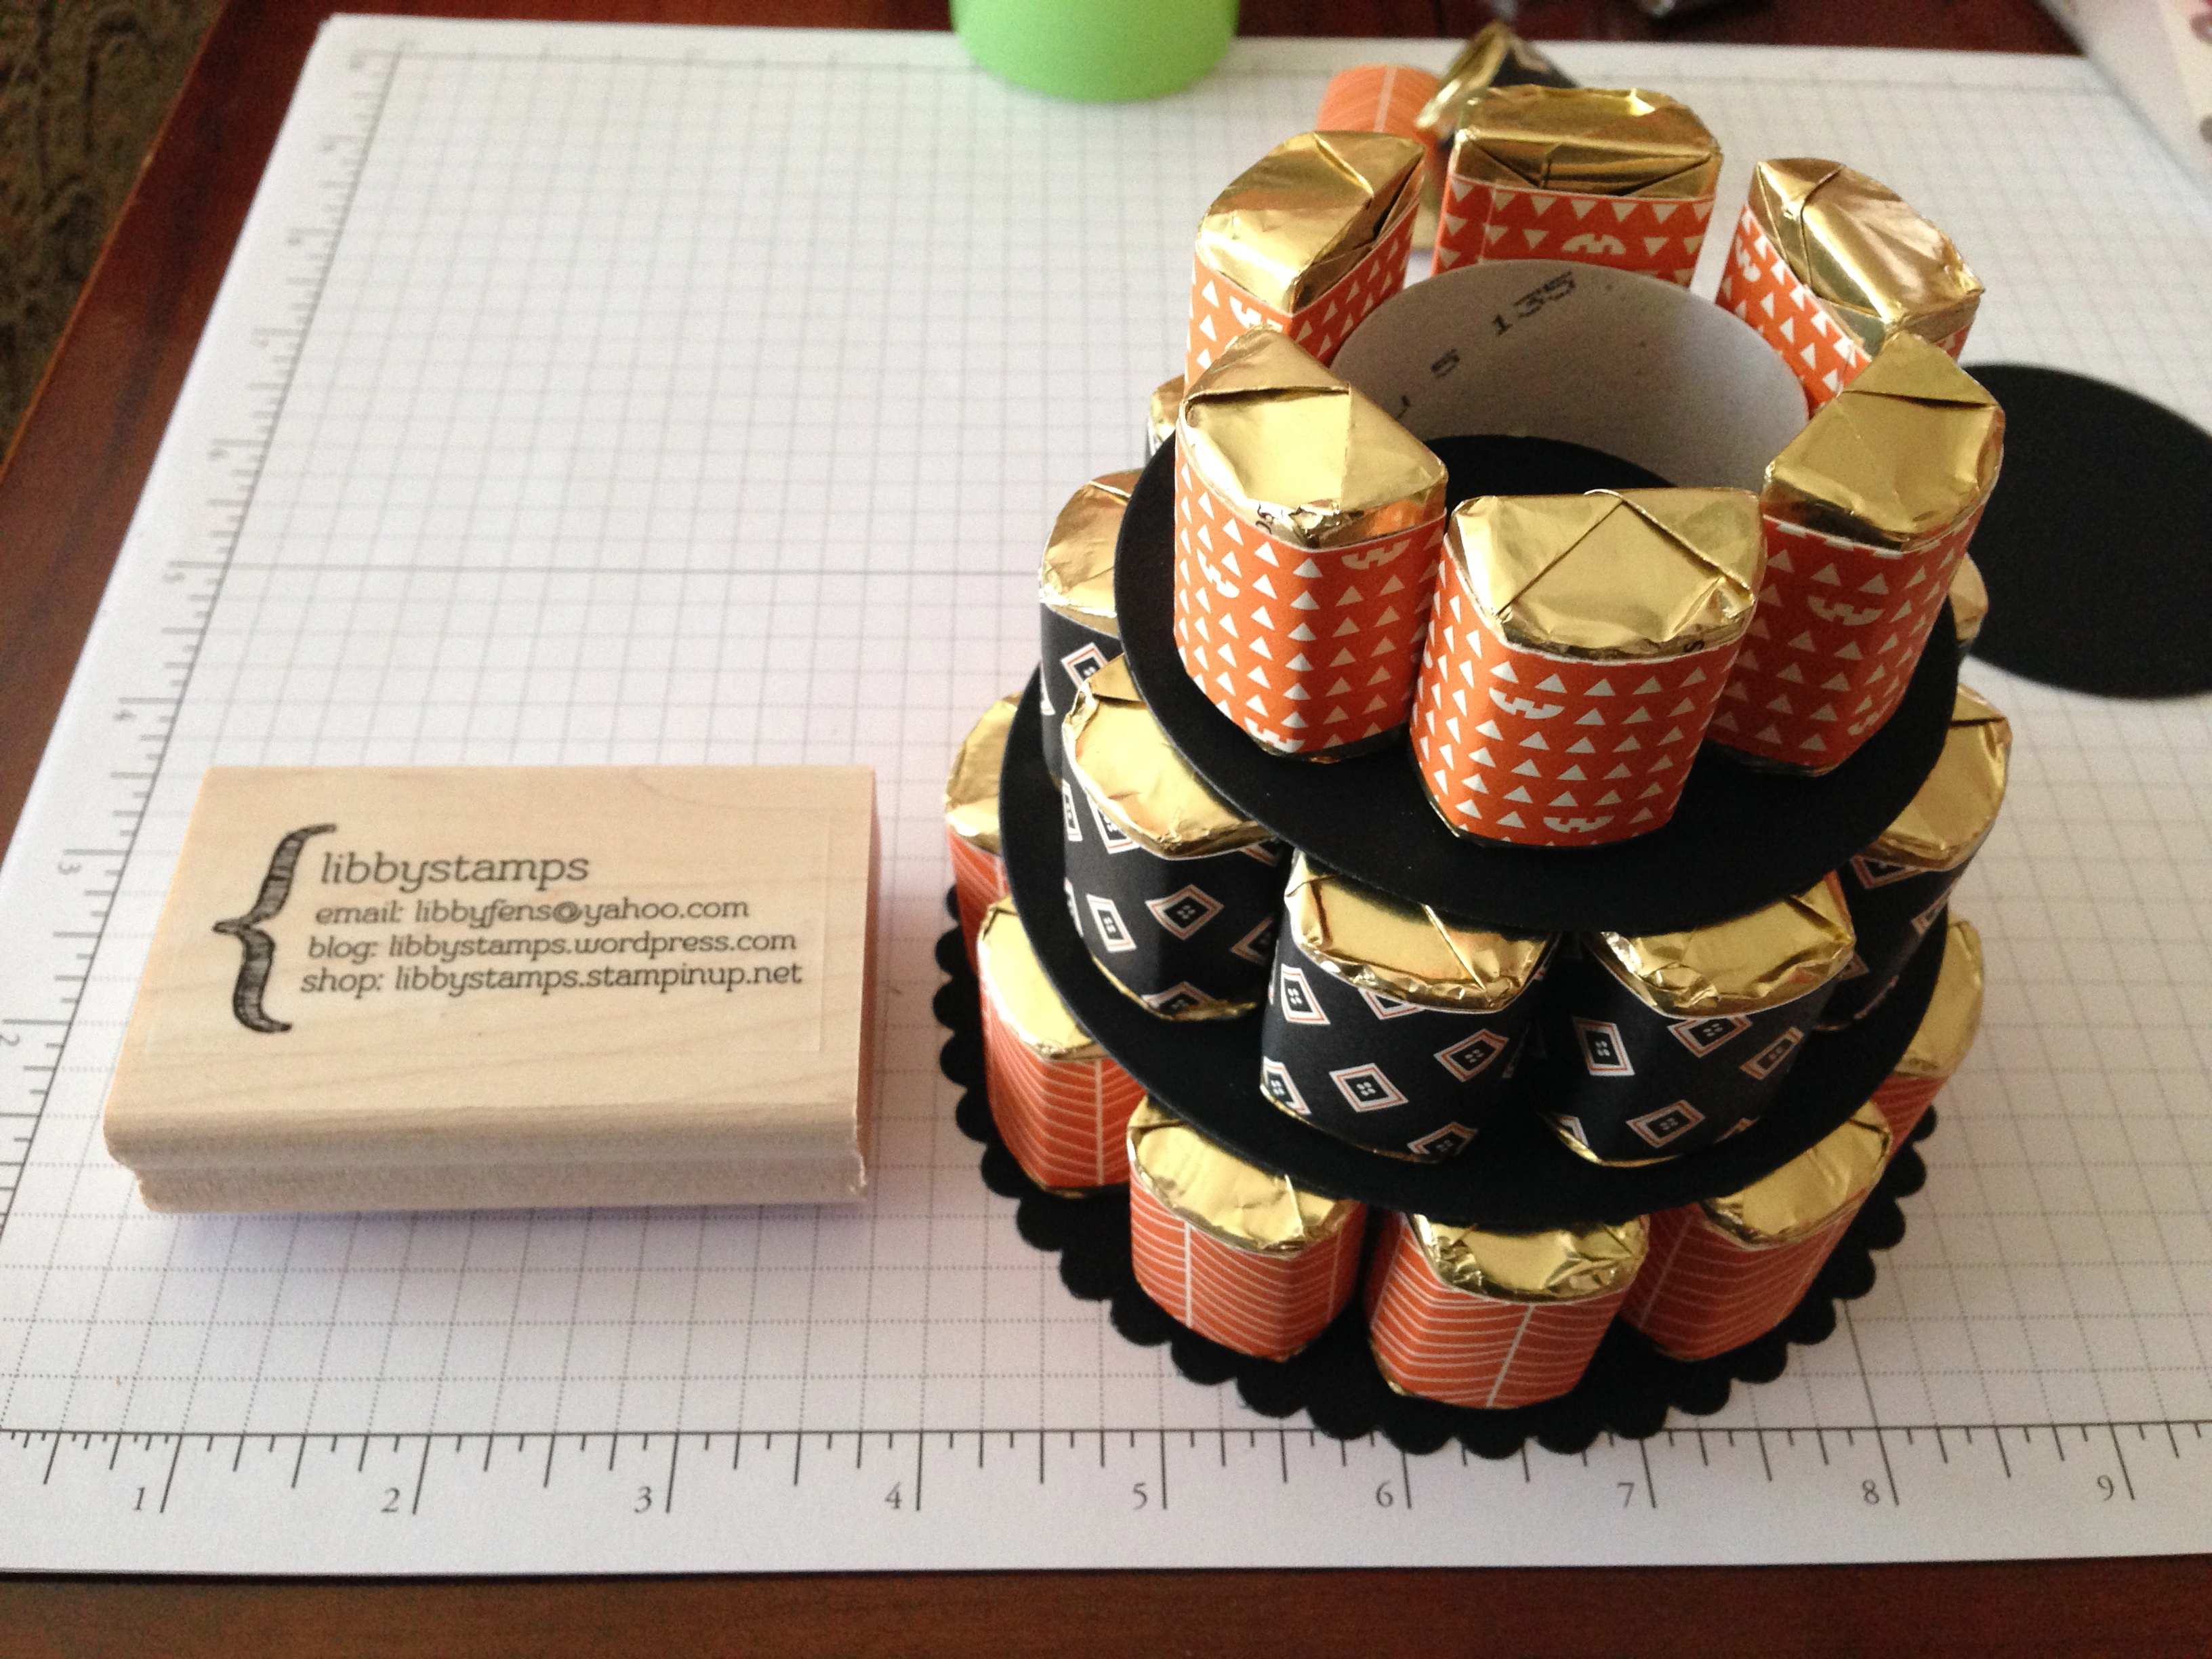
After they are dry, then you can stack the layers.
I added Tombow again like this for each layer. This is the higher point that touches the next layer.
Stack, and let set to dry before adding the next layer again. The layers are a bit heavy and can slide around and dry crooked if you rush this.
I added the top and left it to dry.
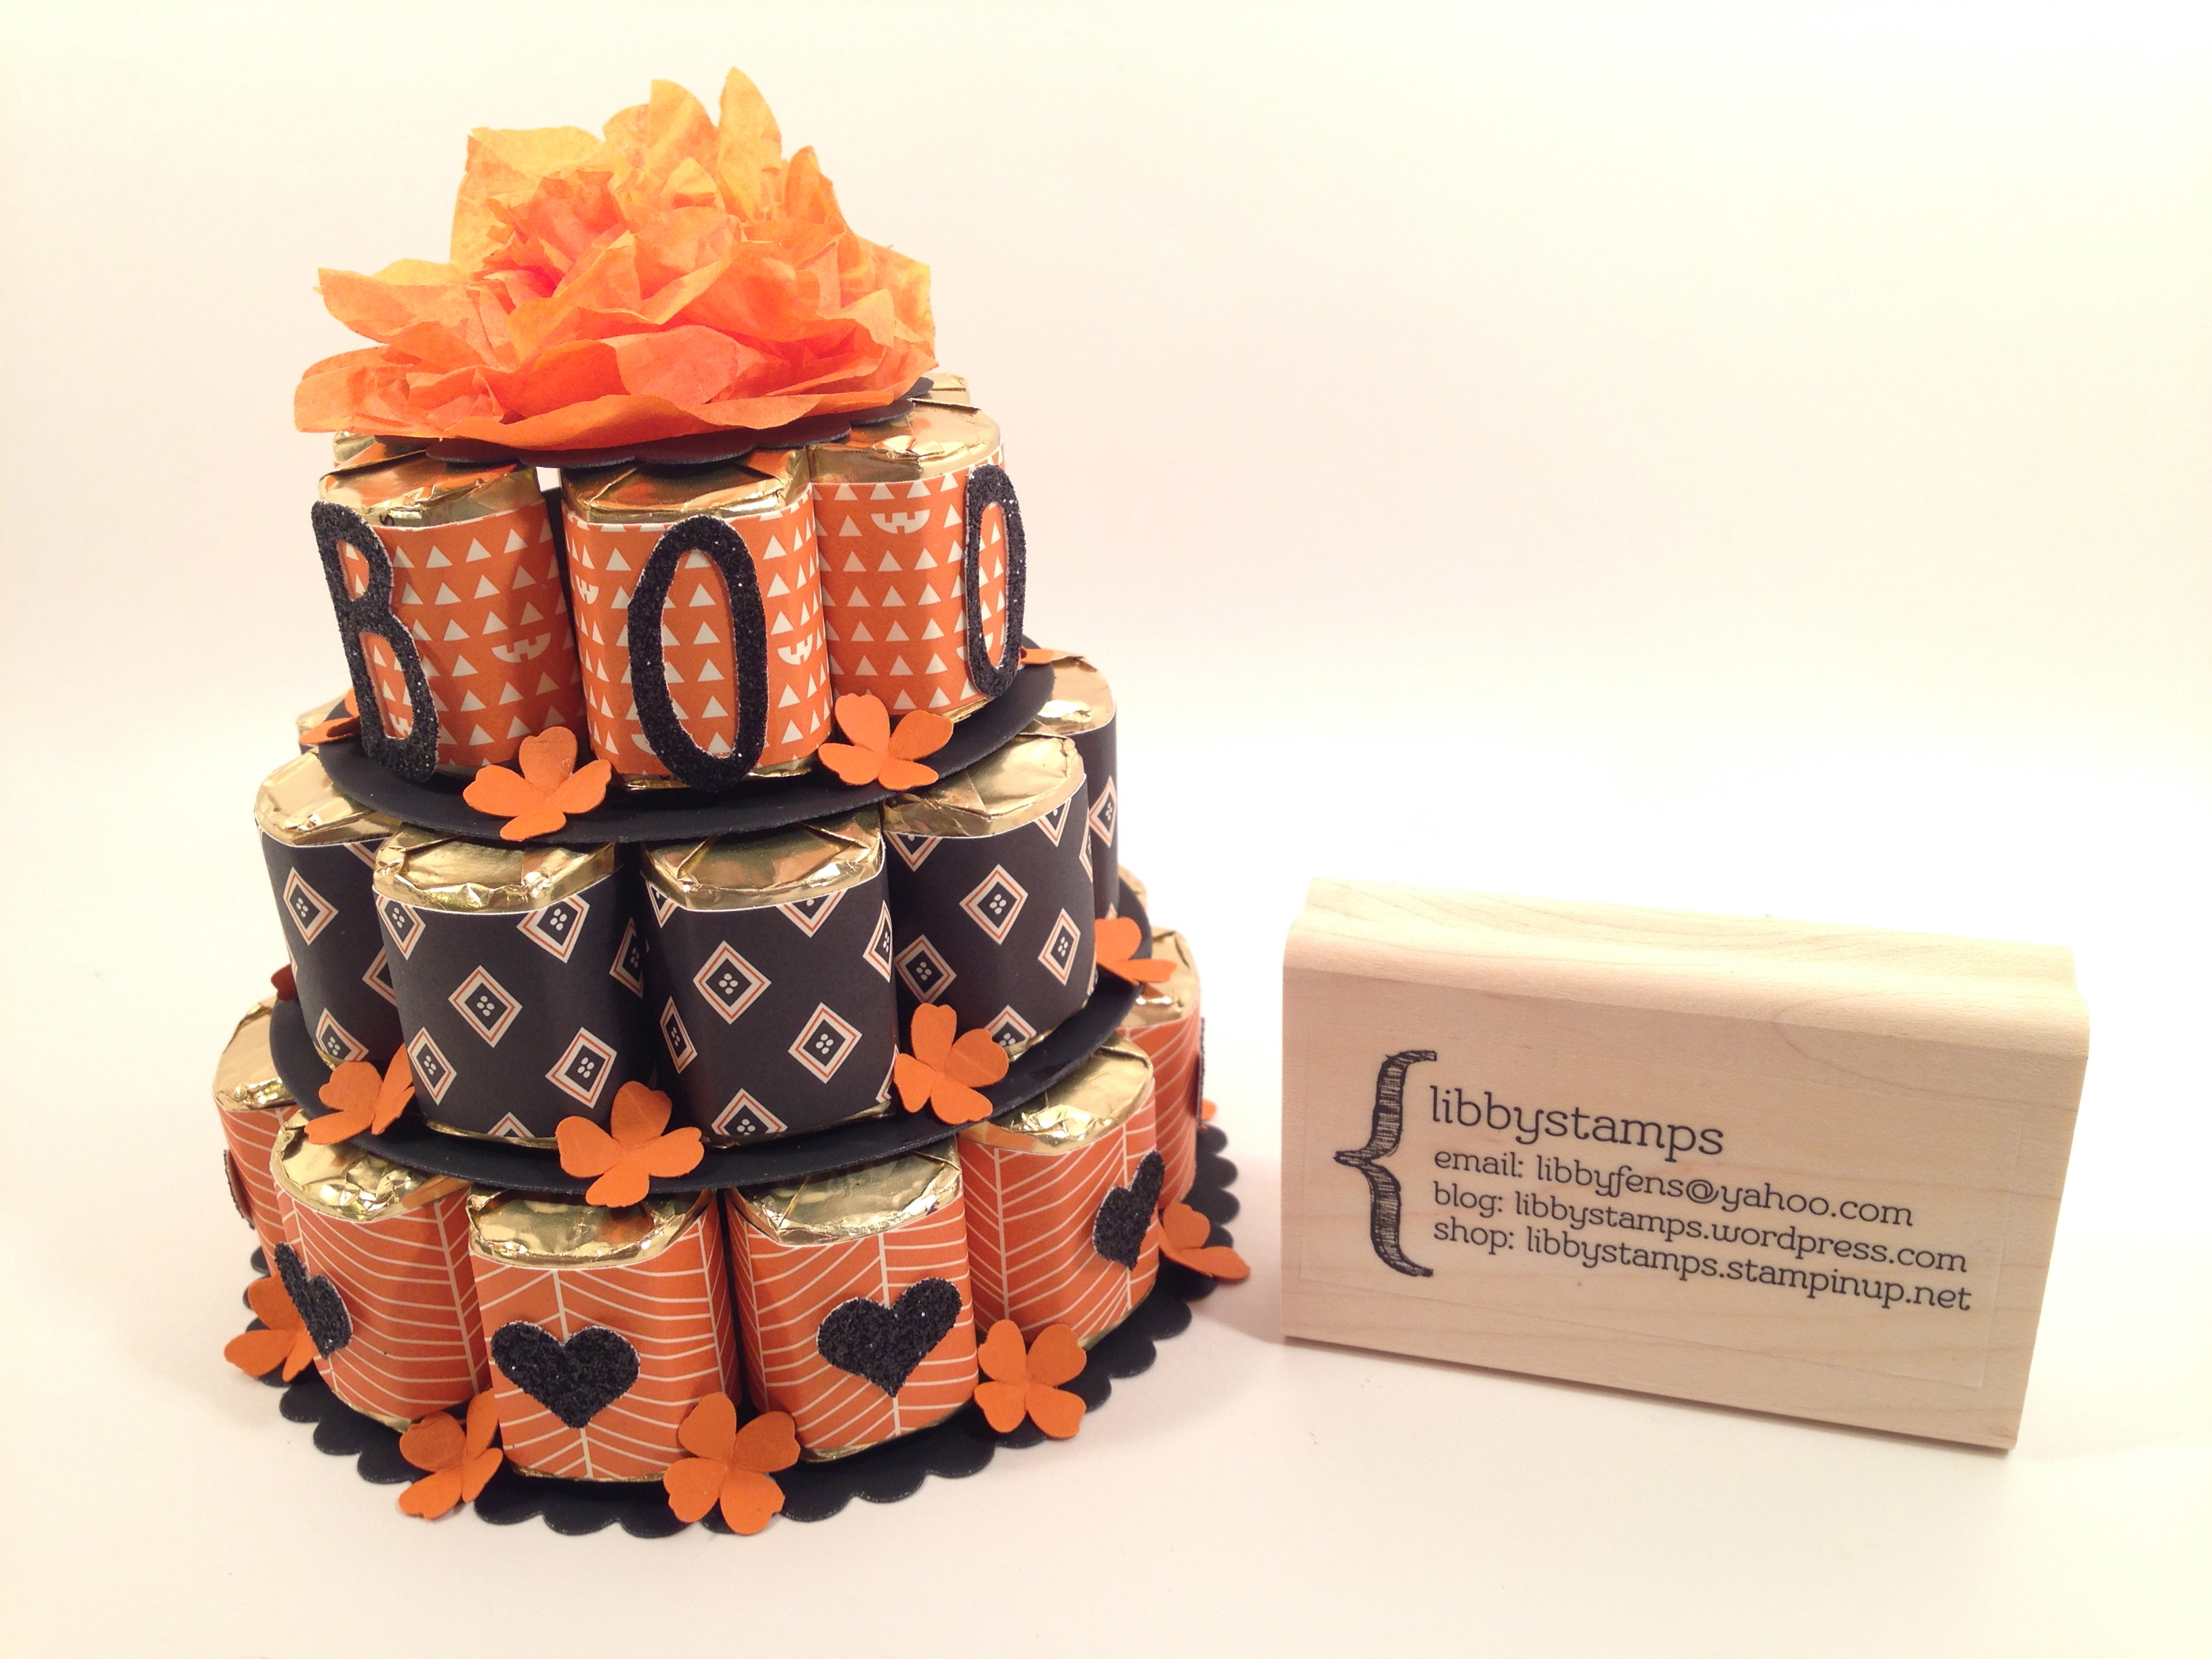
And then……….tada!!!!!!!
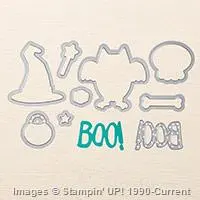
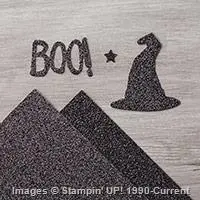
To finish my ‘cake’, I used the scallop circle punch. I made a flower out of tissue paper for the topper. I figured anything else would compete with the B O O around that third layer. (These are the framelits, cut apart.)
I went with the same mini flowers as I did in the other ‘cake’ for part of my decorations. I thought the addition of the Black Glimmer hearts was nice!
I’d LOVE to hear what you think. Please leave a comment – I work hard to create this pictorial tutorial for you!
Built for Free Using: My Stampin Blog
