Yessssss, Friday! And the second week in my new Fun Fold Fridays!
I’m featuring a slide up or pop up gift card holder. Not sure what this fold is actually called, but for now, this will work!
I’ve seen this version in a vertical version all the time, but not a horizontal one. I created one a few weeks ago here, but didn’t include a tutorial until today.
Here is a sweet little birthday card using some new stuff! This is the Oh So Ombre Designer Series Paper that can be earned free during Sale-a-bration –

And see it opened –
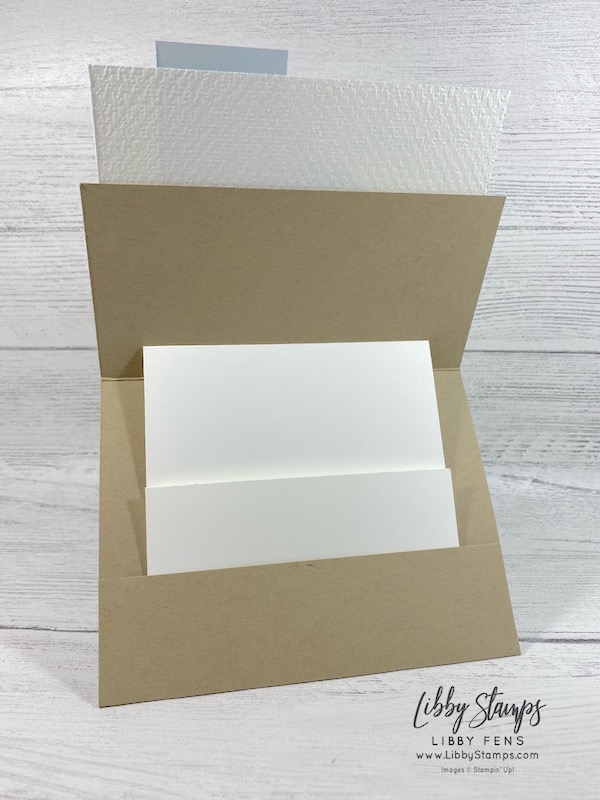
Notice the (absent) gift card that would ‘pop up’ in the pocket?
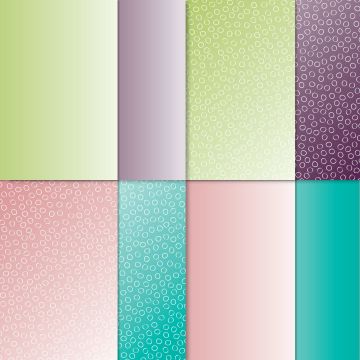
This is the sweet pattern paper I used –
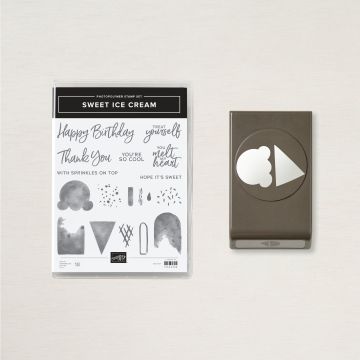
And, here is the Sweet Ice Cream Bundle –
Here is how I did it –
Yes, my Green Paper Tutorials!
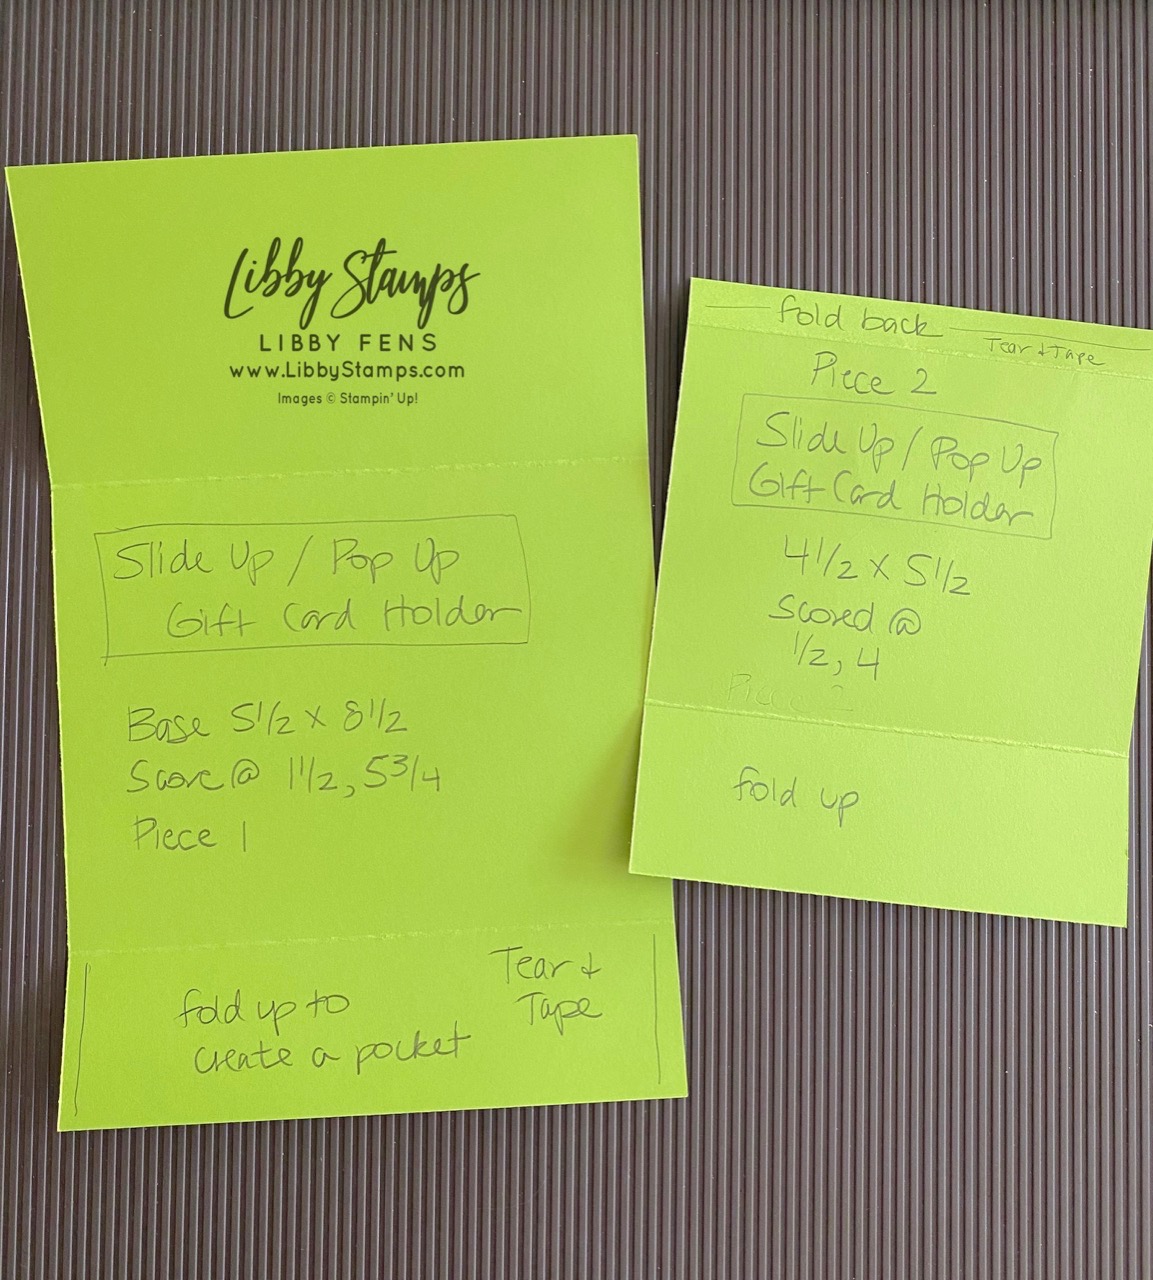
Directions for basic card with fold :
- Base – 5 1/2″ x 8 1/2″, scored at 1 1/2″, 5 3/4″
- Insert – 4 1/2″ x 5 1/2″, scored at 1/2″, 4″
- on slide up, apply strong adhesive, like Tear & Tape, to 1/2″ strip
- fold 1/2″ strip back
- fold up bottom panel, set aside
- on card base, use a strong adhesive on lower edges
- fold score lines, top panel folds down, bottom panel folds up
- place insert panel on top of card base, remove liner on insert
- close card
- the top of the card will ‘catch’ the top of the insert panel
- open card
- fold up insert
- fold up card base over insert, open back up
- remover liners
- fold up card bottom panel enclosing the the insert
- close top, then open to make insert slide up!
- decorate as you like
Pretty cool, huh? I’ll venture to do a Facebook Live for this fold. It is really super easy, but I know some are visual, some are tactile.
I’d love to know what you think!
- Stamp Set – Sweet Ice Cream
- Dies / Embossing – Tasteful Textile 3D Embossing Folder, Painted Texture 3D Embossing Folder
- Bundle – Sweet Ice Cream
- Card Stock – Crumb Cake, Basic White,
- Ink – Blackberry Bliss, Soft Suede
- DSP – Oh So Ombre
- Punches – Ice Cream Cone Builder
- Other – Pastel Pearls


Leave a Reply