Well, it’s a pictorial tutorial. I always find myself stopping and starting excruciating 10 minute long videos anyway – so a still tutorial makes more sense to me.
I made this nifty little box on Wednesday. And, in order to create it, I went through several – lots – numerous videos explaining this at length. That’s right. Not my original idea.
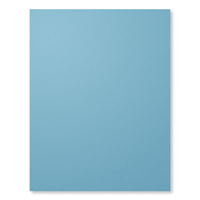
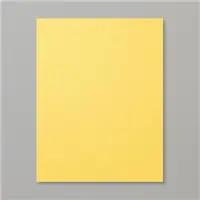
So, I created one myself. I made a Marina Mist and Daffodil Delight box because those are my daughters school colors. She’s graduating in June from UCLA with a Bachelor’s Degree in Neuroscience. Happy dance!!
Here are the finished self-closing boxes –

Here is how I managed to get two of these from one sheet of 8 1/2 x 11 card stock.
Cut card stock in half to 8 1/2 x 5 1/2. All tutorials I came across, the card stock was 8 1/2 x 6. And, that half an inch didn’t do much for me, so, I changed it.

Score at 4 and 8. Rotate card stock.

Score at 1 and 5. (Sorry, blurry picture.)
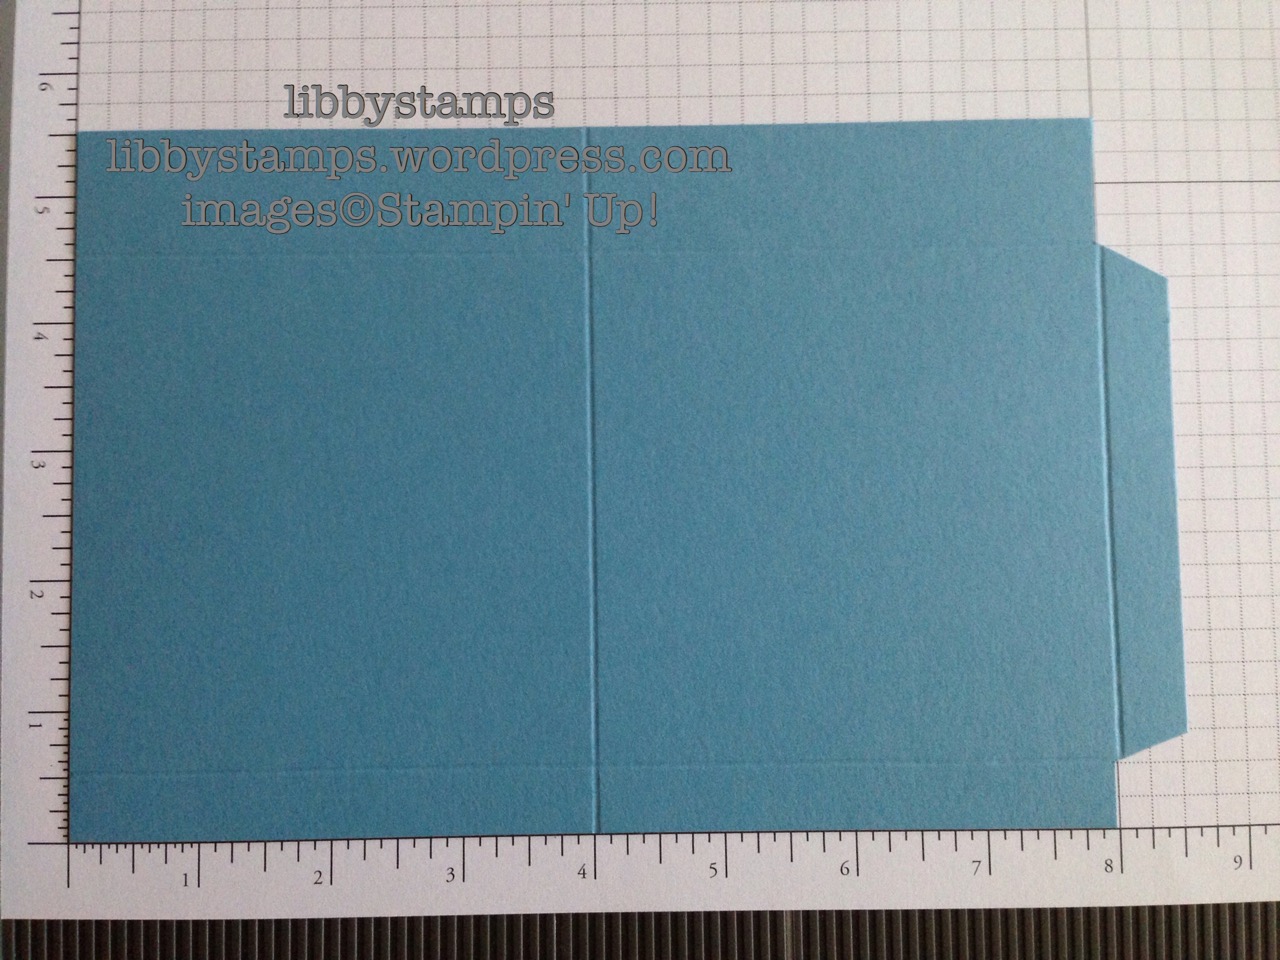
Remove section where box will be adhered.

Hard to see, but I placed marks in the upper vertical score line at 2 and 6.
It should fall in the middle of the edge and first score line (at 4) and then between 4 and the last score line (at 8). Mine appears to be off for some reason, disregard.
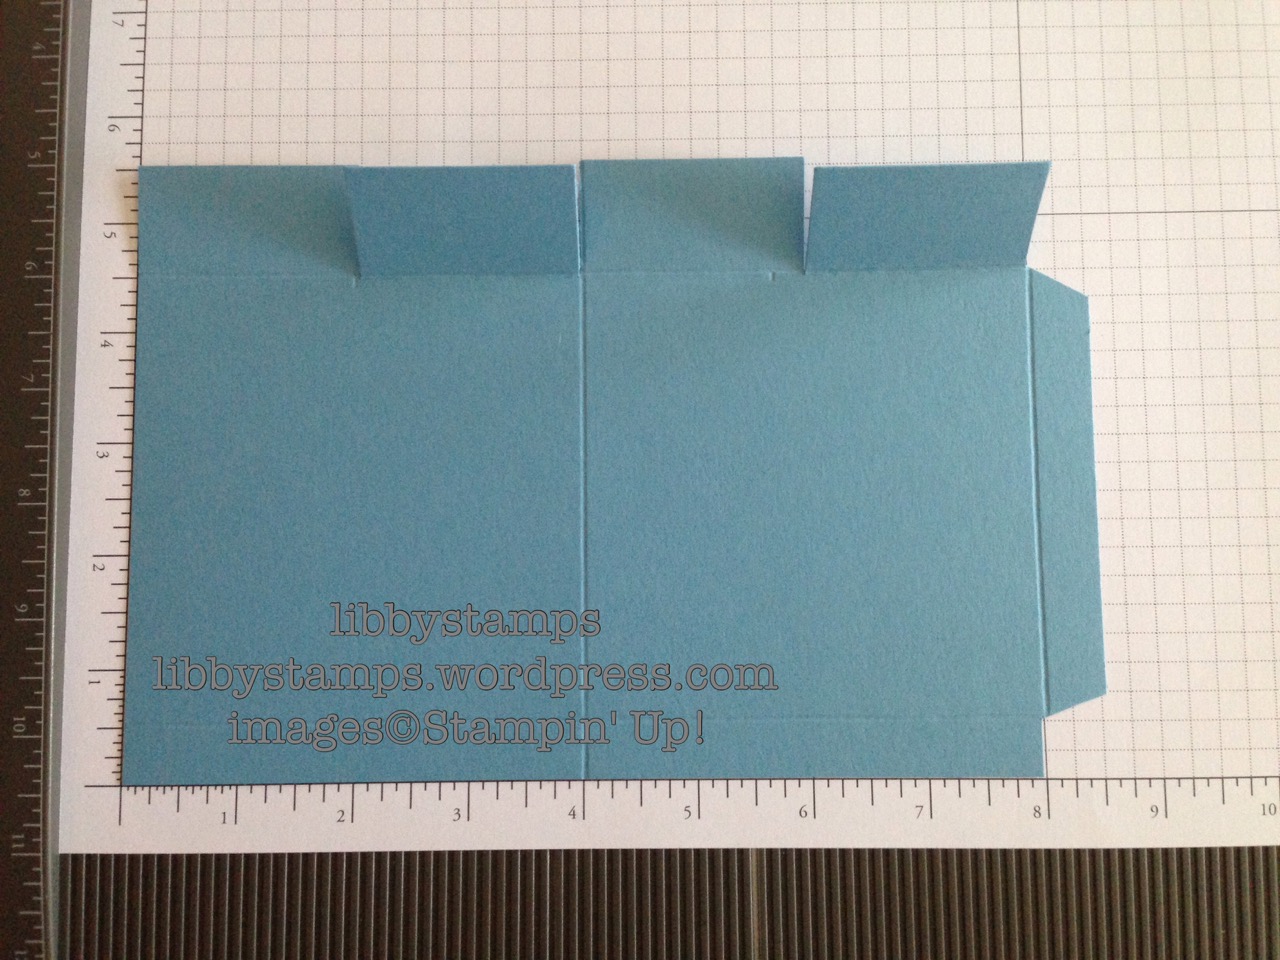
Make vertical snips down to the those marks. These will make the bottom flaps of your box.

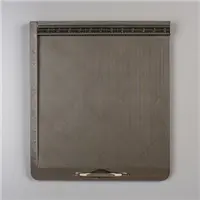
Take your pierce mat and a ruler and make four diagonal score lines from where you snipped perviously to the existing score lines.
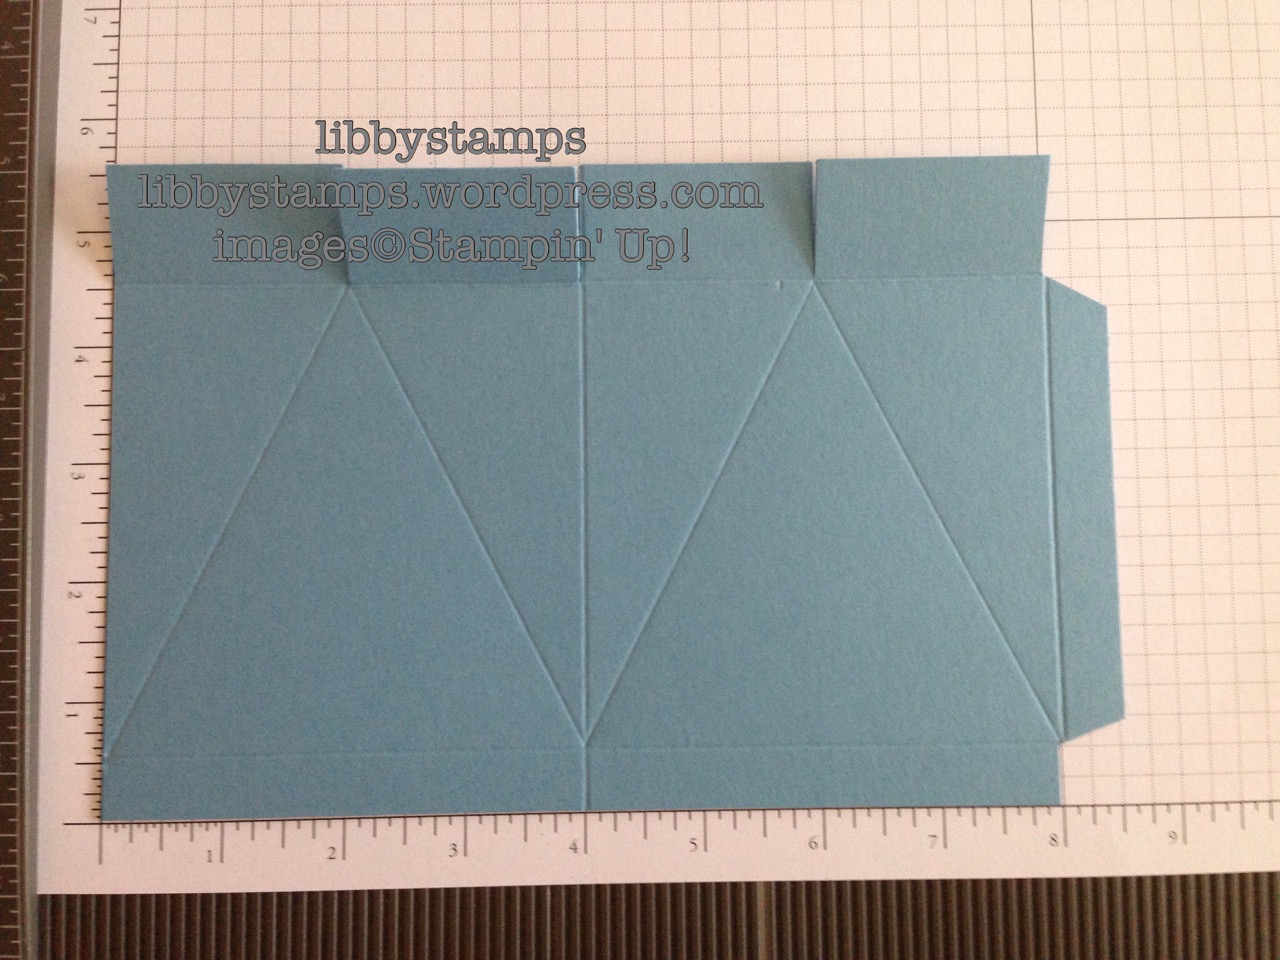
This is a close up of the diagonal lines.

I did two things in this picture –
- I folded along the score lines, all going the same way.
- Next, I added Tear & Tape to secure the box.
- set aside
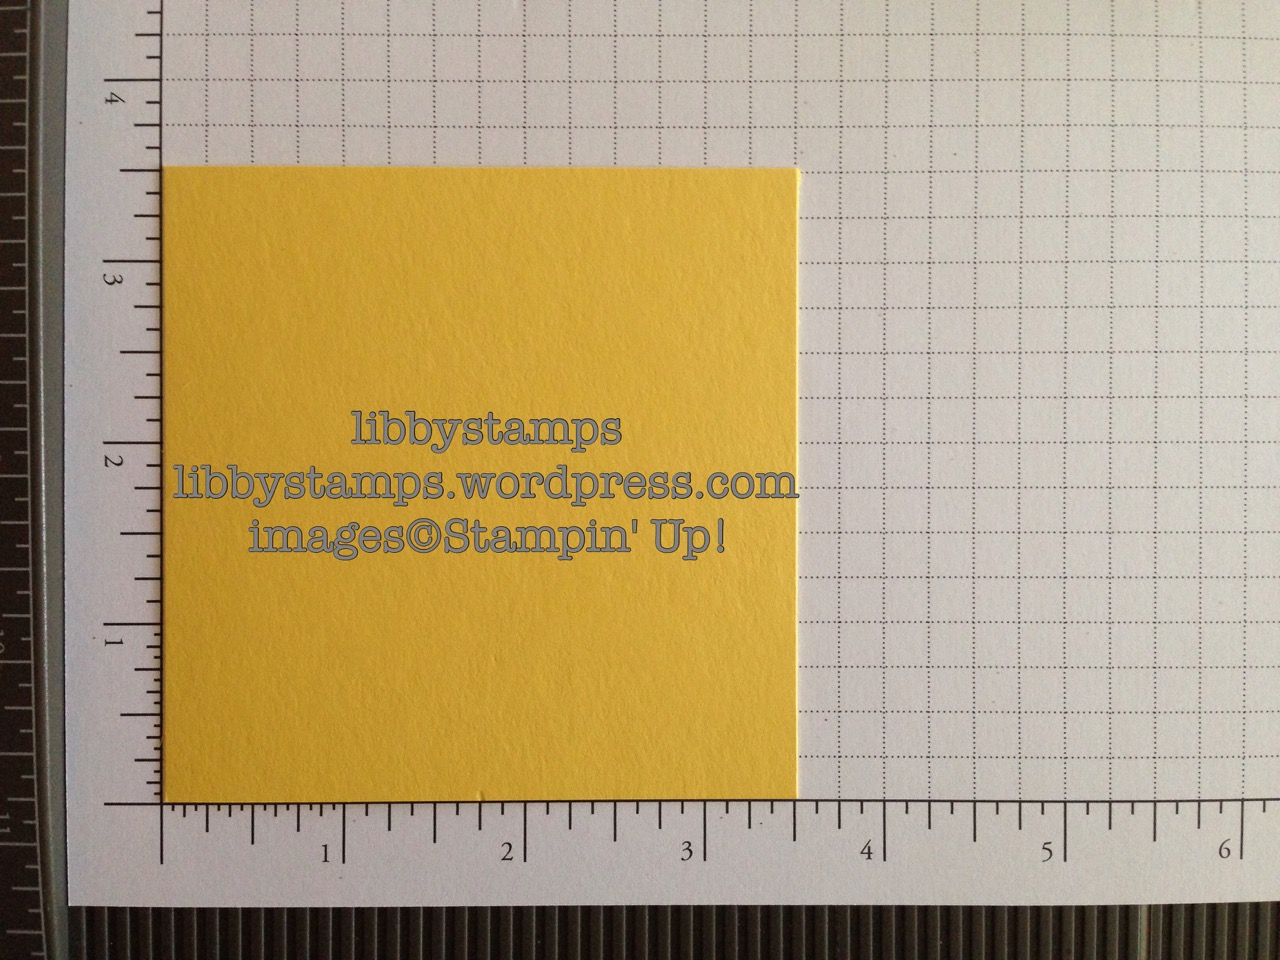
For this box, I added the Daffodil Delight panels. To cut these to where they will fill exactly, start with a 3 1/2 x 3 1/2 square.
Tic mark the center which is 1 3/4.

Make diagonal cuts using your paper trimmer from mark to top corner.
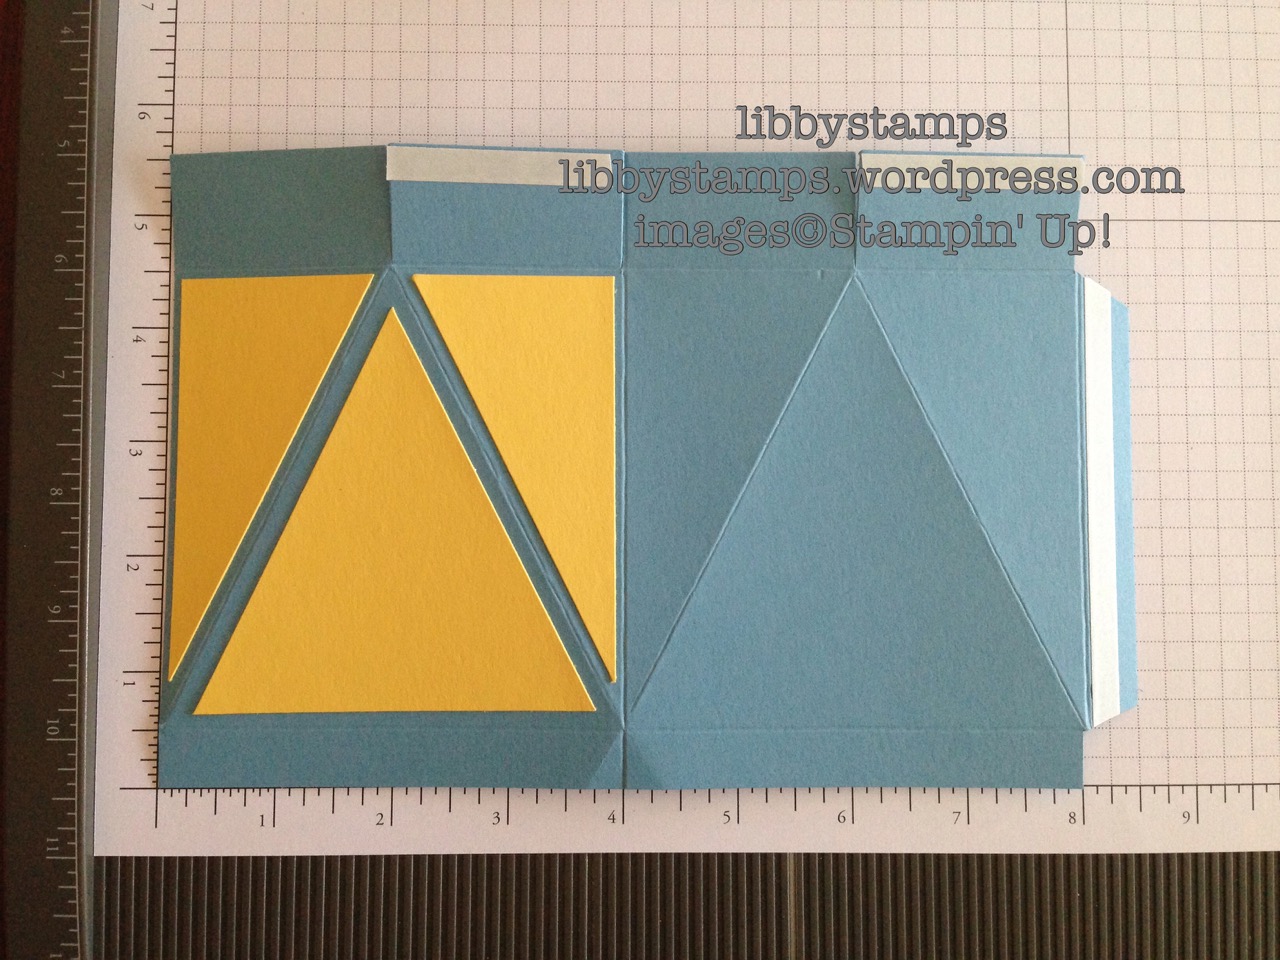
Bring back your box and adhere panels. It’s WAY easier to adhere these now before putting box together. (I only did one side, but using the same measurements, you can do both sides.)

Adhere side of the box first.
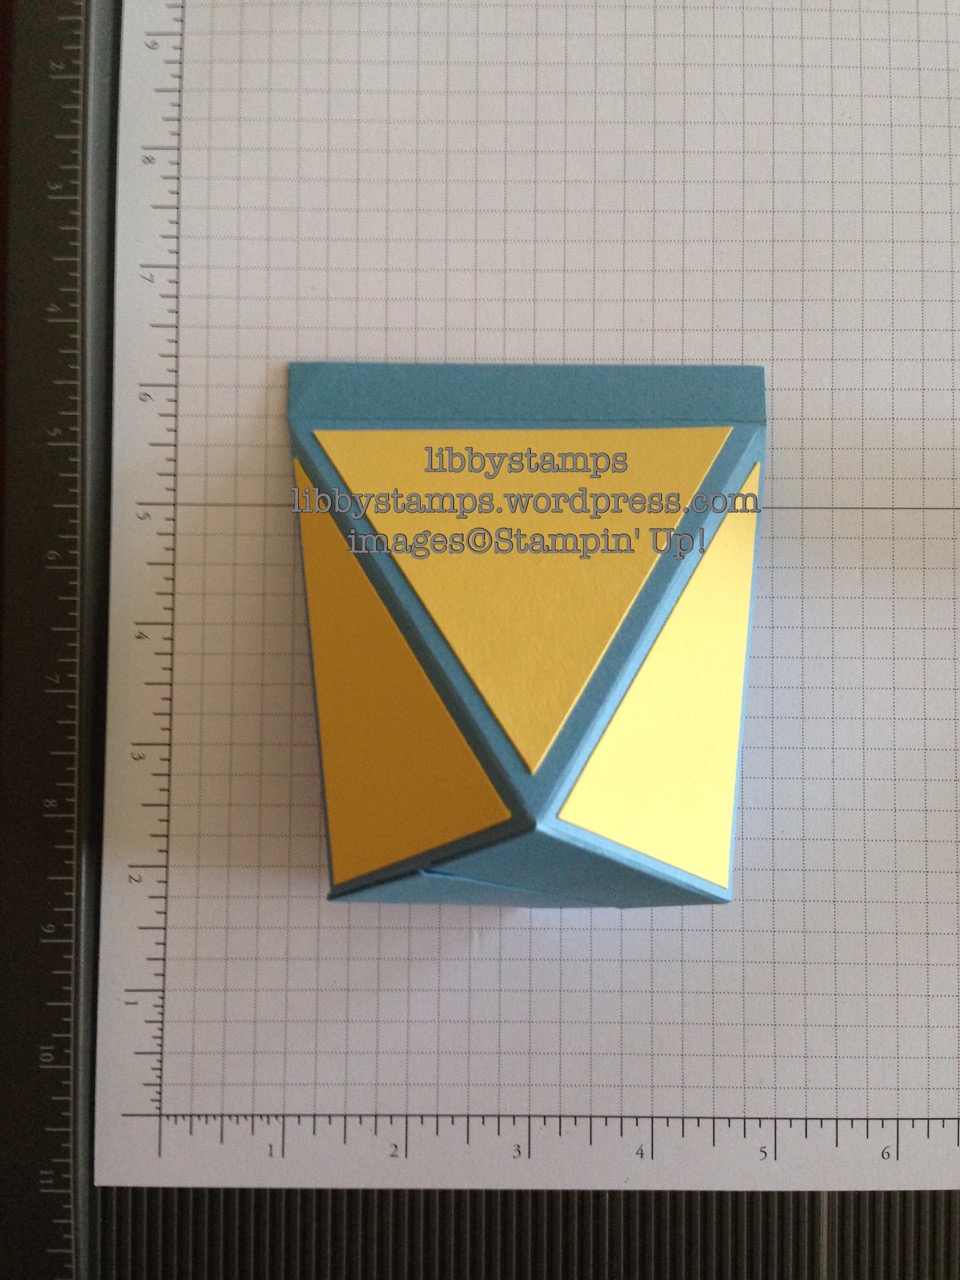
Fold up bottom flaps and adhere. Decorate and you’re done!!
And, just like that – you’ve made a self-closing box!
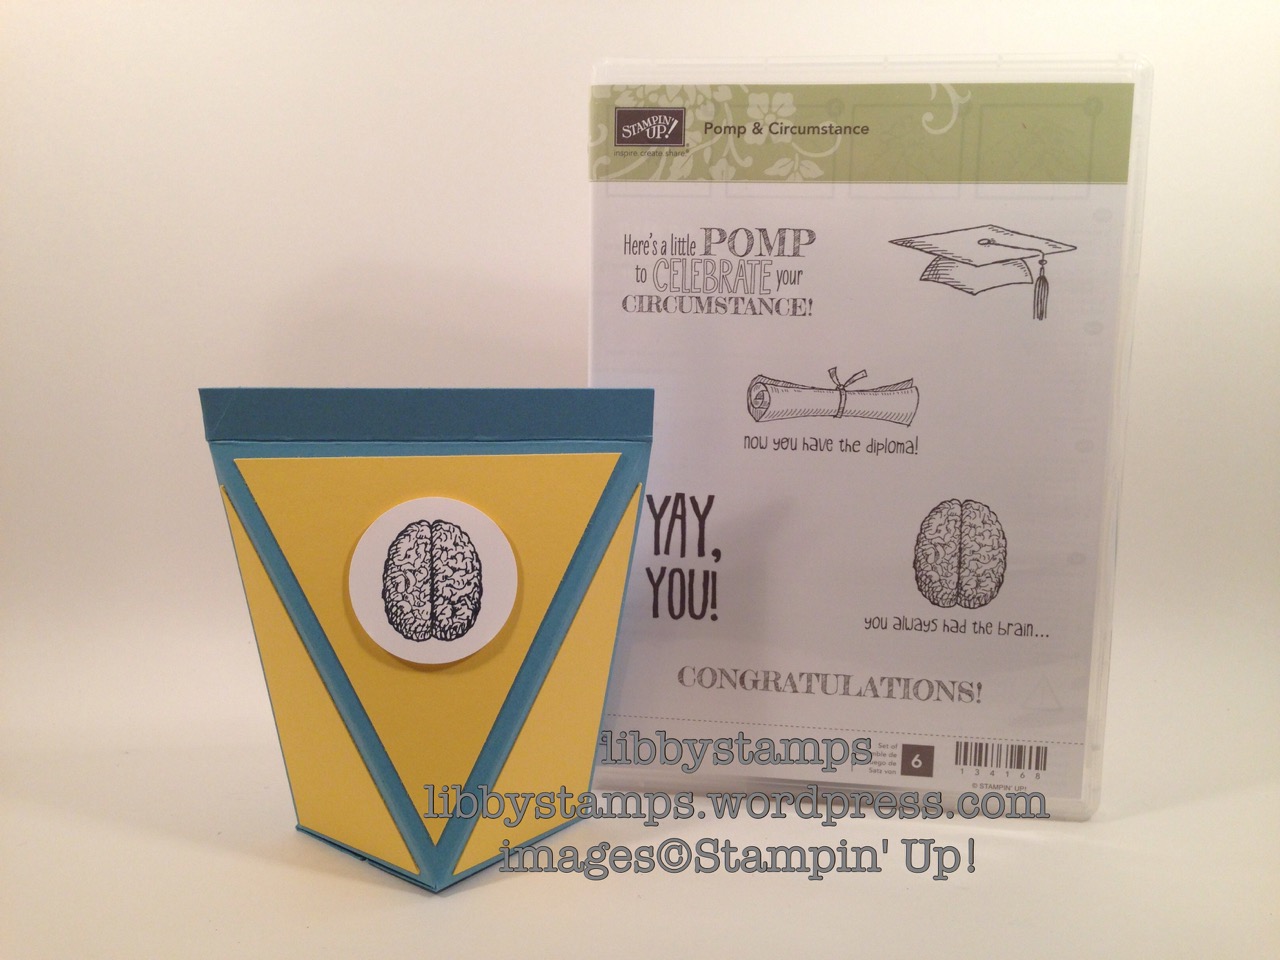
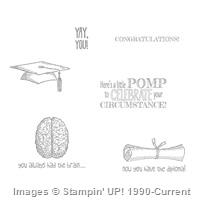
The ‘brain’ came from the retired stamp set, Pomp & Circumstance. Glad I kept it. It was from way back when.
And, just because, I whipped up another one of these self-closing boxes in about 15 minutes –
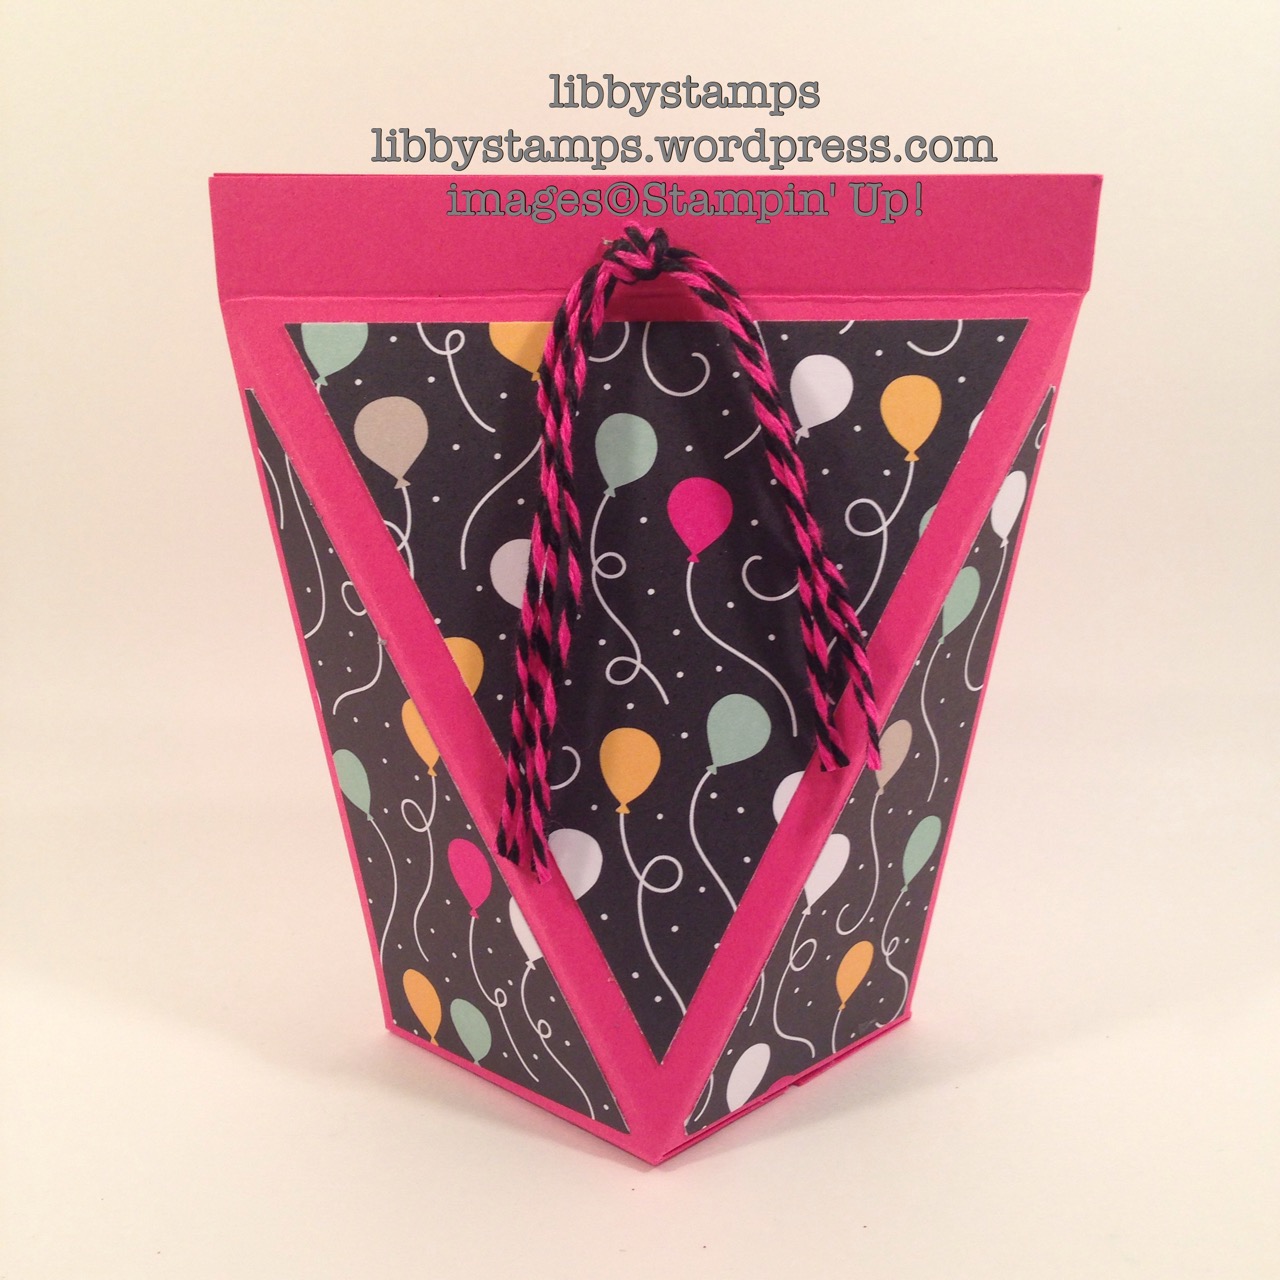
Fun, isn’t it? It’s not stamped because I’m not sure who it will be for or what occasion I’ll use it. I’m guessing birthday…
Ok, so, I created quite a nice pictorial tutorial, yes? Please take the time to leave a happy comment!




Leave a Reply