The talk this week is my Open House from this past weekend. I made a thank you gift for everyone, a little purse box bag. And, it conveniently held the make’n takes just perfectly.
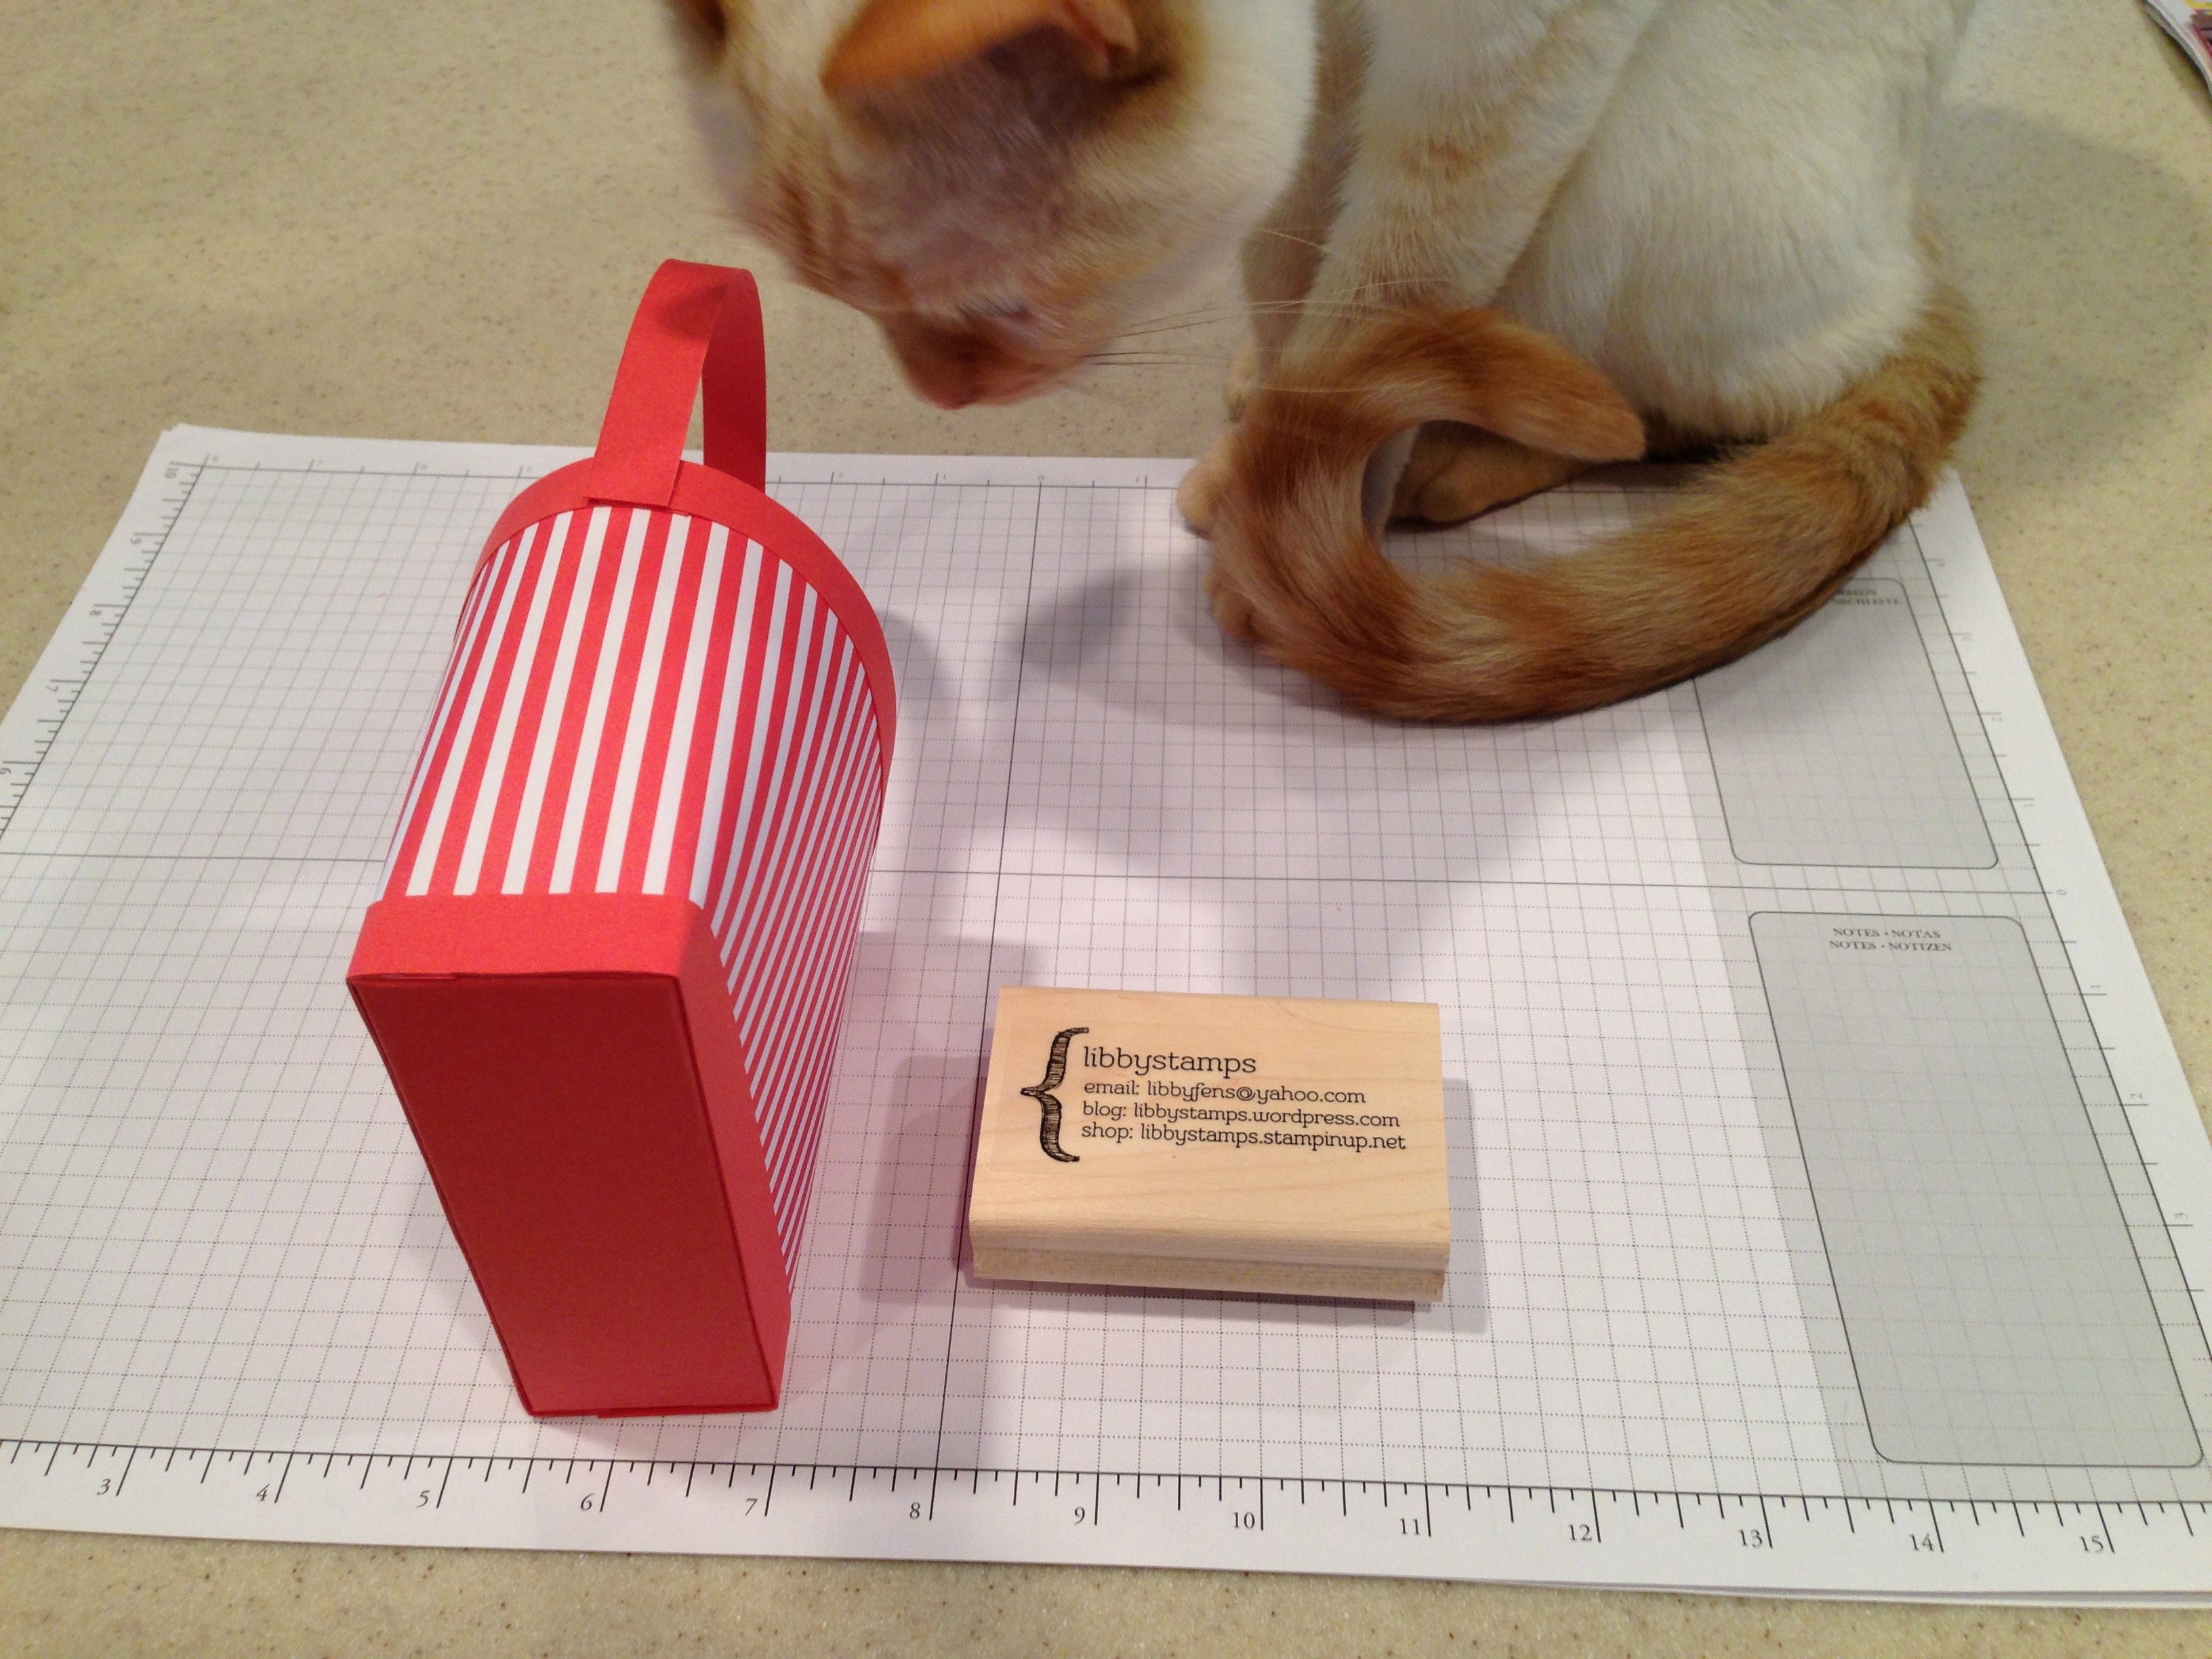
I made one of these the other day for a challenge. Today, I decided to show you how I made this little cute bag. And, yes, my cat joined the picture. She was there the whole time I made this. You’ll see her shadow.
Disclaimer. This is NOT my original idea. These are all over the interweb. I modified mine because I did not have solid color 12 x 12 card stock for the top and bottom strips. Original post has strips 7 inches long. I realized 6 1/2 works better!
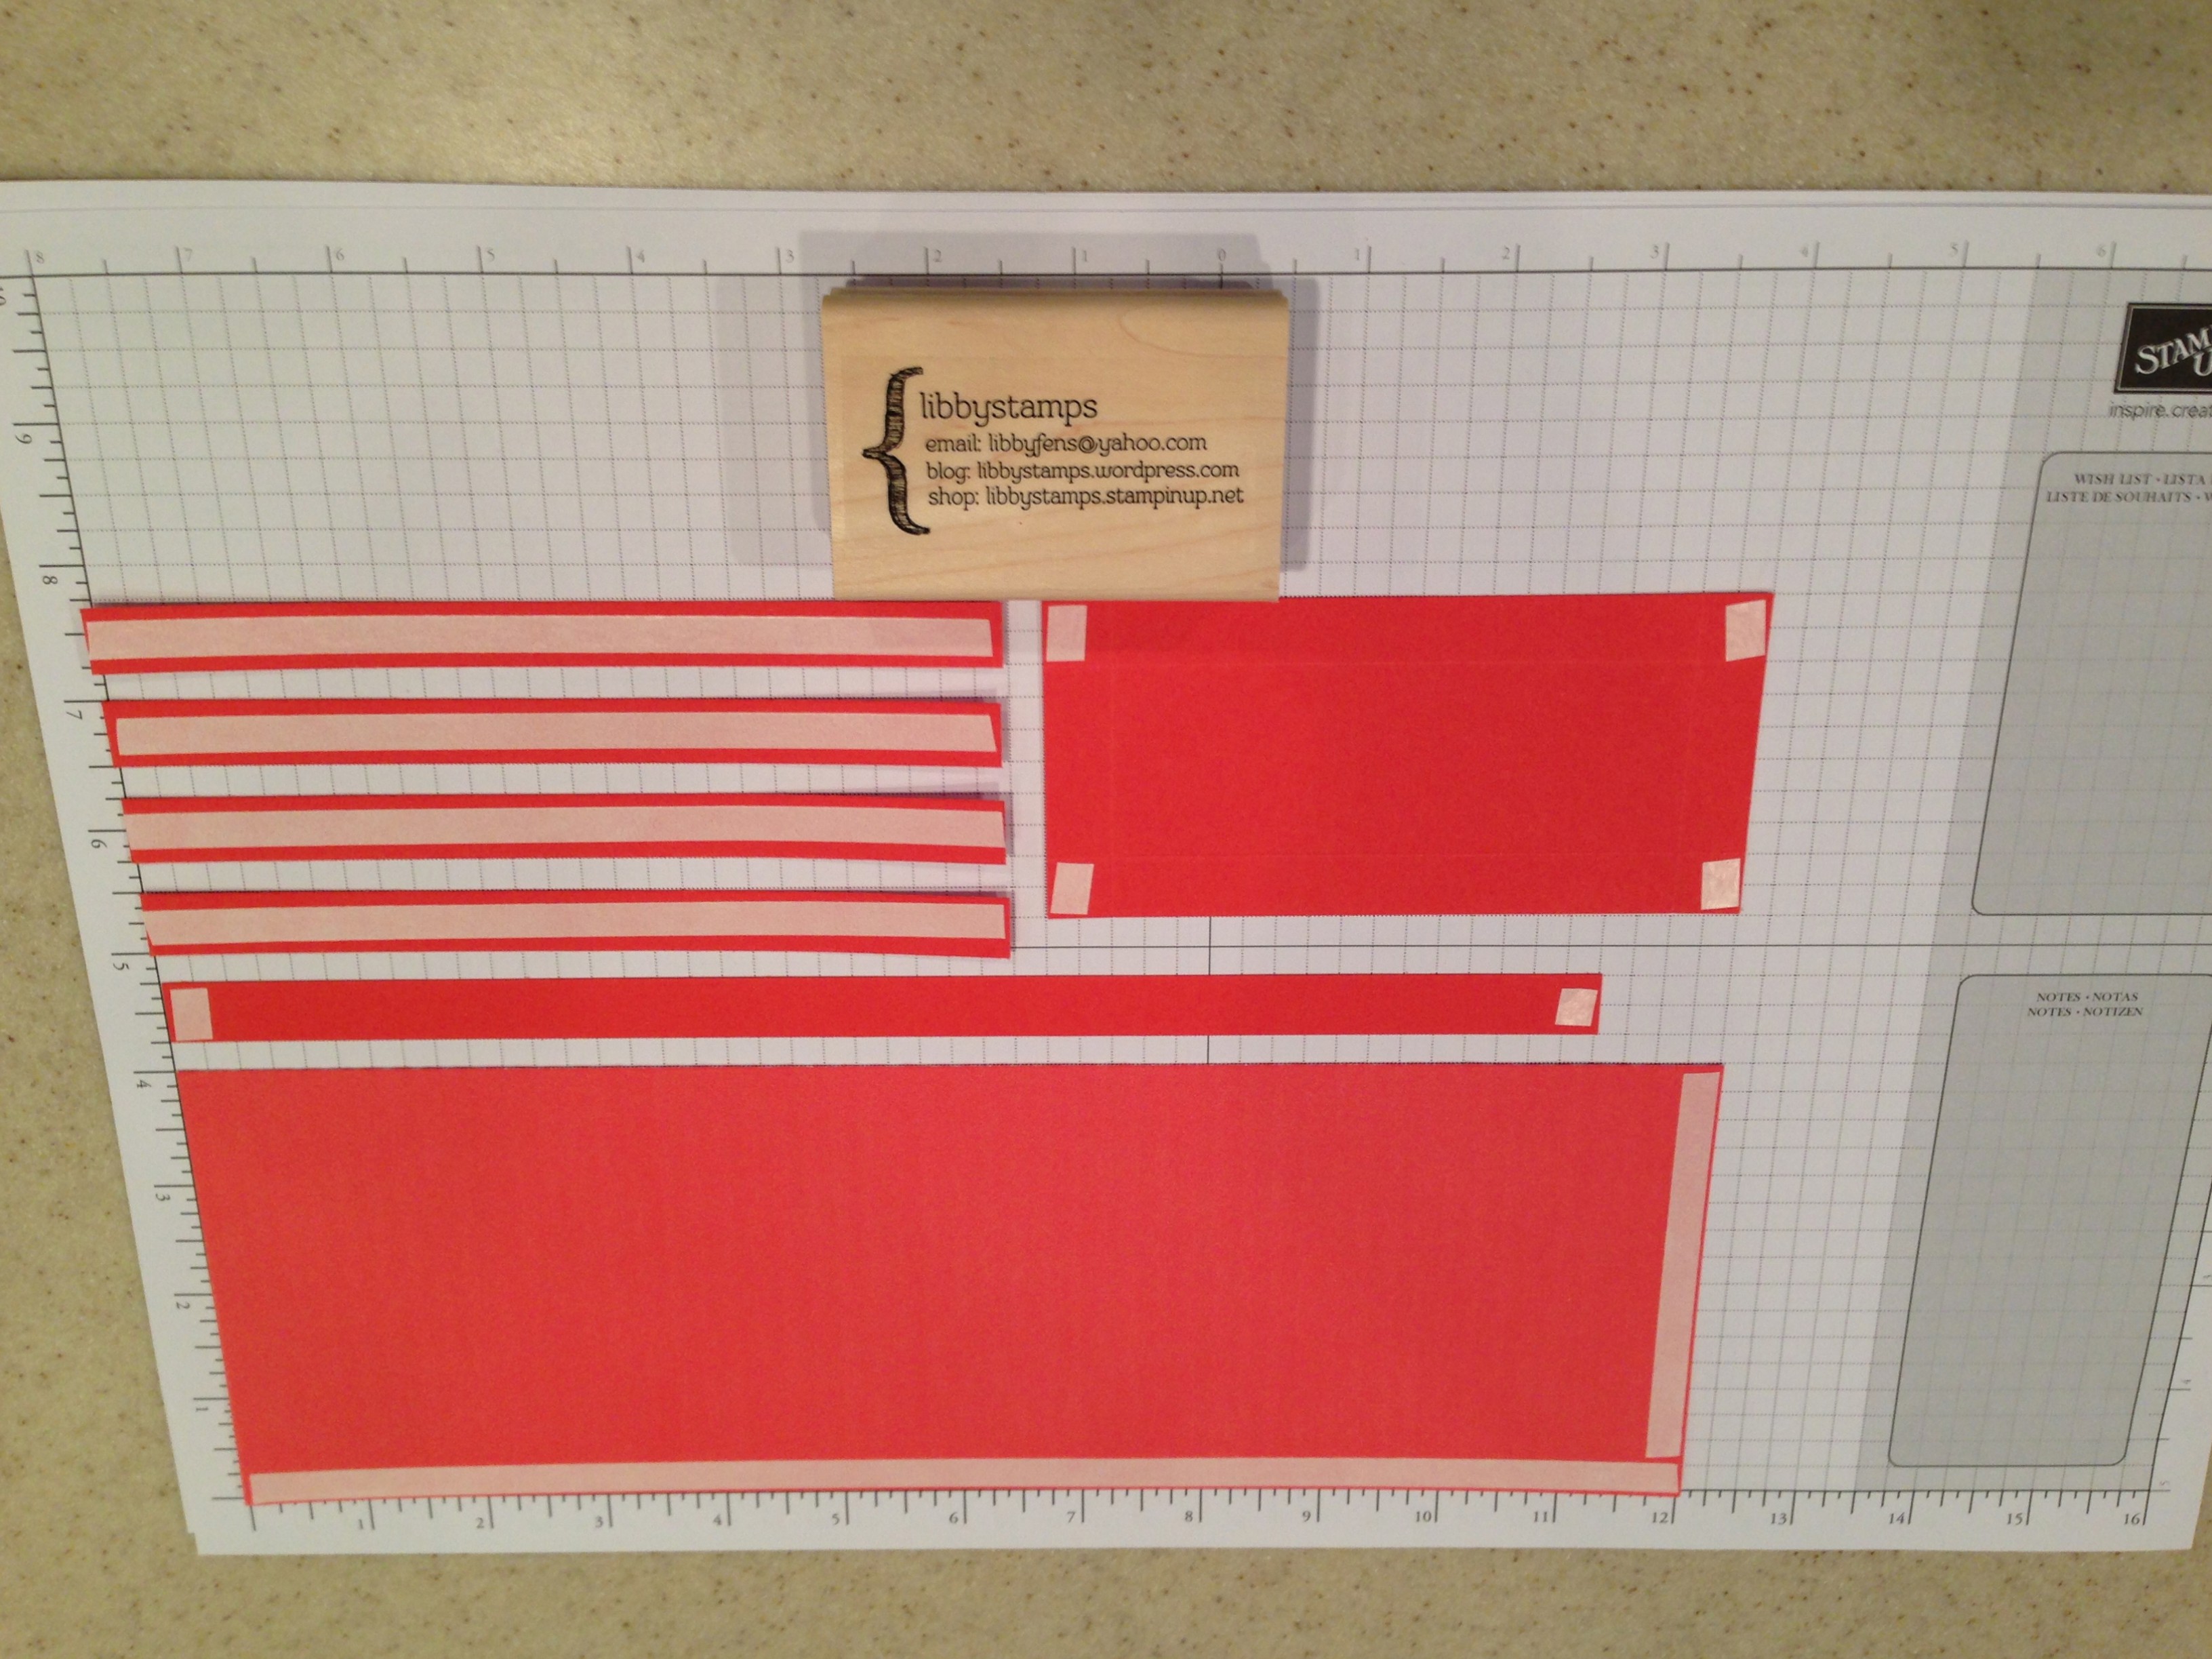
Start with the following.
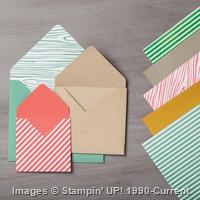
- 4 x 12 DSP
- 1/2 x 11 strip of coordinating card stock
- 1/2 x 6 1/2 strips of card stock (4 pieces)
- 2 1/2 x 5 1/4 card stock (score at 1/2 on all sides)
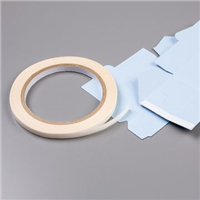
Adhere Tear & Tape Adhesive as shown.
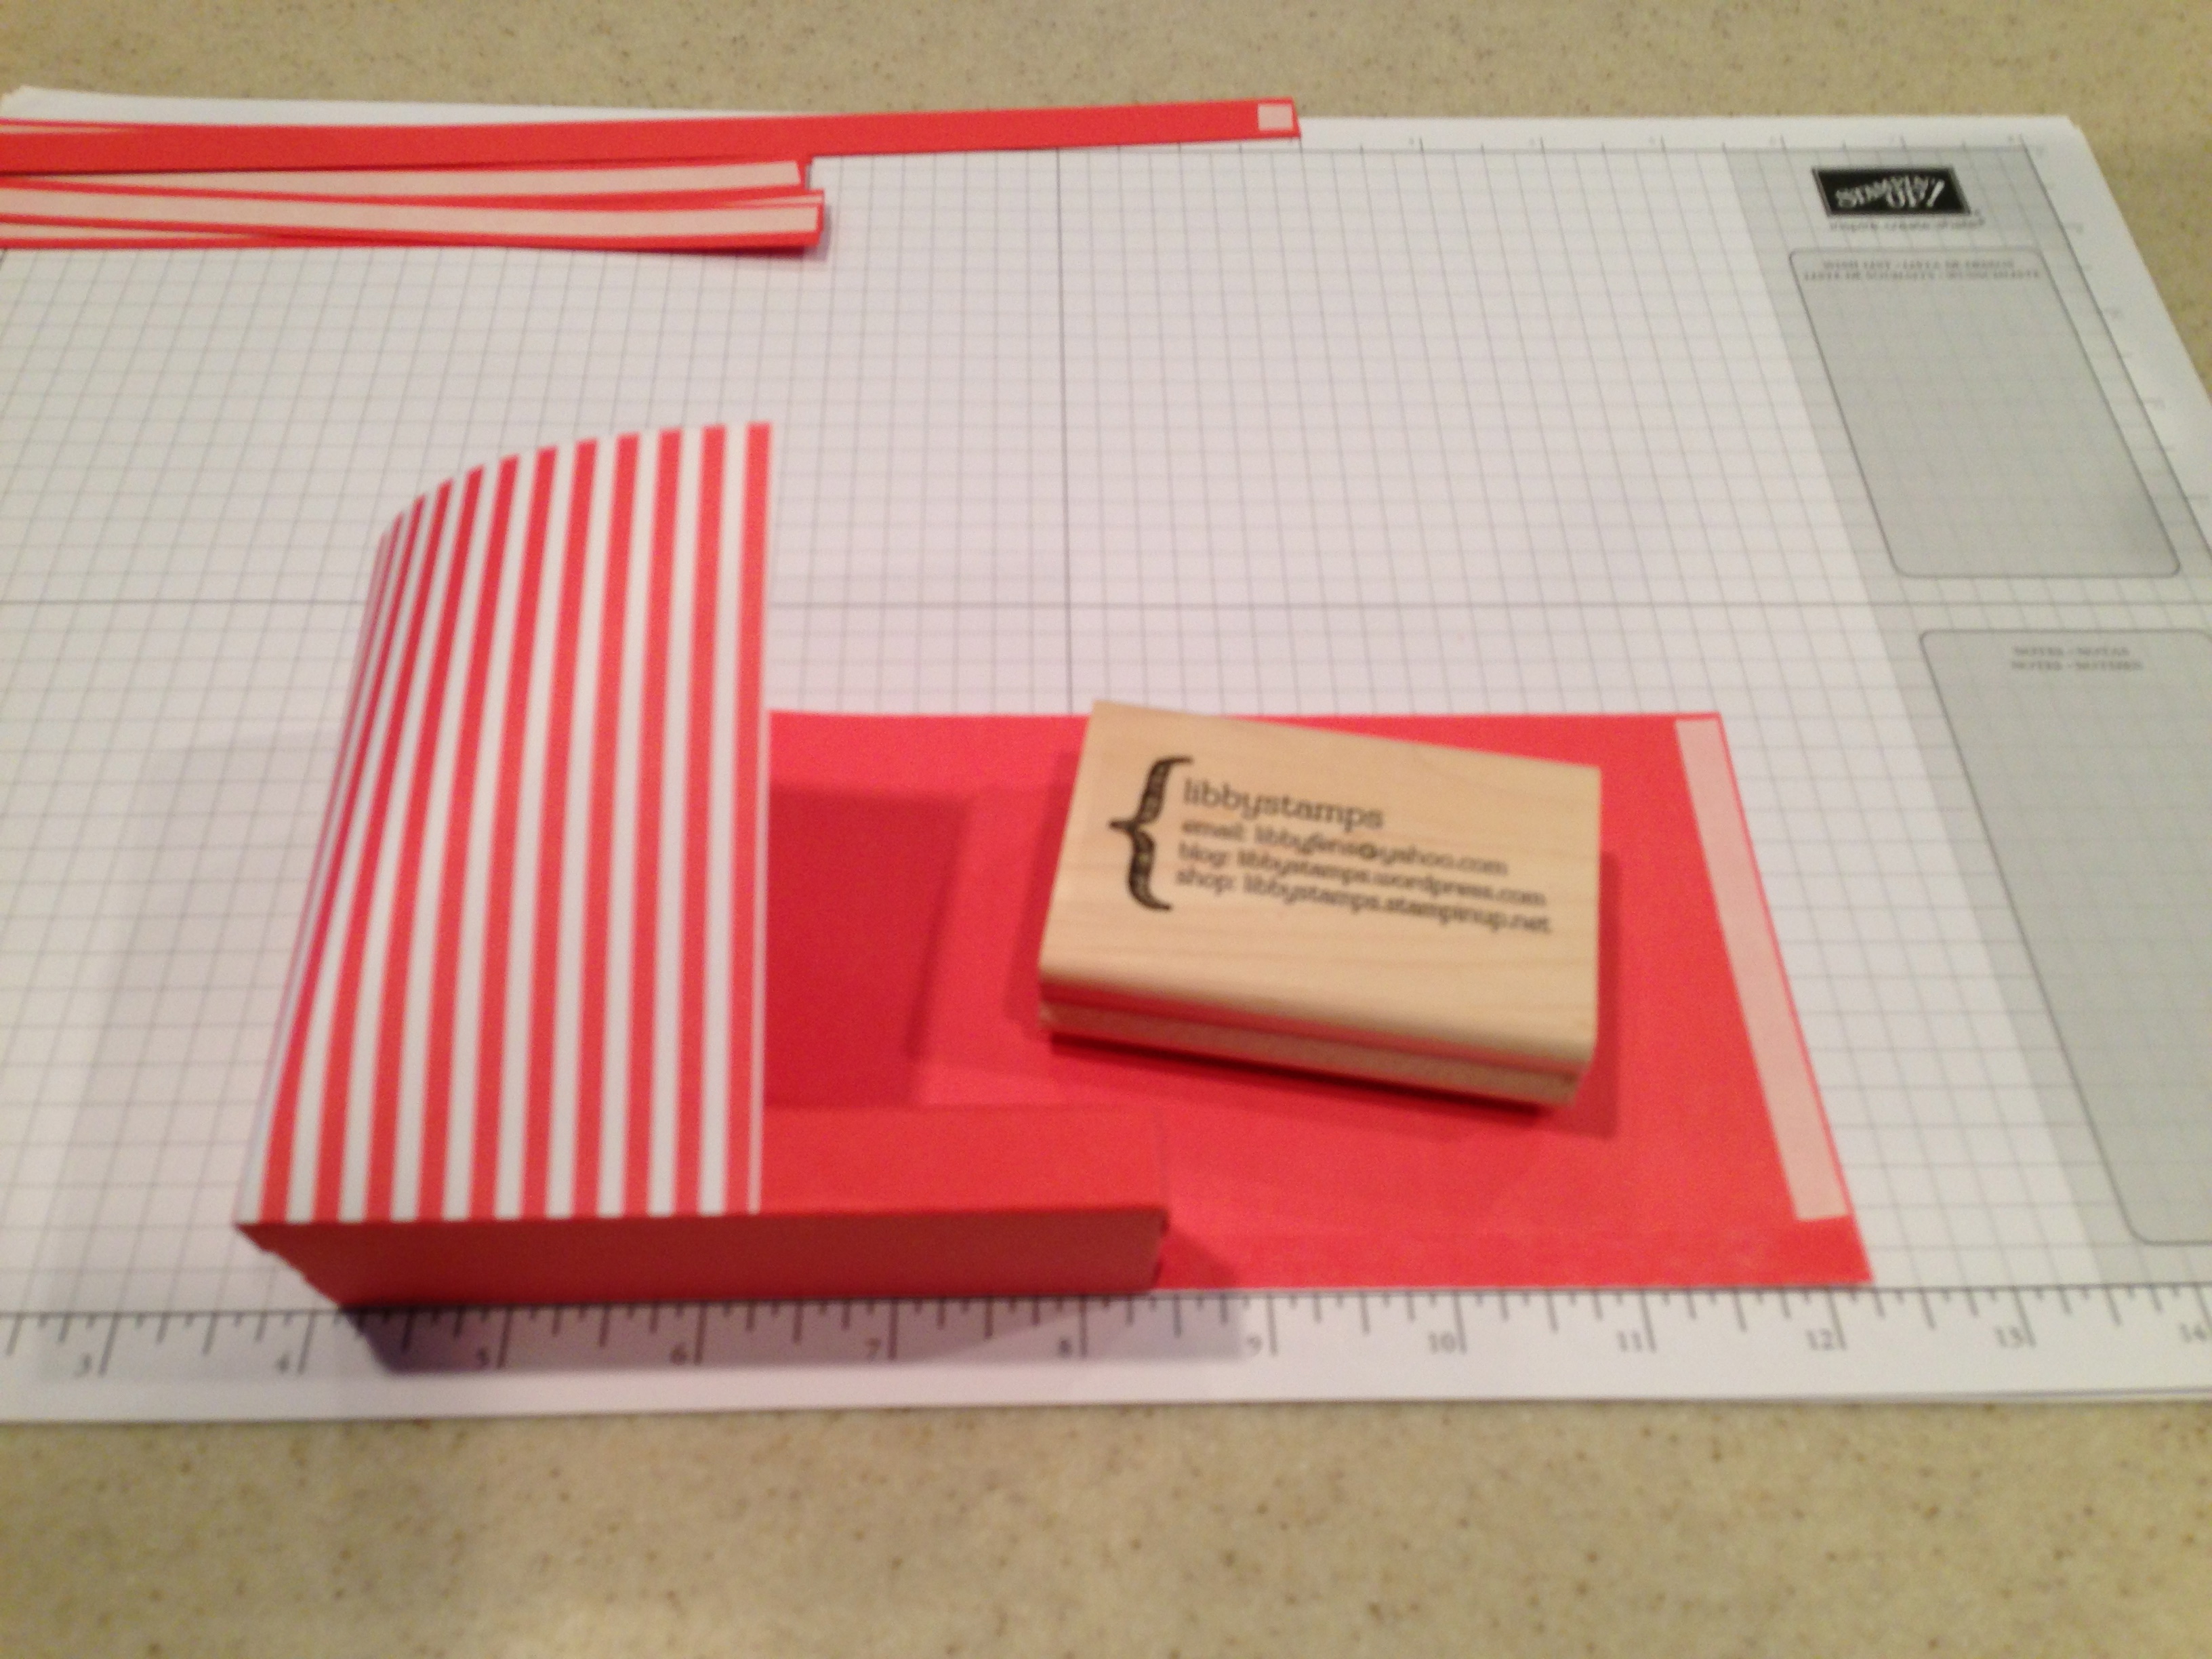
Snip 1/2 sections on 2 1/2 x 5 1/4 card stock and make a ‘tray’.
Take the tray, start in the middle of the long side of the DSP and wrap the DSP around.
Wrap around short side.
Continue to the back side.
Then do the same for the other longer side.
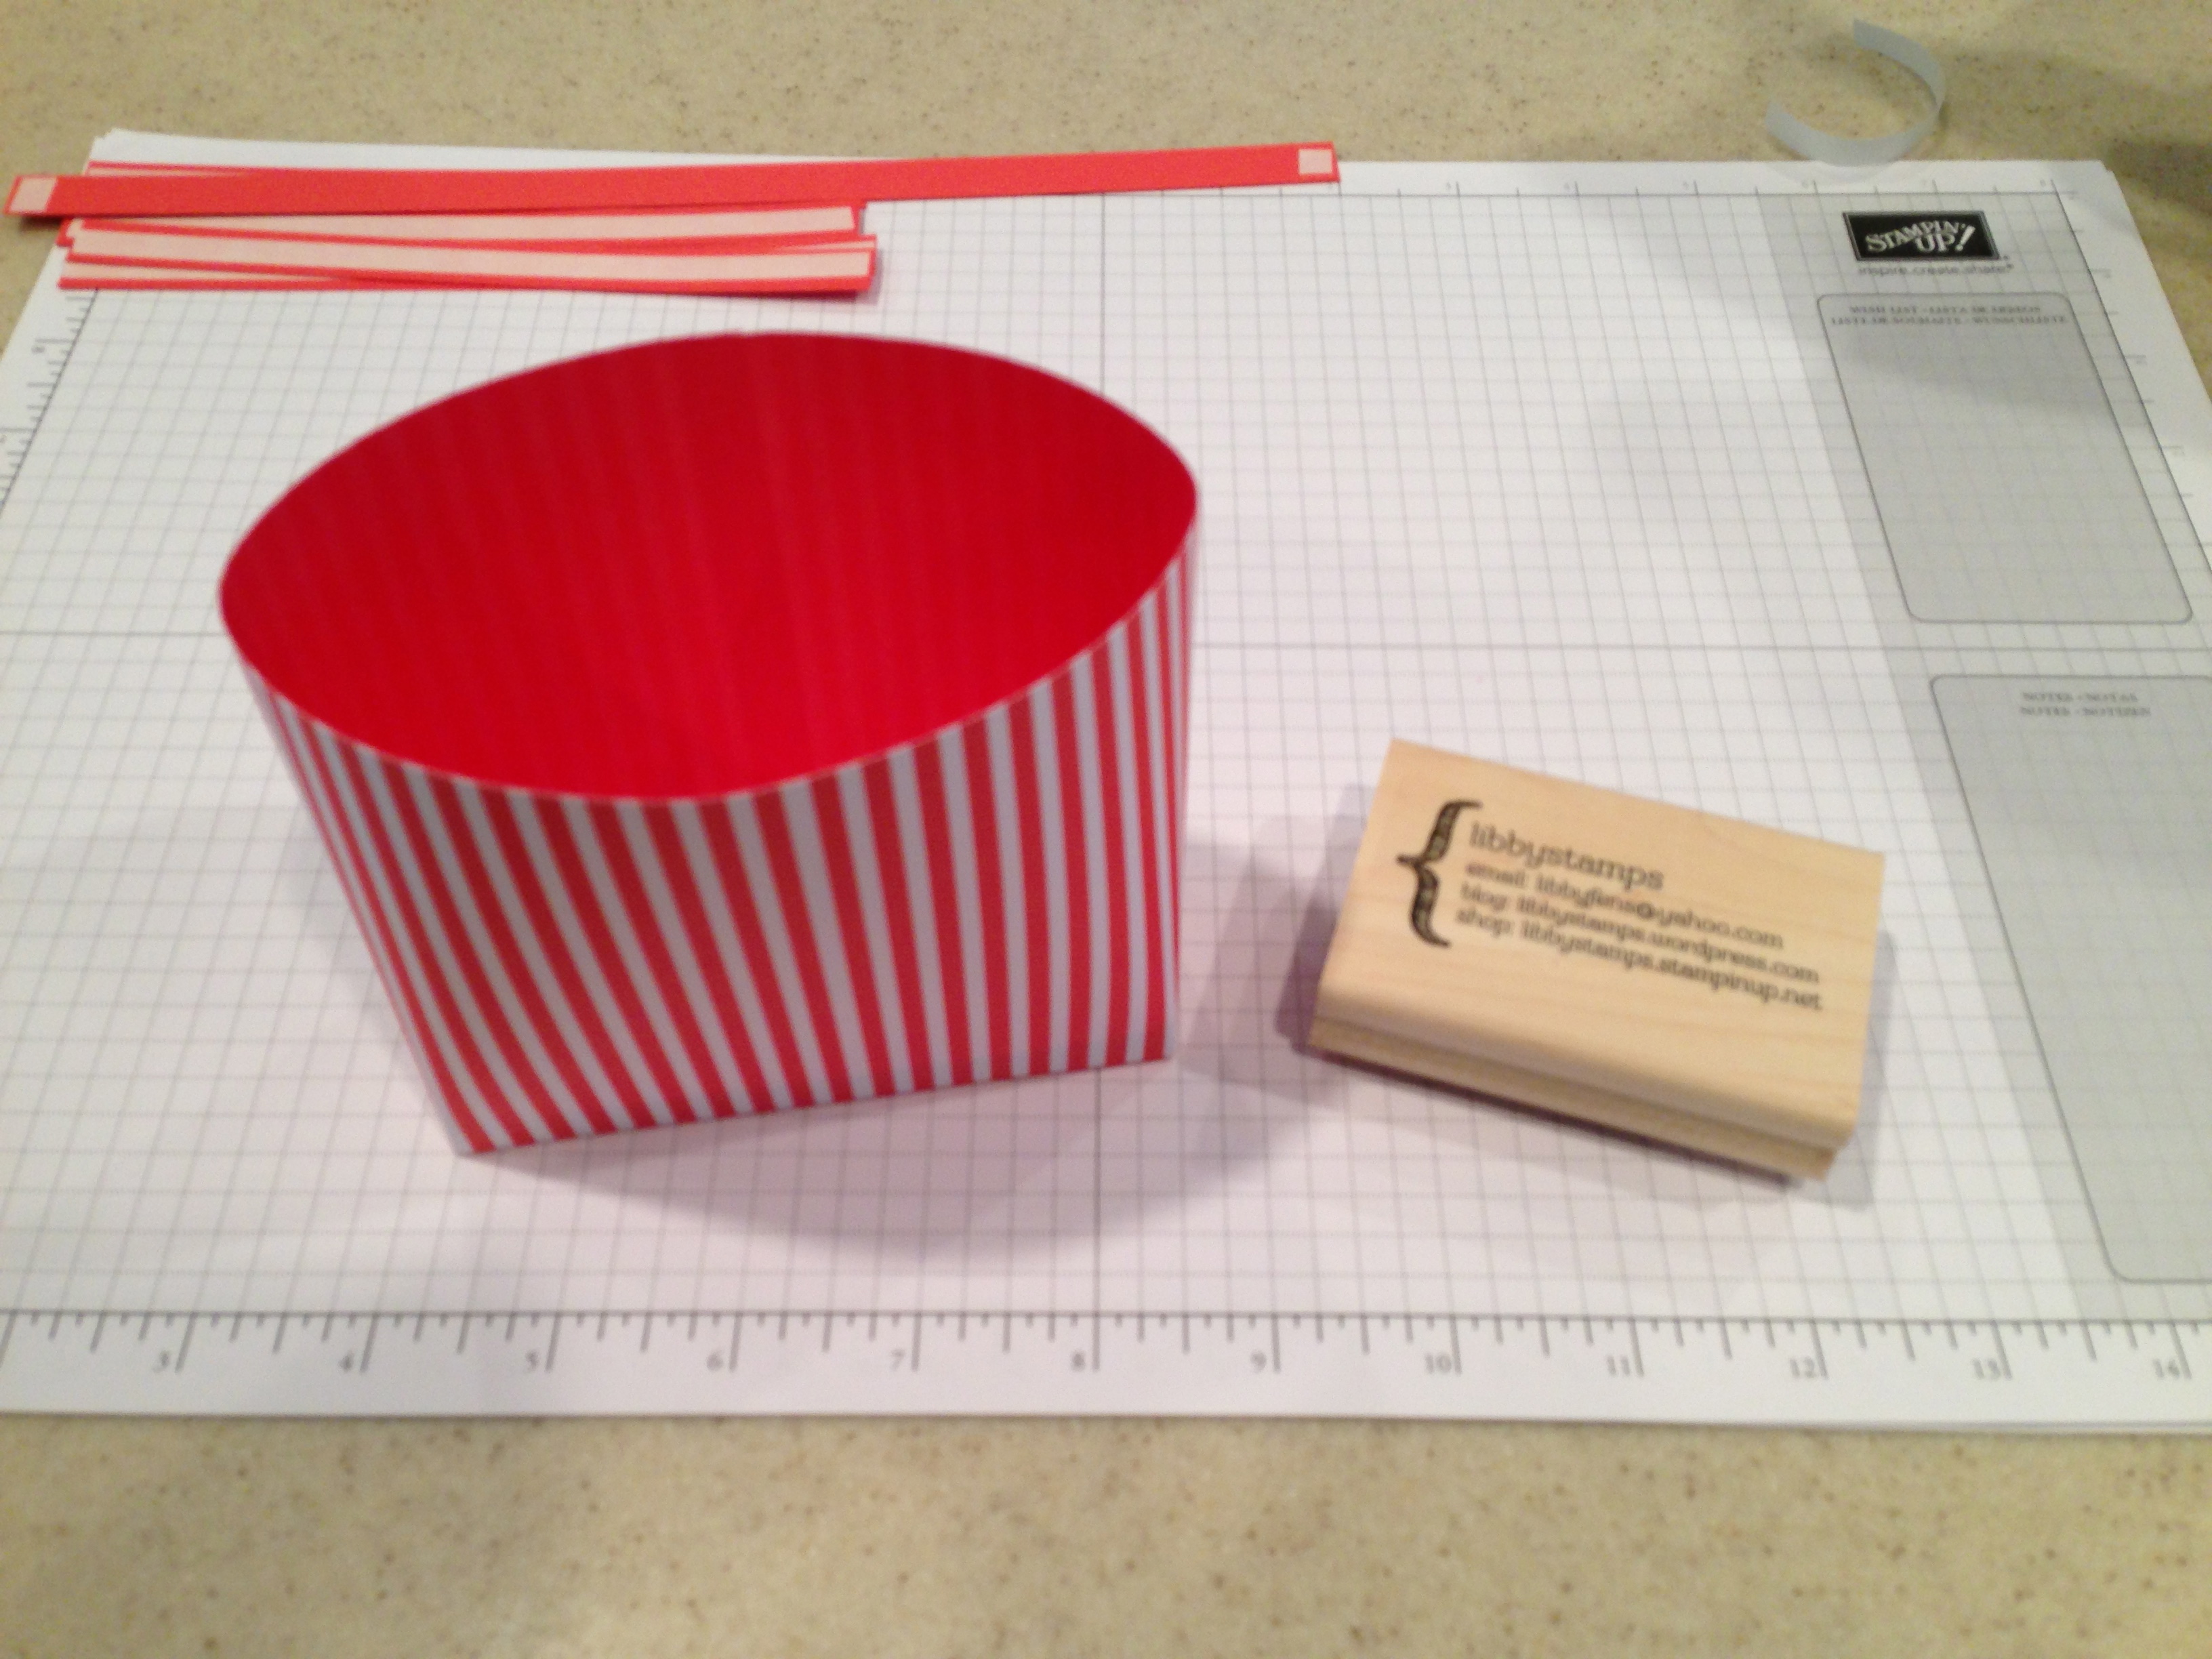
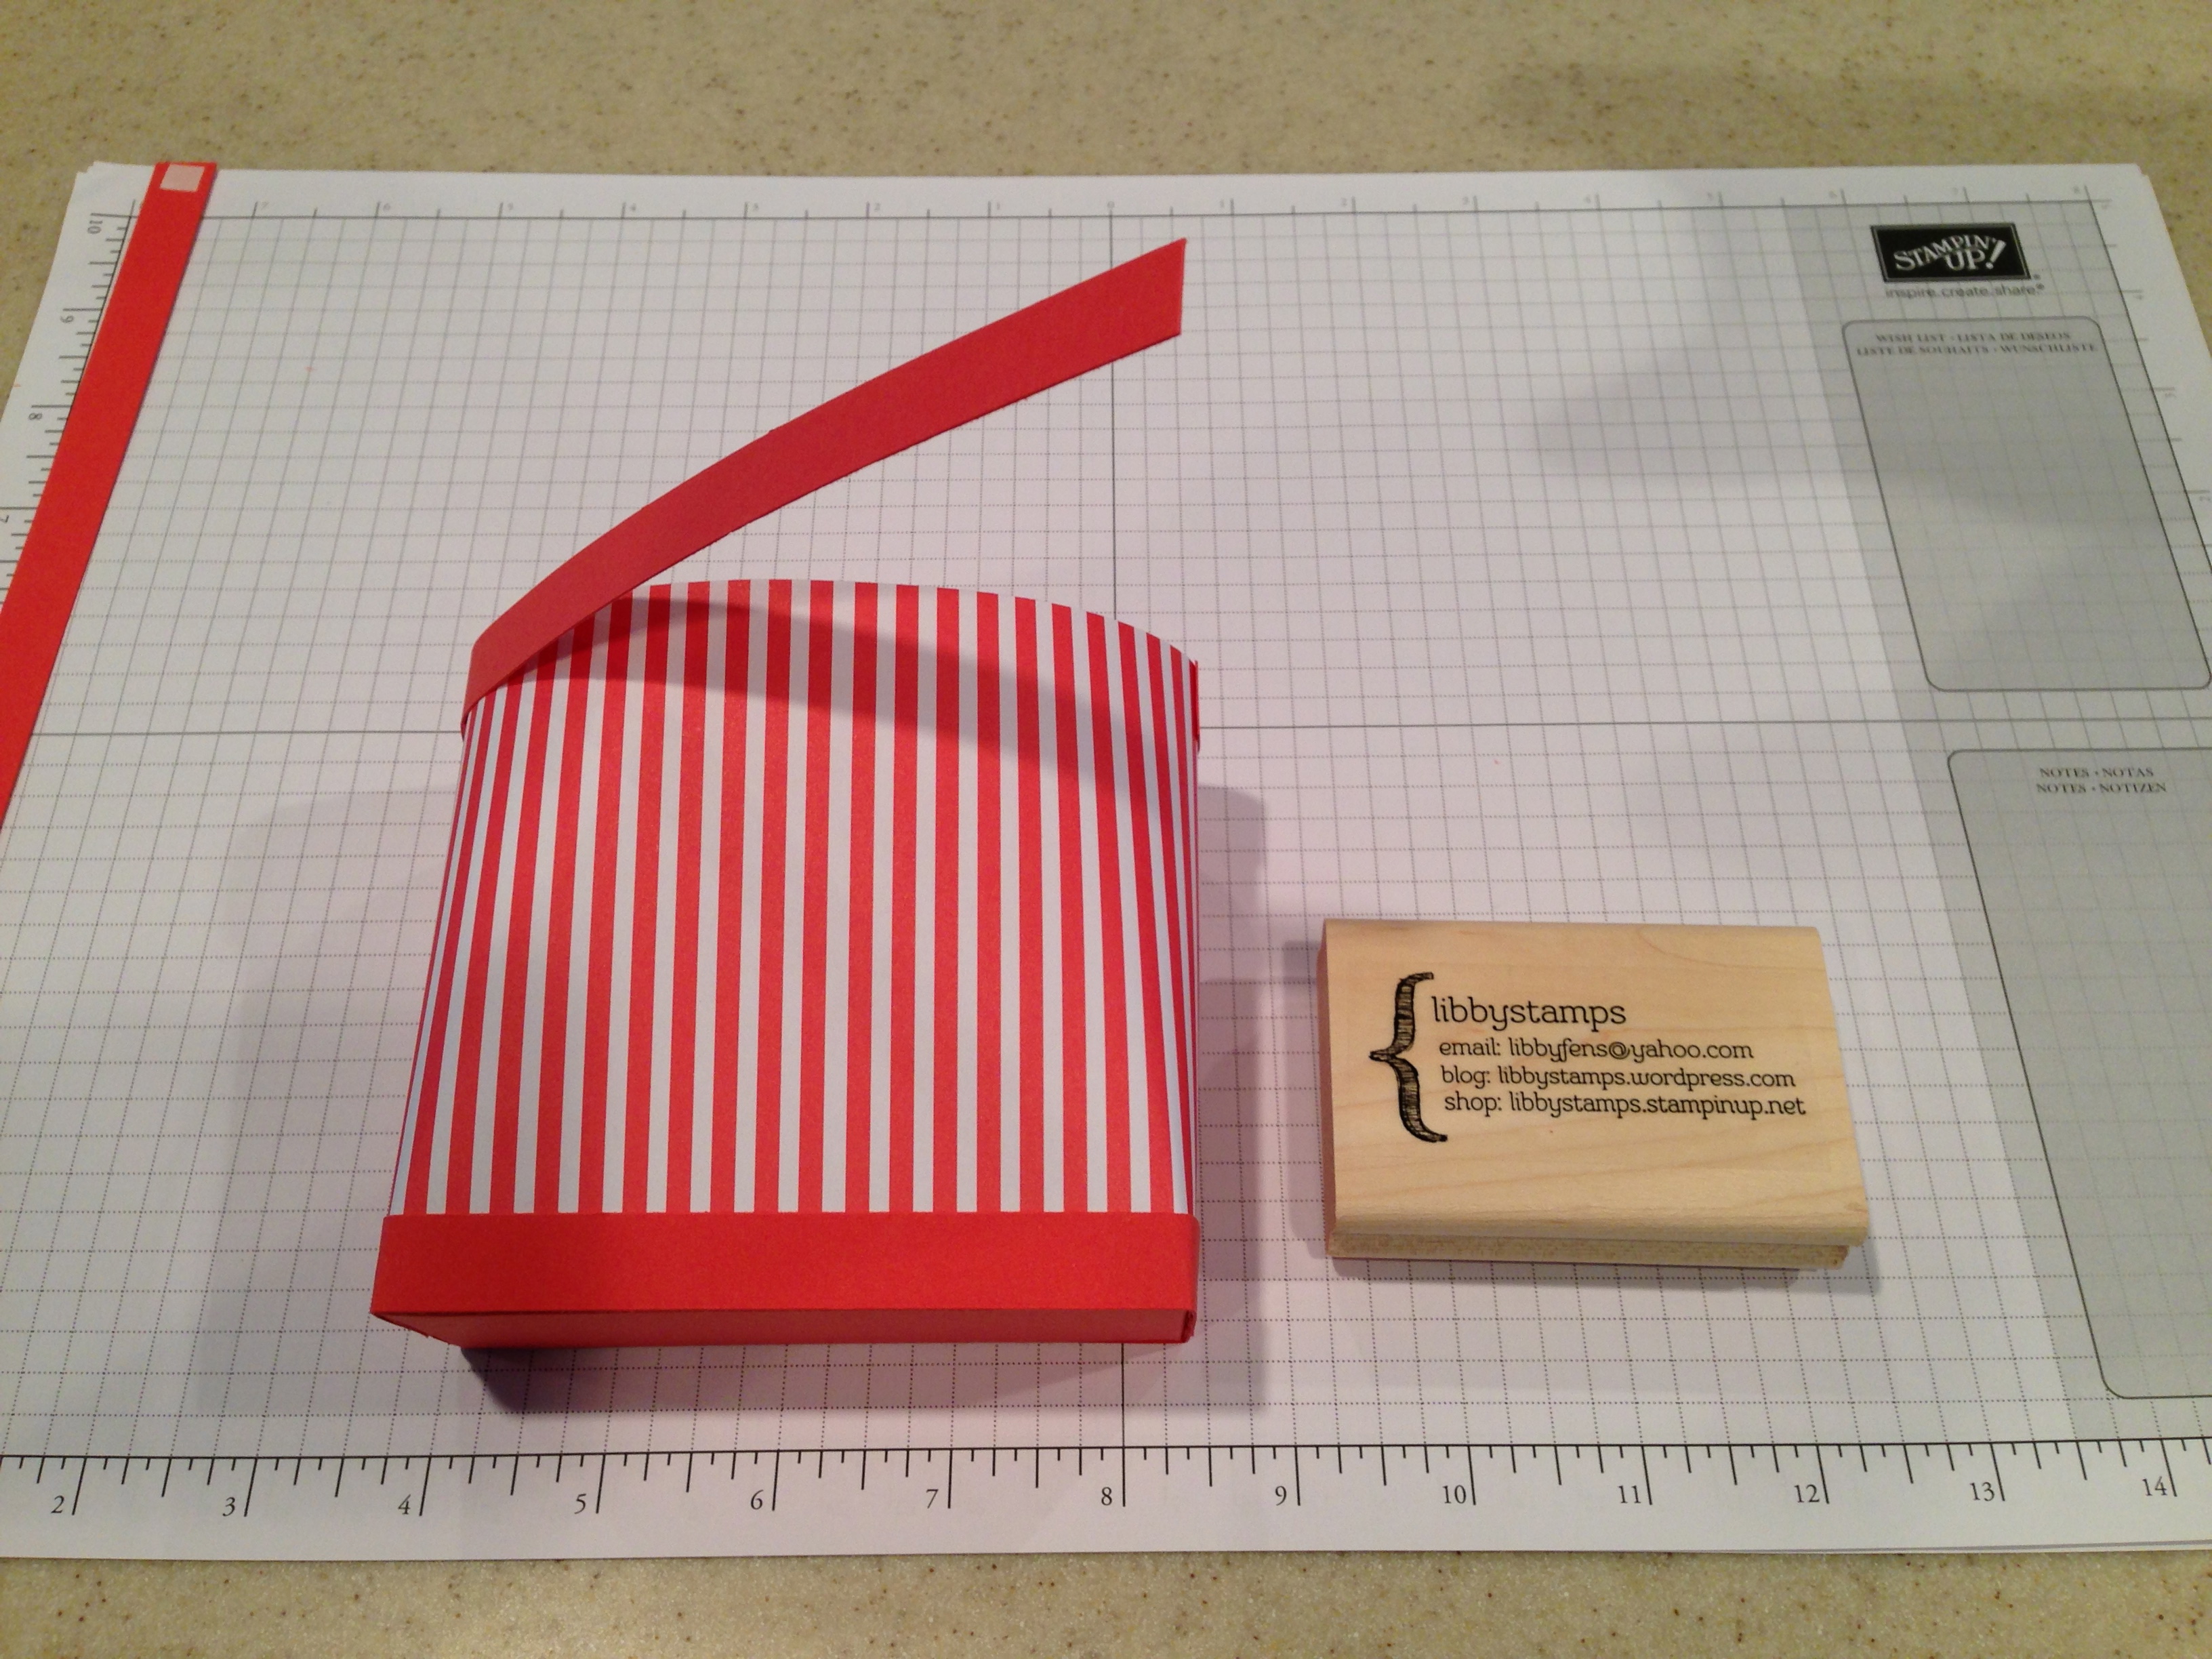
Fold over last panel. Carefully adhere back panel together. It will be an 1/4 overlap all the way up. Lined DSP makes it really east to see this.
From the top, the bag will have a nice oval shape at this point.
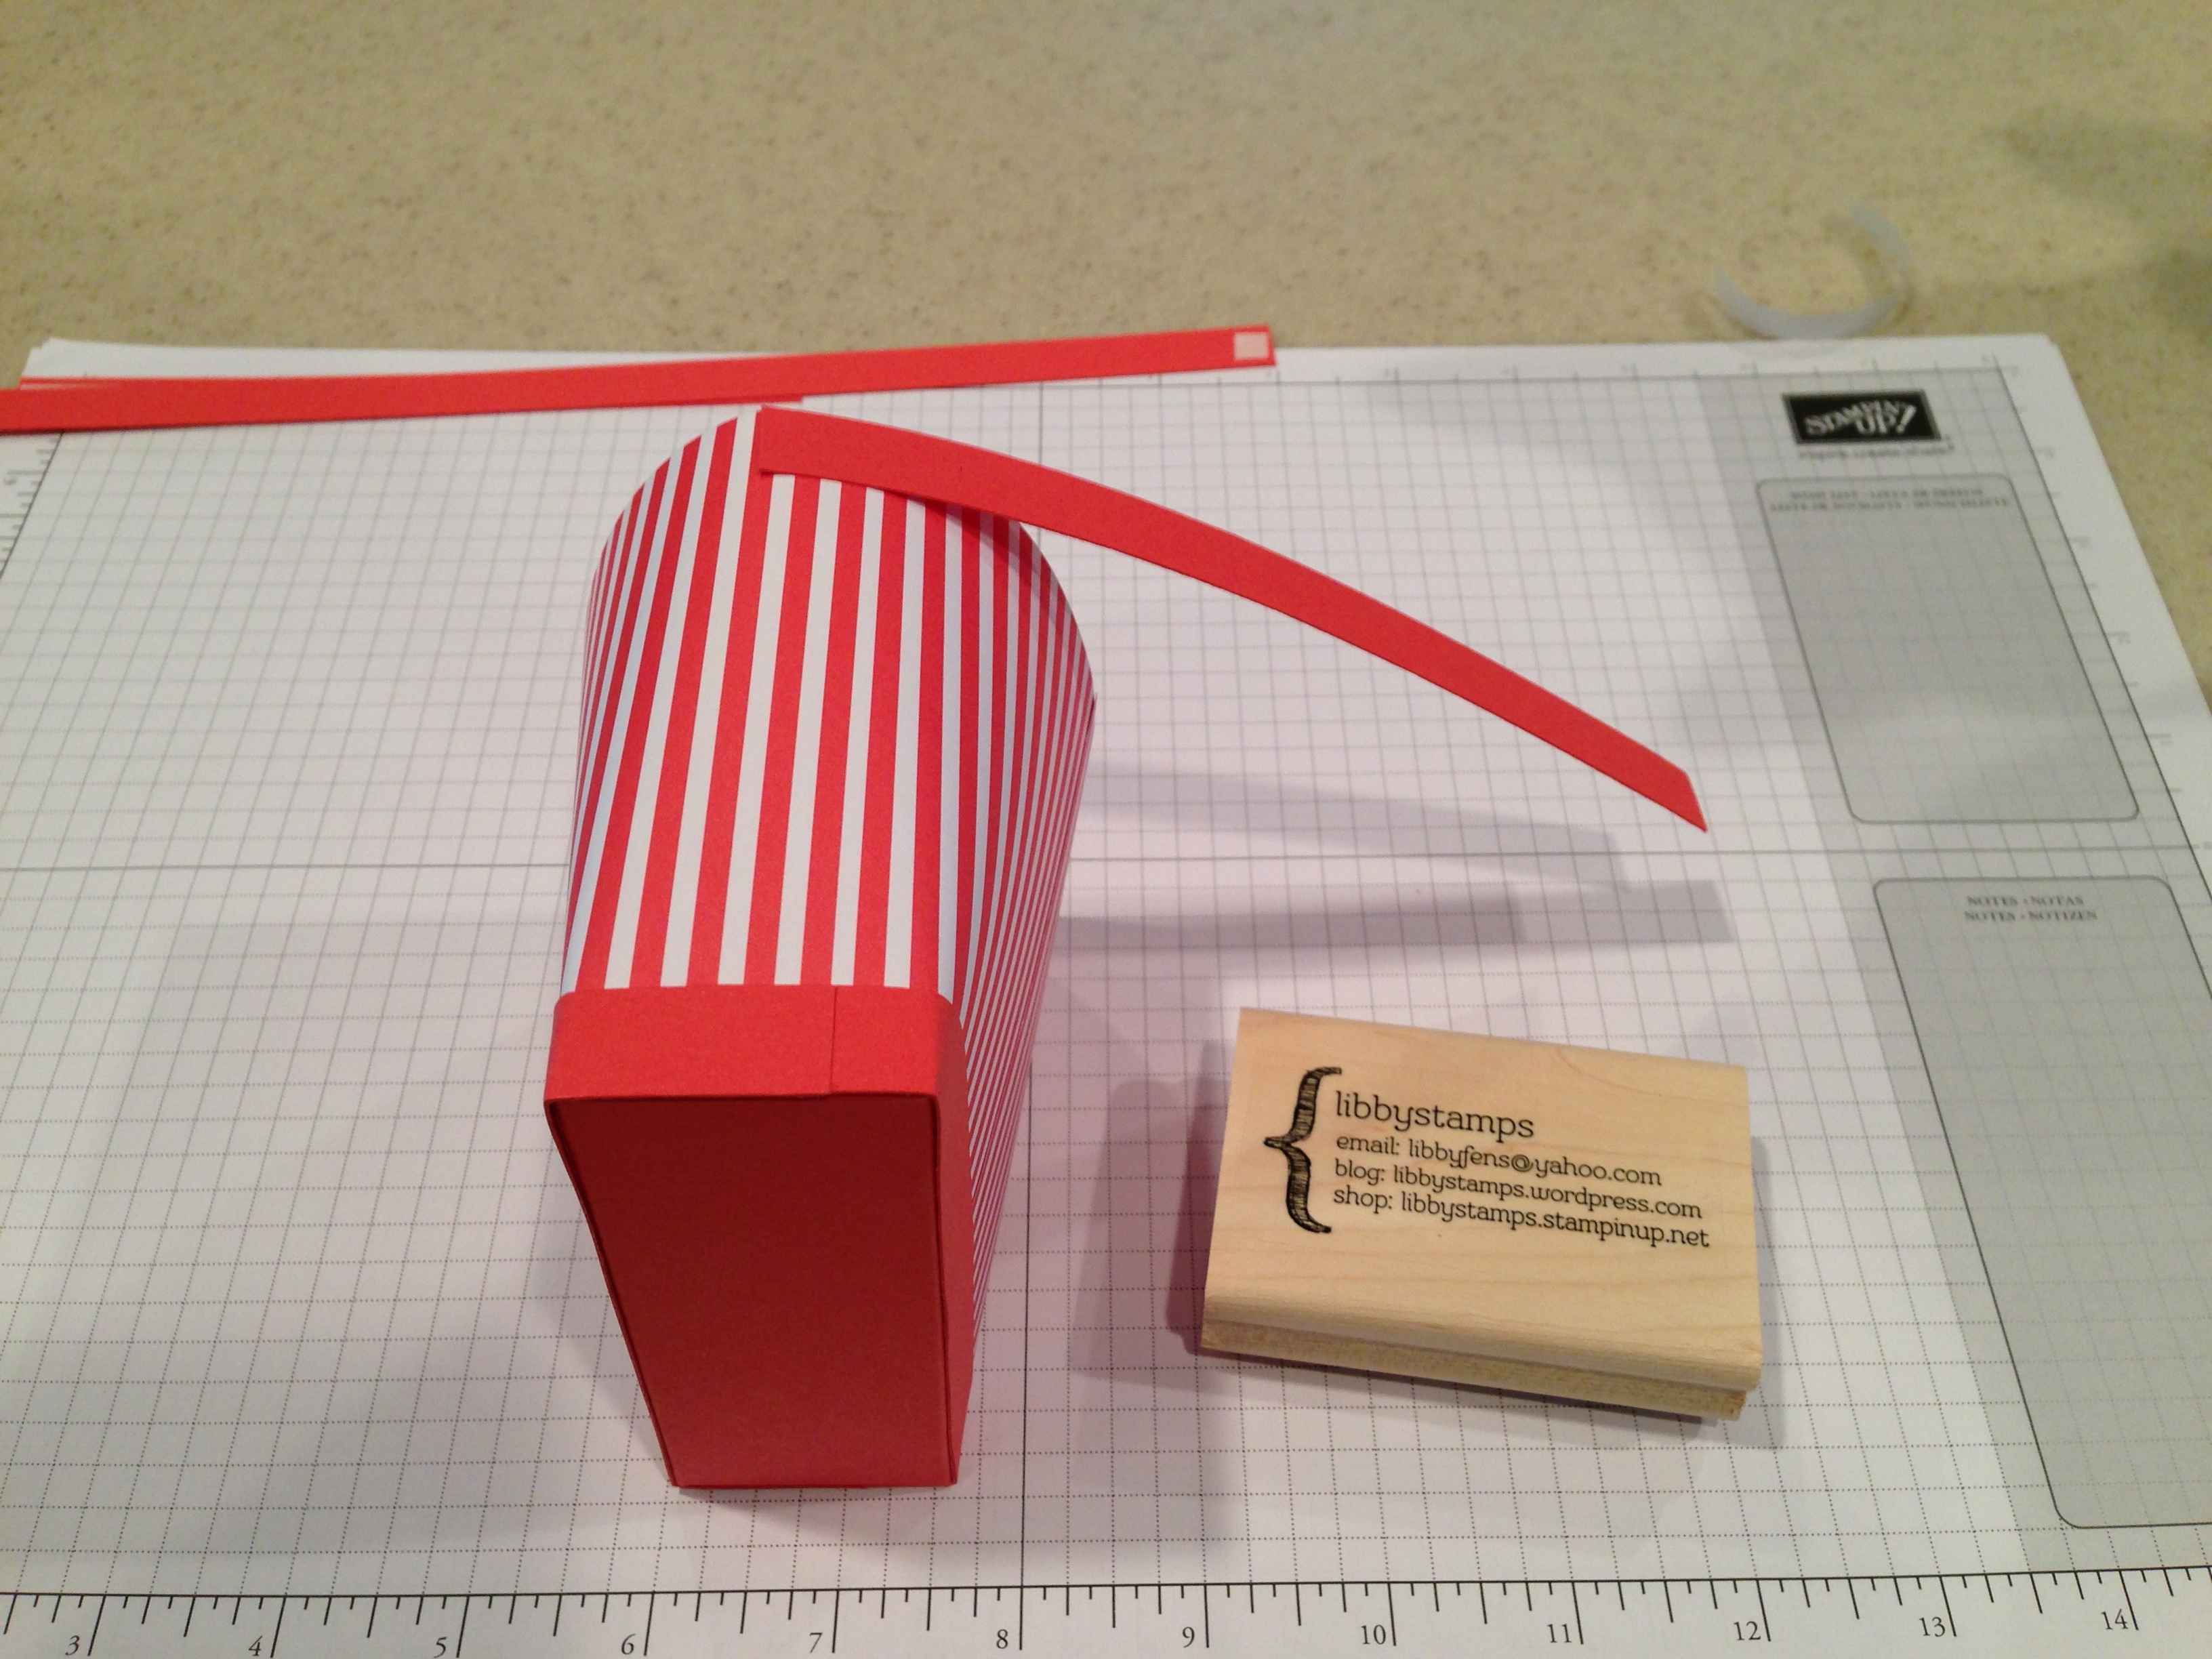
Adhere the strips at the bottom starting on the short side. This puts the seems on the side, none in the front. (Note the kitty shadow!) Continue to wrap around until you reach the other side. Repeat with other strip.
The strips will overlap about 1/4 inch on each side.
Next is the top strip. Do the same by starting on the side and wrapping it around.
This one is easier because you have the top edge to line it up with. Adhere the other top strip. Again, the strips will overlap about 1/4 inch on each side.
I used a little adhesive on the end to attach my handle. I reinforced it with a brad afterwards. ‘Someone’ by this time was really curious as to how long was this going to take.
Reality is, this bag take a few minutes to assemble. Maybe because I made about 25 already……
Any questions, please don’t hesitate to ask!
Built for Free Using: My Stampin Blog








Like the pictorial tutorial. Made the “purse” and it came our great. Thanks
Thanks! I’m glad it worked out for you. I find myself stopping videos to catch things. No need to here – it’s just pictures!
thank you for the tutorial…I have made these before but a long time ago, think it is time for more! Love the kitty! I have a puppy helper!